


Adding Windows to Your Shed: Easier Than You Think (With Expert Tips)

Installing windows in a shed isn’t as daunting as it might seem, even for DIY beginners. With basic tools, careful measurement, and attention to detail, most homeowners can successfully complete this project in a weekend. The key lies in proper preparation and understanding the fundamental steps before starting.
The process becomes significantly easier when broken down into essential phases: measuring and planning, preparing the opening, installing the frame, and ensuring proper sealing. While some aspects require precision, like creating square corners and maintaining level alignment, these tasks are manageable with standard household tools and basic carpentry skills.
What makes window installation approachable is that mistakes are often fixable, and the techniques needed are straightforward. The most critical factors are accurate measurements, proper weatherproofing, and ensuring the window is level. With these elements in place, even first-time installers can achieve professional-looking results that enhance their shed’s functionality and appearance.
Preparing for Window Installation
Choosing the Right Window Type
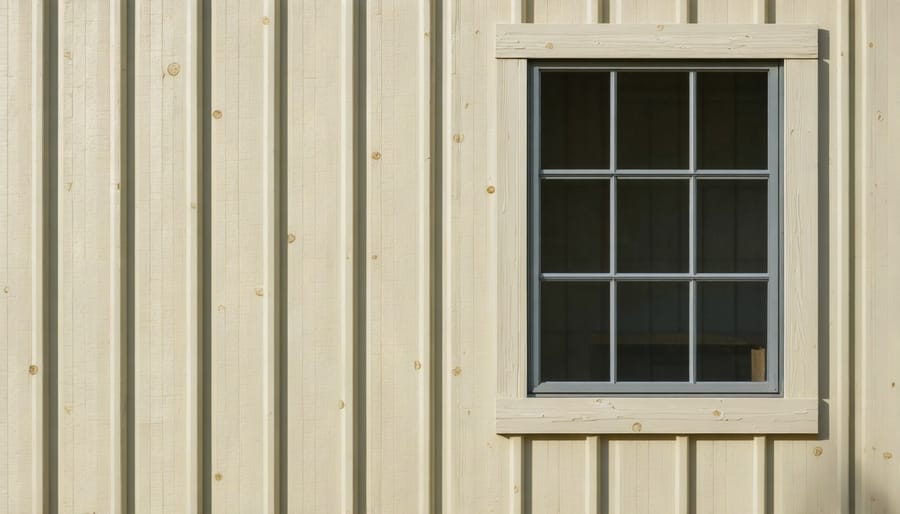
Selecting the right window for your shed is crucial for both functionality and aesthetics. Fixed windows are the simplest option, offering natural light without the complexity of moving parts – perfect for beginners tackling their first window installation. Sliding windows provide excellent ventilation and are relatively straightforward to install, making them a popular choice among DIY enthusiasts.
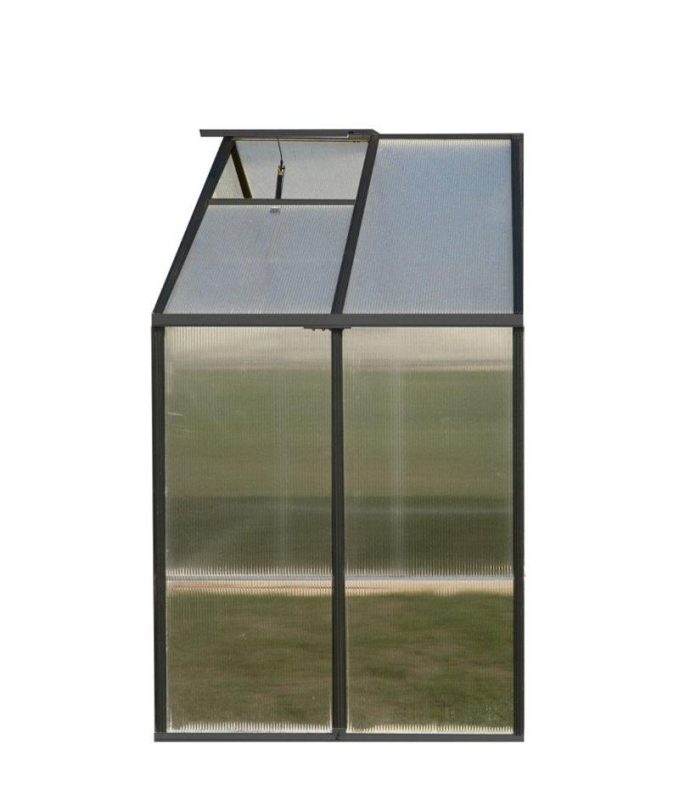
For those prioritizing airflow, awning windows are worth considering. They open outward from the bottom, protecting your shed’s interior from unexpected rain while still allowing ventilation. Single-hung windows offer a classic look and are generally easier to install than double-hung alternatives, though they provide less ventilation.
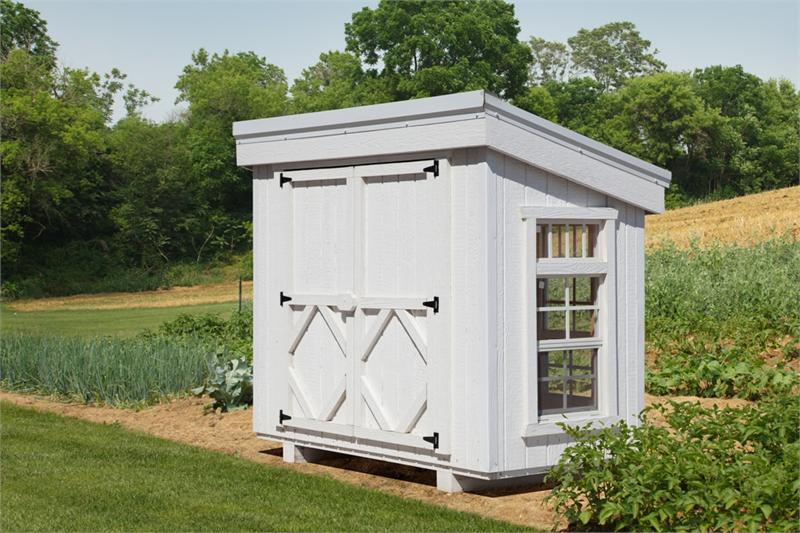
Consider your shed’s primary use when choosing windows. If you’re using it as a workshop, larger windows that let in plenty of natural light might be ideal. For storage sheds, smaller fixed windows might suffice. Remember that vinyl windows are typically the most DIY-friendly option, being lighter and easier to handle than wood or aluminum alternatives.
Remember to factor in your local climate – if you live in a particularly wet area, ensure your chosen window style offers adequate weather protection.

Essential Tools and Materials
Before starting your window installation project, gather these essential tools and materials to ensure a smooth process. You’ll need basic tools including a tape measure, level, hammer, utility knife, and screwdrivers (both Phillips and flathead). A power drill with various drill bits is crucial for creating pilot holes and securing the window frame. Don’t forget safety equipment like work gloves, safety glasses, and a dust mask.
For materials, you’ll need the window unit itself, shims (both wooden and plastic), exterior-grade caulk with a caulk gun, insulation foam, and waterproof flashing tape. If you’re replacing an existing window, you might also need a pry bar and reciprocating saw for removal. Having a helper on hand is recommended, as windows can be heavy and awkward to maneuver alone.
Keep a few extra supplies nearby: clean rags, a level surface to work on, and weather-appropriate sealants. It’s better to have more materials than you need rather than having to pause mid-installation for a supply run. Consider having a tarp ready to protect against unexpected weather changes during installation.
Step-by-Step Installation Process
Marking and Cutting the Opening
Before cutting into your properly framed shed walls, careful measurement and marking are essential for a successful window installation. Start by measuring your window unit and adding a 1/2-inch clearance on all sides to allow for proper leveling and shimming. Transfer these measurements to both the interior and exterior walls, using a level to ensure your lines are perfectly straight.
Mark the rough opening with a pencil, double-checking your measurements before proceeding. Use a stud finder to locate and mark any framing members within your planned opening. If you find studs that need to be cut, mark these clearly as well. Remember to account for the header and sill that will need to be installed above and below the window.
Once your marks are verified, drill pilot holes at the corners of your planned opening. These holes will guide your saw and help prevent splintering. Using a reciprocating saw or circular saw, carefully cut along your marked lines. Start with the horizontal cuts first, then move to the vertical cuts. Keep the saw steady and maintain consistent pressure to ensure clean, straight cuts.
After cutting, remove the wall section carefully to avoid damaging surrounding materials. Clean up any rough edges with a utility knife or sandpaper to prepare for window installation.
Installing the Window Frame
Installing the window frame is a crucial step that requires careful attention to detail. Start by checking that your rough opening is level, plumb, and square – this foundation ensures your window will function properly for years to come. Apply a continuous bead of quality waterproof sealant around the perimeter of the opening, about 1/4 inch from the edge.
Position the frame into the opening, making sure it’s centered with equal spacing on all sides. Use shims at the bottom corners first to keep the frame level, then work your way up the sides, placing shims near each mounting point. Don’t over-shim, as this can cause the frame to bow.
Once the frame is positioned, check for level, plumb, and square again. A slight deviation now can lead to operational issues later. When you’re satisfied with the positioning, secure the frame using the appropriate screws through the pre-drilled holes. Start with the top corners and work your way down, checking level and operation after each screw.
Remember to maintain consistent gaps around the frame and avoid overtightening the screws, which can distort the frame. After installation, test the window’s operation several times to ensure smooth movement. If you notice any binding or resistance, adjust the shims and screws as needed until the window operates perfectly.
Weatherproofing and Finishing
The final step in window installation is ensuring proper weatherproofing, which is just as crucial as waterproofing your shed itself. Start by applying a high-quality exterior caulk around the entire window frame, both inside and out. Make sure to fill any visible gaps between the window frame and the rough opening. Pay special attention to the top edge where water is most likely to penetrate.
Next, install drip caps above the window if they weren’t pre-installed. These small metal strips direct water away from the window frame and are essential for long-term protection. Check that your window flashing tape is properly overlapped in a shingle-like fashion to ensure water runs down and away from the window.
For the interior finish, install trim or casing around the window frame. This not only creates a polished look but also provides an additional barrier against drafts. Use finishing nails to secure the trim, and fill any nail holes with wood putty. Finally, test the window’s operation several times to ensure smooth movement, and verify that the locks engage properly.
Remember to clean both sides of the glass thoroughly and remove any manufacturer’s labels or stickers. A final inspection of the caulking and weatherstripping will help ensure your window installation is complete and ready to withstand the elements.
Common Challenges and Solutions
Working with Different Shed Materials
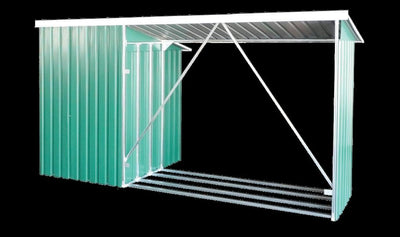
Different shed materials require specific approaches when adding windows. Installing windows in metal sheds typically involves cutting through sheet metal, which requires special tools and careful measuring to prevent warping. For wooden sheds, you’ll need a reciprocating saw or jigsaw, and it’s crucial to properly seal around the frame to prevent moisture damage.
Vinyl and resin sheds present unique challenges as these materials can crack if not handled properly. Work slowly when cutting, and always use a fine-toothed blade designed for plastic materials. Support the area around your cut to prevent vibration and potential damage.
Regardless of material, proper flashing installation is essential to prevent water infiltration. Use appropriate caulking that’s compatible with your shed material – silicone-based for metal and vinyl, and exterior-grade caulk for wood. Remember to account for your shed’s wall thickness when selecting window frames, as standard house windows may be too deep for typical shed walls.
Always check your shed’s structural integrity before cutting any openings, and reinforce the frame around the window area if needed. Consider pre-fabricated shed windows designed specifically for your shed’s material for the best results.
Troubleshooting Tips
Even experienced DIYers can encounter challenges during window installation, but most common issues have straightforward solutions. If your window frame isn’t level, use wooden shims to make adjustments until it’s perfectly aligned. For gaps between the window and frame, ensure proper insulation by applying expanding foam, being careful not to use too much as it can warp the frame.
When dealing with a window that’s tough to open or close, check if the frame is square and adjust the mounting screws accordingly. Moisture between window panes typically indicates a failed seal – in this case, replacing the entire window unit is usually the best solution.
If you notice drafts after installation, first check the weatherstripping and replace if necessary. For windows that seem too loose or tight in the opening, don’t force them – remove and adjust the rough opening size instead. Remember that most installation problems stem from incorrect measurements or unlevel openings, so double-checking these before starting can save significant time and frustration.
Always keep manufacturer instructions handy, as they often include specific troubleshooting guidance for your window model.
Installing windows in your shed doesn’t have to be an overwhelming task. As we’ve explored throughout this guide, with proper planning, the right tools, and a methodical approach, it’s a project well within reach of most DIY enthusiasts. Remember that taking time to measure accurately and prepare your opening properly will save you countless headaches later. While you might face some challenges along the way, the satisfaction of completing this project yourself – and the money saved – makes it worth the effort.
If you’re still feeling uncertain, start with a smaller window project to build your confidence. Many homeowners find that their first window installation goes more smoothly than expected, and the skills you’ll learn will serve you well in future home improvement projects. Don’t forget to have a helper on hand for the heavy lifting and to double-check your measurements.
Most importantly, take your time and follow safety precautions. Whether you’re installing one window or several, the end result will be a brighter, more functional shed space that you can be proud of having created yourself.