


How to Build the Perfect Shed Base Using Pavers
When most people think about putting up a garden shed, they imagine what they’ll store inside or how it’ll look tucked into a backyard corner. But there’s one step that often gets skipped over—and it’s arguably the most important: the shed base.
Your shed’s base does more than just hold it up. It keeps the structure level, helps prevent moisture damage, and ensures that your investment lasts for years. Whether you’re storing gardening tools, bikes, or seasonal gear, the foundation matters. And if you’re after a practical, durable, and DIY-friendly solution, a paver shed base might be exactly what you need.
This guide walks you through how to build a shed base using pavers from start to finish. Whether it’s your first outdoor project or you’re just looking to get it done the right way this time, everything you need is right here. And if you’re sourcing materials, Paving Supplies offers excellent options that make this process even smoother.
Why Your Shed Base Matters
Let’s get one thing straight: your shed is only as strong as the base it stands on.
A poorly built foundation leads to problems. Think shifting walls, doors that won’t close properly, sagging floors, and water damage. A solid shed base provides stability, supports heavy loads, and helps keep your shed protected from the elements. And when it comes to materials, pavers offer the perfect balance between performance and appearance.
Why Choose Pavers for Your Shed Base?
There are a few reasons pavers stand out:
- Drainage: Water passes between the joints, reducing the risk of pooling or dampness under the shed.
- Flexibility: Unlike a solid slab, pavers allow for movement and settling without cracking.
- DIY-friendly: Pavers are much easier to install and adjust than pouring concrete.
- Aesthetics: A paver base looks clean and complements other landscaping elements like paths or patios.
- Repairability: If a section shifts or sinks, you can remove and reset individual pavers instead of tearing out the whole base.
Step 1: Check Local Requirements
Before you start building, double-check if there are any local council rules in your area. Depending on the size of your shed, you might need approval, especially if it’s considered a permanent structure. There may also be restrictions about how close you can build to fences, stormwater drains, or trees.
It’s also wise to call before you dig—just in case there are underground services nearby.
Step 2: Pick the Right Spot
Choosing the right location is key. Your shed should sit on:
- Flat or gently sloped ground
- An area that doesn’t flood easily
- A spot with clear access paths
Make sure there’s enough space around the shed for maintenance and airflow. Avoid placing it too close to trees, as roots can affect the foundation over time.
Once you’ve picked the spot, mark out the dimensions of the shed and add at least 150mm on all sides. This allows room for edging, movement, and installation.
Step 3: Dig the Area for the Base
Excavate the area to a depth of 120mm to 150mm, depending on your shed size and ground conditions. You’ll be laying three layers here:
- A sub-base (crushed rock or road base)
- A layer of bedding sand
- The pavers themselves
Remove any grass, roots, and debris. Make sure the ground is as level as possible and compact the soil before adding materials. A flat surface now saves time and problems later.
Step 4: Install the Sub-Base
The sub-base is the secret sauce to a long-lasting shed base. Spread a layer of crushed rock or road base about 75–100mm deep and compact it thoroughly. Use a plate compactor for best results—don’t just rely on foot-stomping or a hand tamper if the area is large.
The goal here is to create a stable, solid surface that won’t shift under weight.
Step 5: Lay Bedding Sand
On top of the sub-base, spread a 20–30mm layer of coarse bedding sand. Use a screed board or timber to level the sand evenly.
This layer acts like a cushion for your pavers and gives you room to fine-tune the level of each one. It also helps distribute weight more evenly, which protects your pavers and your shed over time.
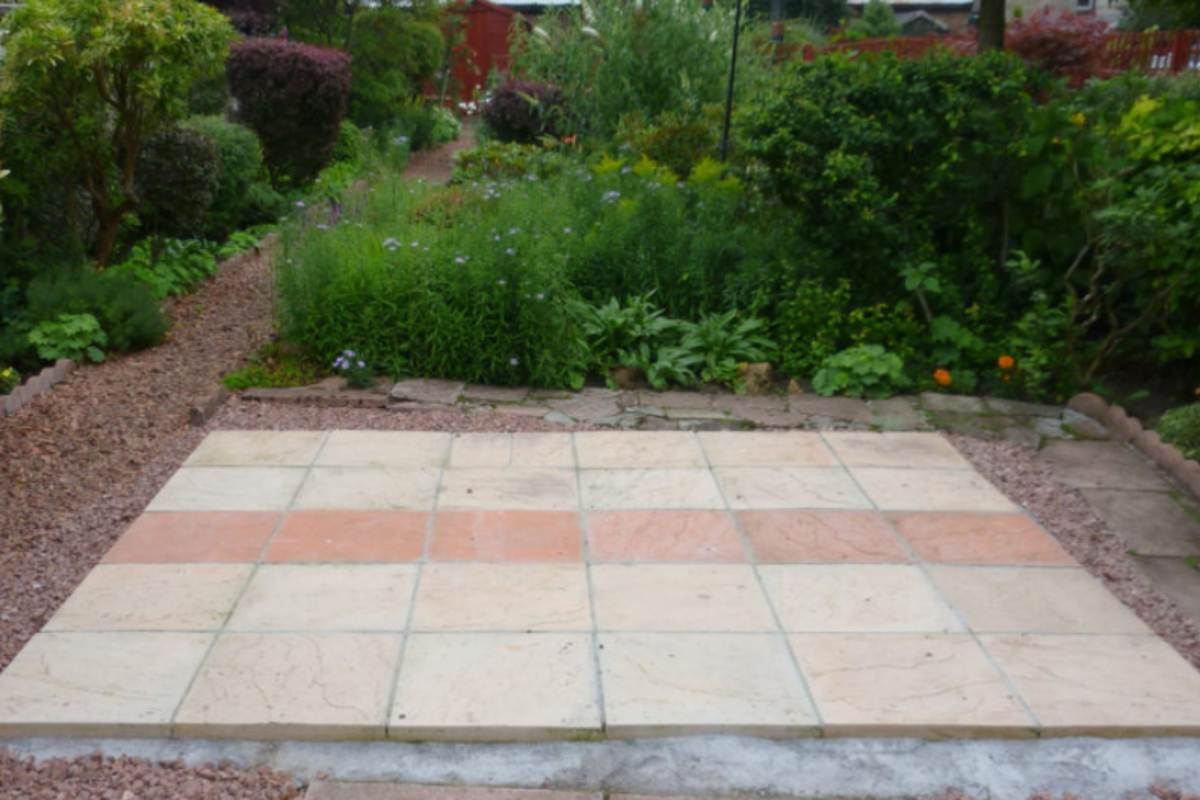
Step 6: Lay the Pavers
Begin laying your pavers from one corner, following a straight line across. Place them tightly together, and use a level to ensure everything is even as you go. Lightly tap each paver with a rubber mallet to seat it into the sand.
You can use any pattern you like—basic grid or more decorative layouts. Just keep it consistent and square.
Once all the pavers are laid, compact the area again. Then sweep fine sand across the surface to fill the joints. This helps lock everything in place and prevents weeds from growing between the cracks.
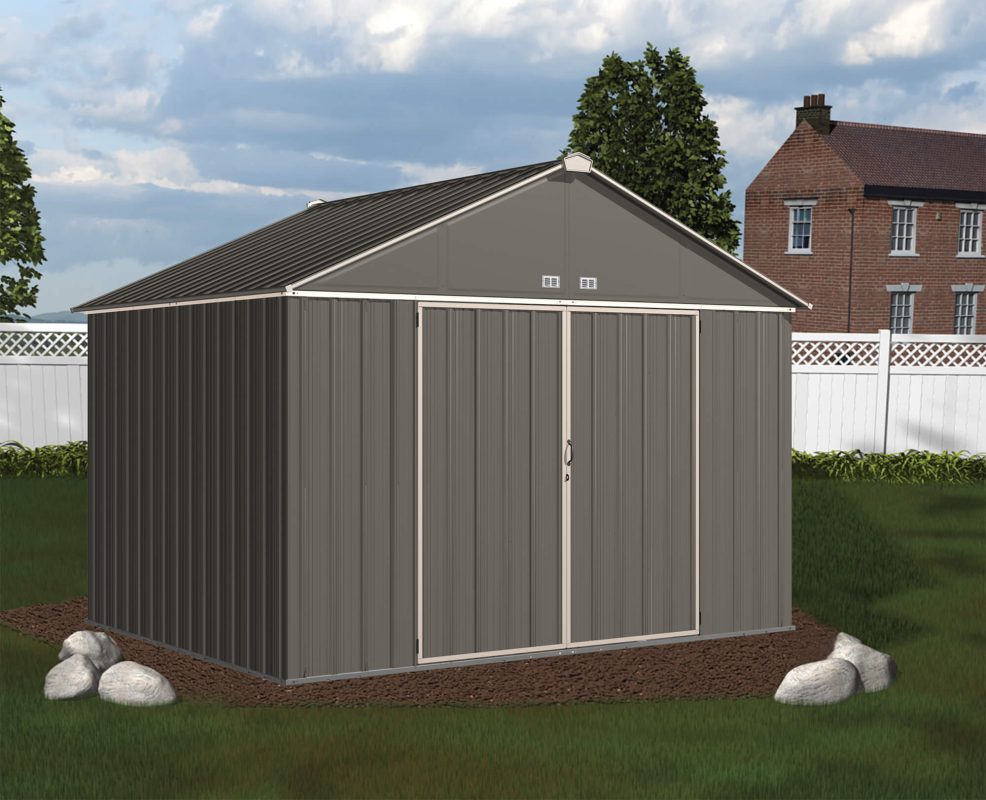
Step 7: Install Your Shed
Now that your paver base is solid and level, you’re ready to install your shed.
Most prefabricated sheds come with anchoring options. Depending on the model, you can drill into the paver joints and use masonry anchors to secure it. In windy areas, this step is non-negotiable. Anchoring protects your shed from tipping or shifting, especially during storms.
Step 8: Add Finishing Touches
Once the shed is built, consider finishing off the area around it:
- Add a border with edging stones or gravel
- Install a small paver path leading to the door
- Use mulch or garden beds to soften the edges
These small touches make your shed feel integrated into the yard rather than just dropped on it.
Common Shed Base Mistakes to Avoid
Let’s take a quick look at common errors people make with shed foundations—and how you can avoid them:
- Skipping the sub-base: Without it, your pavers will shift and sink.
- Using the wrong pavers: Thin or decorative pavers may crack under weight. Choose outdoor-grade pavers built for load-bearing use.
- Poor drainage planning: Water pooling around the base leads to long-term damage.
- Not compacting the base: This results in uneven settling and instability.
Take your time with the base and you’ll avoid costly fixes down the line.
Maintaining Your Paver Shed Base
Pavers are low-maintenance, but not no-maintenance. Here’s how to keep them in great shape:
- Sweep sand back into joints once or twice a year
- Remove any weeds or moss from between pavers
- Keep the area around the base free from debris
- Re-level or replace pavers if any start to move
With basic care, a paver base can last decades without needing replacement.
Final Thoughts
A shed is only as good as the base it stands on. And if you’re after something that’s easy to build, long-lasting, and visually appealing, a paver base is the way to go. It’s a solution that works as well for weekend DIYers as it does for serious landscapers.
Best of all, it gives you flexibility. You can expand it, adjust it, repair it, or even match it with existing hardscaping features. And when it’s done right, you’ll have a sturdy, attractive shed foundation that holds up to weather, weight, and time.