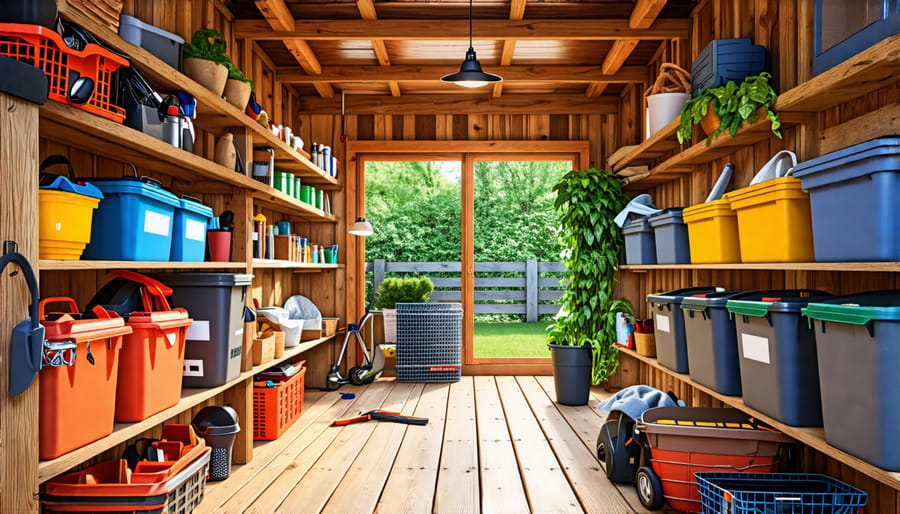
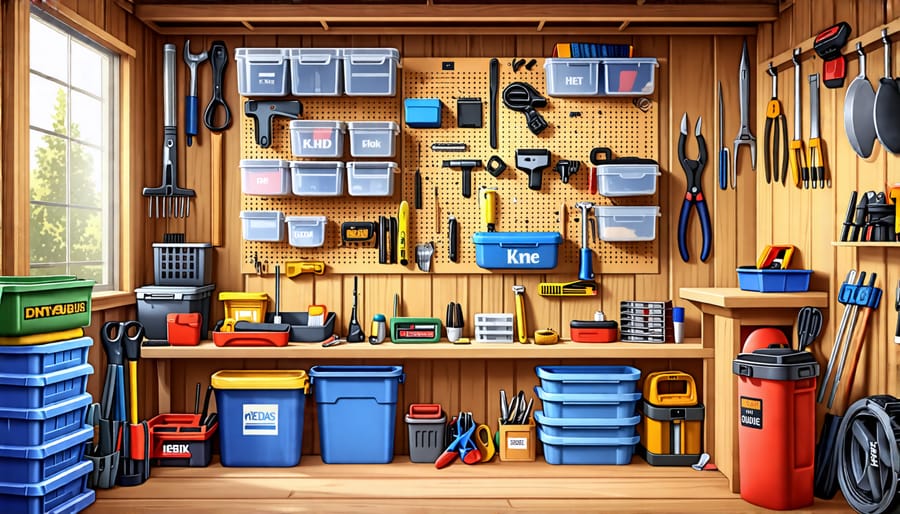
Categorize items by purpose, storing frequently used tools near the entrance for easy access. Install pegboards, wall-mounted shelves, and ceiling-mounted racks to maximize vertical space and keep floors clutter-free. Invest in clear, stackable containers to store small parts, hardware, and seasonal items, labeling each box for quick identification. Regularly purge unused or broken items to maintain organization and [enjoy the benefits of an organized shed].
Categorize and Label Everything

Create Designated Zones
To keep your shed organized and efficient, create designated zones for different item categories. Start by grouping similar items together, such as gardening tools, sports equipment, seasonal decorations, and camping gear. Assign each category a specific area within the shed, considering factors like frequency of use and item size. Utilize vertical space by installing shelves or pegboards for smaller items, and dedicate floor space for larger items like lawnmowers or bicycles. Clearly label each zone to make it easy for family members to find what they need and return items to their proper places. By establishing distinct zones, you’ll maximize storage capacity, minimize clutter, and create a functional, well-organized shed that caters to your unique storage needs. Remember to reassess your zones periodically and make adjustments as your storage requirements change over time.
Invest in Clear Storage Bins
Investing in clear storage bins is a game-changer for shed organization. See-through containers allow you to quickly identify contents without rummaging through piles or opening lids. This saves time and frustration when searching for specific items. Clear bins also help maintain a tidy appearance, as you can easily spot when items are out of place or need restocking. Opt for sturdy, stackable containers with secure lids to maximize vertical space and protect contents from dust and pests. Label each bin clearly for added convenience. With clear storage solutions, you’ll spend less time hunting for tools and more time enjoying your well-organized shed.

Go Vertical with Shelving and Racks
Install Wall-Mounted Shelves
Installing wall-mounted shelves is a simple and effective way to maximize storage space in your shed. Start by measuring the desired shelf lengths and marking their positions on the walls. Use a stud finder to locate the wall studs and mark them for secure anchoring. Cut sturdy boards to size for your shelves, and sand the edges for a smooth finish. Drill pilot holes into the shelves and studs, then attach the shelves securely using wood screws. For added stability, consider installing brackets underneath the shelves. Customize the shelf spacing based on the items you plan to store, leaving ample room for taller objects. Wall-mounted shelves keep your shed floor clear and make it easy to organize tools, supplies, and seasonal equipment. With a little effort, you’ll have a tidy and efficient storage solution that maximizes every inch of your shed’s vertical space.
Suspend Frequently Used Items
Maximize your shed’s vertical space by suspending frequently used items on hooks and pegboards. This keeps tools and equipment easily accessible while freeing up valuable floor space. Install sturdy hooks on the walls or ceiling to hang items like ladders, bikes, and garden hoses. Pegboards are perfect for organizing smaller tools like hammers, pliers, and screwdrivers. Use a variety of hook sizes and shapes to accommodate different items. Label each tool’s designated spot on the pegboard for quick identification. Hang frequently used items at eye level for convenience, while lesser-used items can be placed higher up. Regularly assess your tool collection and adjust the layout as needed to maintain an efficient system. By leveraging vertical storage solutions, you’ll create a clutter-free shed where every item has its place, making your DIY projects and outdoor maintenance tasks a breeze.
Utilize Magnetic Strips for Small Tools
When it comes to organizing small handheld tools in your shed, magnetic knife strips are an ingenious space-saving solution. These slim, unobtrusive strips can be easily mounted on walls or the back of doors, providing a convenient and accessible home for items like screwdrivers, pliers, scissors, and more. Not only do magnetic strips keep your tools organized and easy to find, but they also free up valuable shelf and drawer space for larger items.
To use this method, simply attach the magnetic strip securely to your chosen surface using the included hardware or heavy-duty adhesive. Then, arrange your metal tools on the strip, making sure they are held firmly in place. You can group similar items together or arrange them by size for even more efficiency. This system is especially useful for frequently used tools, as they’ll always be within reach when you need them. Give magnetic knife strips a try in your shed, and marvel at how such a simple solution can make a big difference in your tool organization.
Recycle Household Items as Organizers
When it comes to organizing your outdoor shed, don’t overlook the potential of repurposing common household items as storage solutions. Glass jars, for example, are perfect for storing small hardware like nails, screws, and bolts. Clean them thoroughly, remove the labels, and attach the lids securely. For larger items, consider using old coffee cans or paint buckets. These sturdy containers can hold tools, gardening supplies, or even rolled-up extension cords.
Got spare shoe organizers? Hang them on the back of your shed door to store spray paint cans, cleaning supplies, or gardening gloves. Repurpose an old dresser by removing the drawers and using the frame as a shelving unit. You can even transform the drawers into pull-out organizers for power tools or hand tools.
Don’t throw away those old picture frames! Instead, remove the glass and backing, then attach a piece of pegboard cut to size. Hang these upcycled frames on your shed walls to create a customizable storage system for frequently used tools. With a little creativity and resourcefulness, you can turn everyday household items into functional and eye-catching storage solutions for your outdoor shed.
Customize a Tool Pegboard
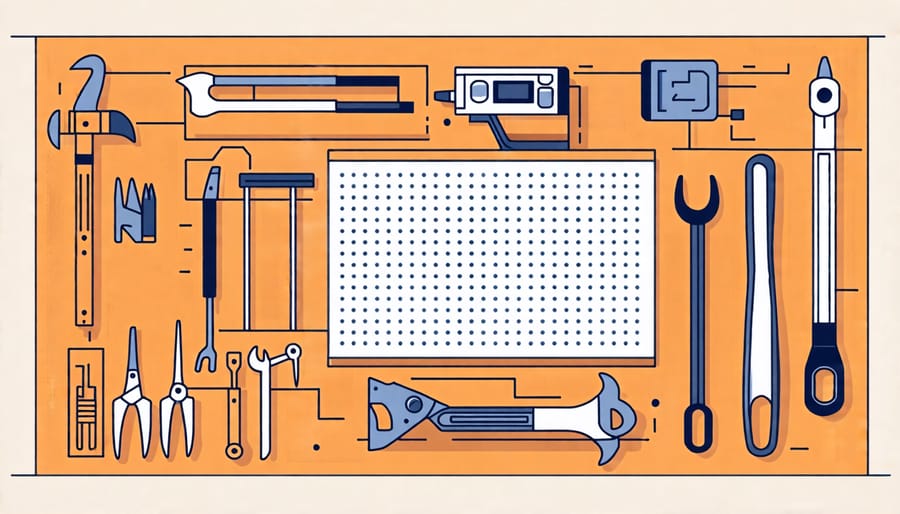
Creating a customized tool pegboard is an excellent way to keep your shed organized and your tools easily accessible. Start by measuring the wall space where you want to install the pegboard and purchase a board that fits those dimensions. Look for a sturdy material like metal or high-density fiberboard that can withstand the weight of your tools.
Before mounting the pegboard, plan out the layout of your tools. Group similar items together and consider which tools you use most frequently, placing them at eye level for quick access. Utilize a variety of pegboard hooks, brackets, and holders to accommodate different tool shapes and sizes. For example, use long, straight hooks for screwdrivers and pliers, and J-shaped hooks for power tools like drills or sanders.
To mount the pegboard, first attach furring strips to the wall studs using a stud finder and screws. This will create a gap between the wall and the pegboard, allowing room for the hooks. Then, secure the pegboard to the furring strips with screws, ensuring it is level and firmly attached.
Once the pegboard is in place, start organizing your tools according to your planned layout. Label each section or use color-coded tags to make it easy to find what you need at a glance. For smaller items like drill bits or nails, attach small containers or jars to the pegboard using hooks or brackets.
Regularly reassess your tool organization and make adjustments as needed. As you acquire new tools or find that your current layout isn’t working as well as you’d like, don’t hesitate to rearrange your pegboard to better suit your needs. With a customized tool pegboard, you’ll have a tidy, efficient workspace that makes tackling projects a breeze.

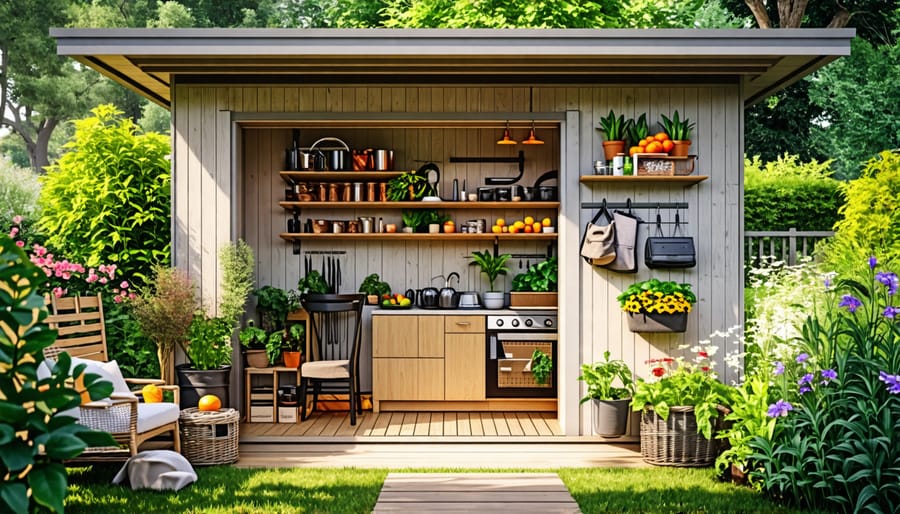
By implementing these organization tips, you can transform your outdoor shed from a cluttered mess into a functional and efficient storage space. Not only will you be able to easily access your tools, equipment, and supplies when you need them, but you’ll also free up valuable space in your yard or garage. A well-organized shed can save you time and frustration, allowing you to focus on your projects and hobbies without the hassle of digging through piles of disorganized items.
Moreover, an organized shed can help protect your belongings from damage caused by moisture, pests, or accidental mishandling. By keeping everything in its designated place and using proper storage solutions, you can extend the life of your tools and equipment, ultimately saving you money in the long run.
So, what are you waiting for? Take the first step towards a more organized and efficient outdoor space by implementing these shed organization ideas today. Start small by sorting through your items and discarding anything you no longer need, then gradually work your way up to installing shelves, hooks, and other storage solutions. With a little effort and creativity, you’ll be amazed at how much more functional and inviting your shed can become.


Leave a Reply