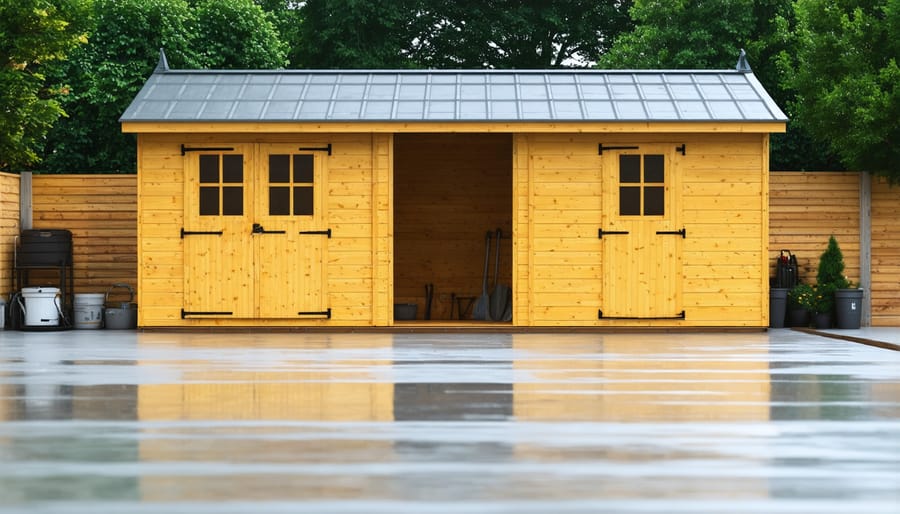
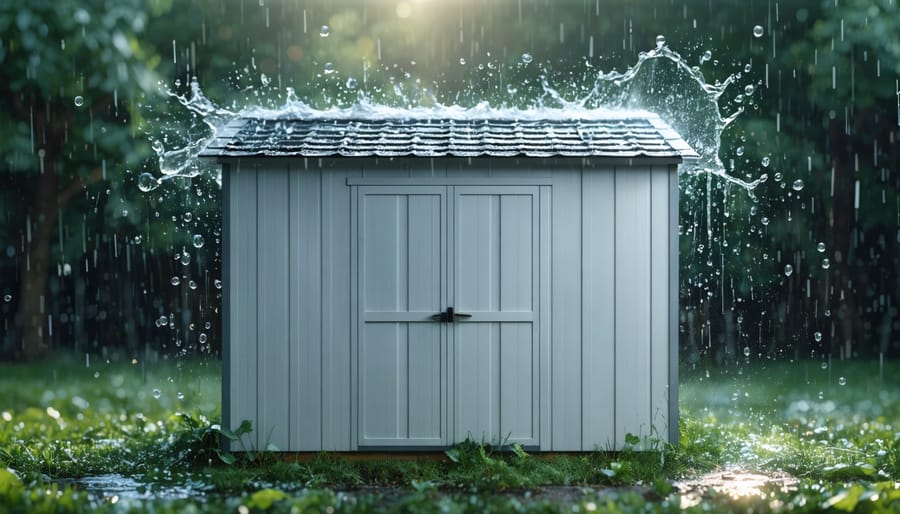
Seal roof seams and edges with weatherproof tape or sealant to prevent leaks. Caulk gaps and cracks around windows, doors, and siding joints for a watertight barrier. Install a vapor barrier and insulation to regulate temperature and humidity. Ensure proper ventilation with vents or a fan to reduce moisture buildup and mold growth.
Inspect and Repair the Roof
Patching Small Holes
To patch small holes in your shed’s roof, start by identifying the leaks and marking their locations. Next, clean the area around each hole, removing any dirt or debris. For tiny holes, apply a generous amount of roofing cement or sealant using a putty knife, smoothing it out to create a watertight seal. Larger holes may require a patch made from roofing material. Cut a piece slightly larger than the hole, apply roofing cement around the edges, and press the patch firmly in place. Seal the edges with additional cement for a seamless, weatherproof repair. Remember to check and maintain these patches regularly, especially after severe weather events, to ensure your shed remains leak-free and your belongings stay dry and protected.
Replacing Damaged Shingles
To replace damaged shingles, carefully remove the old ones using a pry bar, taking care not to harm surrounding shingles. If any nails remain, pull them out with a hammer or nail puller. Slide the new shingle into place, ensuring it aligns properly with the existing ones. Secure the shingle with galvanized roofing nails, driving them in where the damaged shingle’s nails were located. Apply a small amount of roofing cement under the edges of the new shingle to create a weatherproof seal. Regularly inspect your shed’s roof for signs of wear and replace shingles promptly to maintain its protective integrity.
Seal Gaps and Cracks
Caulking Windows and Doors
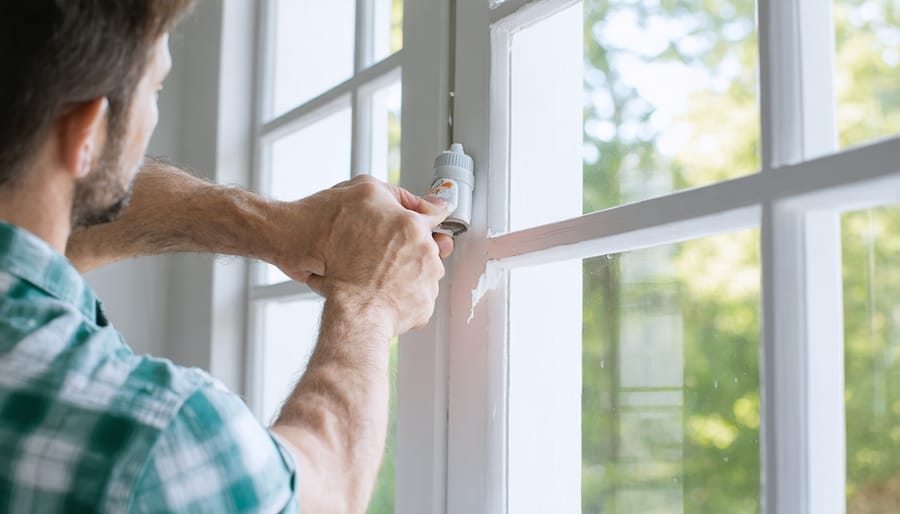
To properly caulk windows and doors in your shed, start by cleaning the surfaces around the gaps with a wire brush or putty knife to remove any old caulk, dirt, or debris. Next, cut the tip of the caulk tube at a 45-degree angle, creating an opening about 1/4 inch in diameter. Load the tube into the caulking gun and squeeze the trigger to puncture the seal inside the nozzle.
Position the angled tip of the tube at a 45-degree angle to the joint or gap you want to fill. Steadily apply pressure to the caulking gun’s trigger while moving along the gap, maintaining an even flow of caulk. Use your finger or a caulking tool to smooth the bead of caulk immediately after application, ensuring it adheres properly to both surfaces and creates a tight seal.
Allow the caulk to dry according to the manufacturer’s instructions, which typically takes 24-48 hours, before painting or exposing the sealed areas to moisture. Remember to caulk not only around windows and doors but also any other gaps or cracks in your shed’s structure to create a comprehensive weatherproof barrier.

Filling Foundation Cracks
To fill foundation cracks and gaps, use a high-quality, waterproof sealant specifically designed for concrete or masonry surfaces. Look for products that offer flexibility to accommodate slight movement and temperature changes without cracking. For larger gaps, consider using an expandable foam sealant that can fill the space and provide insulation. Before applying any sealant, clean the shed’s foundation thoroughly, removing any dirt, debris, or loose material. Follow the manufacturer’s instructions for application and drying times. Once the sealant has cured, inspect the foundation regularly and reapply as needed to maintain a weatherproof barrier.
Apply Waterproof Sealants
To provide an extra layer of protection against moisture, consider applying waterproof sealants to your shed’s exterior. These products create a barrier that repels water, preventing it from seeping into the wood or other materials. Look for sealants specifically designed for outdoor use on sheds, such as water-based or oil-based options. Before applying, ensure the shed’s surface is clean, dry, and free from dirt or debris. Use a brush, roller, or sprayer to apply an even coat of sealant, paying extra attention to corners, edges, and areas around windows or doors. Allow the first coat to dry completely before applying a second for optimal coverage. Keep in mind that sealants may need to be reapplied every few years to maintain their effectiveness. Some popular waterproofing products include Thompson’s WaterSeal, Rust-Oleum Coppercoat, and Flex Seal Liquid Rubber Sealant. These can be found at most hardware stores or online retailers. By taking the time to apply a quality waterproof sealant, you’ll be giving your shed an added boost of protection against the elements, helping to keep your belongings safe and dry for years to come.

Improve Ventilation
Installing Vents
Installing vents in your shed is essential for air circulation, preventing moisture buildup, and regulating temperature. Two common types of vents are ridge vents and gable vents. Ridge vents run along the peak of the roof, allowing hot air to escape, while gable vents are installed on the ends of the shed, promoting cross-ventilation. To install ridge vents, cut a slot along the ridge, secure the vent over the opening, and seal with roofing cement. For gable vents, cut holes in the gable ends, frame the openings, and attach the vents using screws or nails. Ensure the vents are properly screened to keep out insects and small animals. Soffit vents along the eaves can also be added for increased airflow. By installing vents, you’ll create a healthier environment for your stored items and prolong the life of your shed.
Using Dehumidifiers
Running a dehumidifier in your shed is an effective way to control moisture levels and prevent damage to your belongings. Excess humidity can lead to mold, mildew, and rust, but a dehumidifier works to remove moisture from the air. By maintaining a relative humidity level between 30-50%, you can protect tools, equipment, and stored items from moisture-related damage. Dehumidifiers come in various sizes, so choose one that’s appropriate for your shed’s square footage. Be sure to regularly empty the water collection tank and keep the unit clean for optimal performance. Investing in a dehumidifier can save you from costly repairs and replacements down the line.
Organize and Elevate Storage
To keep your shed’s contents safe and dry, it’s essential to organize your storage space effectively. Start by sorting through your items and grouping them by category, such as gardening tools, sports equipment, and seasonal decorations. Consider installing sturdy shelving units along the walls to maximize vertical space and keep items off the floor. This not only helps prevent moisture damage but also makes it easier to find what you need. For larger items like lawnmowers or bicycles, consider using heavy-duty hooks or racks to hang them securely.
If you’re storing items directly on the floor, place them on raised pallets or platforms to allow air circulation and protect against potential water intrusion. Invest in airtight plastic storage containers or weatherproof bins to safeguard smaller items from humidity and pests. Don’t forget to label your containers and shelves for quick and easy access. By implementing these organizing stored items strategies, you’ll not only protect your belongings from the elements but also create a clutter-free and efficient storage space that you can enjoy for years to come.

By taking the time to weatherproof your shed, you can enjoy the peace of mind that comes from knowing your valuable tools, equipment, and belongings are well-protected from the elements. Not only will weatherproofing help safeguard your possessions, but it will also extend the life of your shed, saving you money and hassle in the long run. So, don’t wait until it’s too late – take action today to ensure your shed remains a reliable and functional storage solution for years to come. Your future self will thank you for the effort you put in now!


Leave a Reply