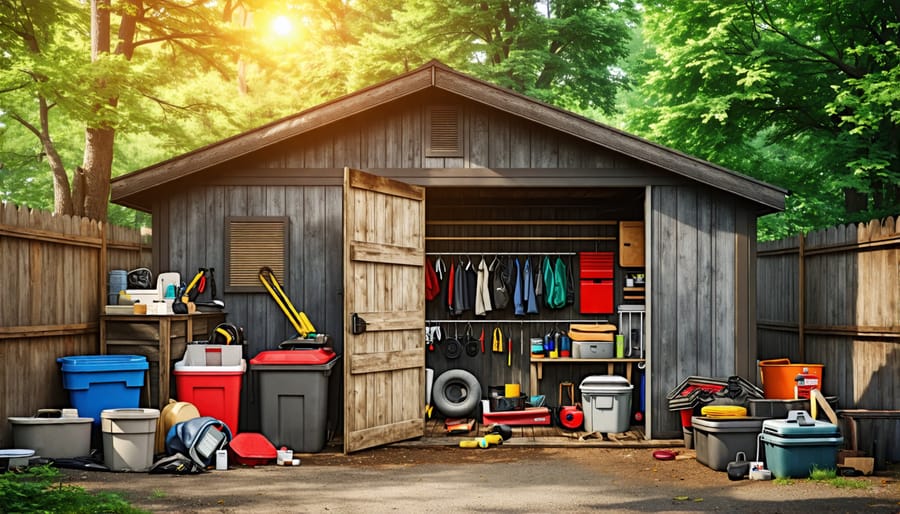
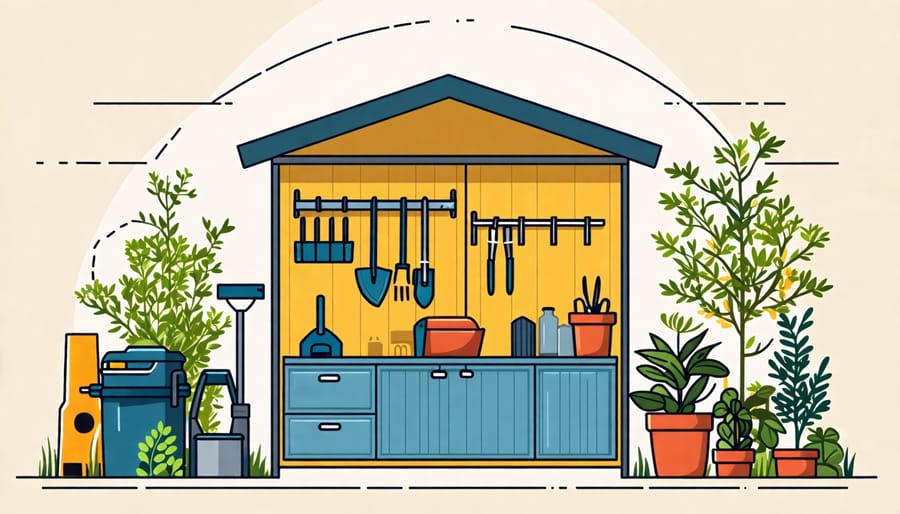
Transform your cluttered shed into an organized haven:
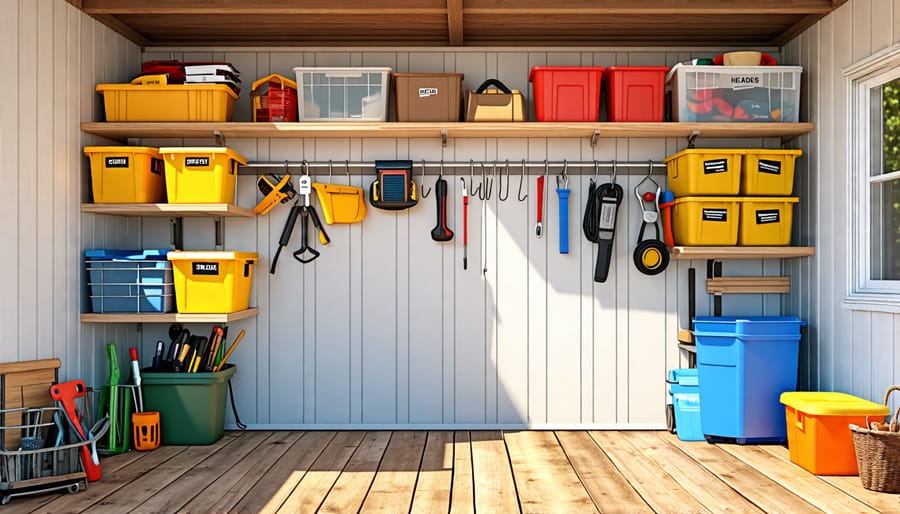
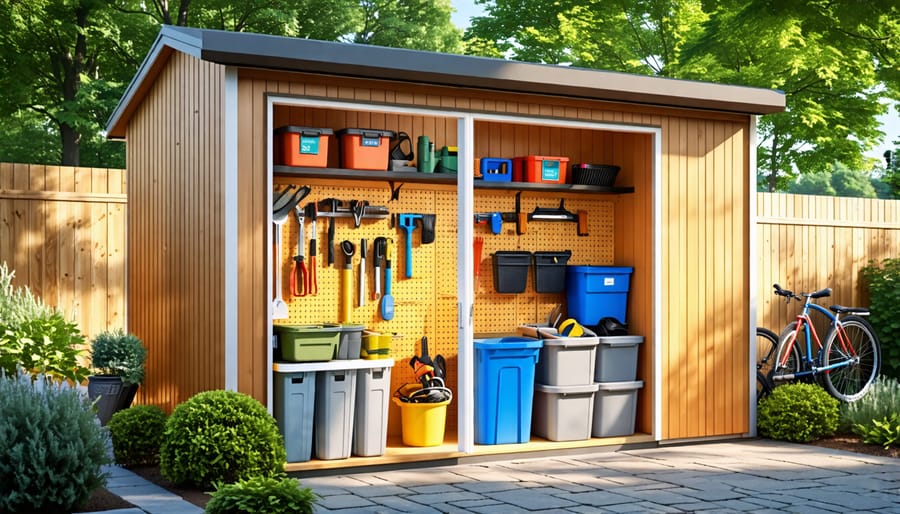
Declutter ruthlessly, sorting items into keep, donate, and discard piles. Install sturdy shelving units and pegboards to maximize vertical space. Use clear plastic bins with labels to store related items together for easy access. Optimize floor space with overhead storage racks for bulky or seasonal gear.

Step 1: Declutter and Sort
The first step to organizing your storage shed is to completely empty it out. This allows you to start with a clean slate and assess what you have. As you remove items, sort them into categories such as tools, gardening supplies, sports equipment, holiday decor, and so on. Create designated areas for each category to keep things organized.
Next, evaluate each item and decide what to keep, donate, sell, or toss. Be honest with yourself about what you truly need and use regularly. Items in good condition that you no longer need can be donated or sold, while broken or worn-out items should be disposed of properly.
Consider the frequency of use for each item. Store frequently used items in easily accessible spots, while seasonal or rarely used items can be placed in harder-to-reach areas. Grouping like items together will make it easier to find what you need when you need it.
As you sort through your belongings, keep an eye out for any items that need repair or maintenance. Set these aside to be addressed before returning them to the shed.
By decluttering and sorting your storage shed contents, you’ll have a better understanding of what you have and can create a functional organization system that suits your needs.
Step 2: Clean and Repair
Before organizing your storage shed, it’s essential to clean and repair any issues. Begin by removing all items from the shed and sweeping out dirt, leaves, and debris. Check the roof, walls, and floor for any leaks, cracks, or damage. Make necessary repairs, such as sealing leaks, patching holes, or replacing damaged boards. Consider applying weatherproofing hacks to protect your shed from the elements. Ensure the shed is well-ventilated to prevent moisture buildup and mold growth. If your shed has windows, clean them inside and out for better visibility. Finally, check that the door hinges and lock are functioning properly. By taking the time to clean and repair your shed, you’ll create a solid foundation for an organized and functional storage space.
Step 3: Plan Your Storage Zones

Common storage zones
When organizing your storage shed, consider creating designated zones for different categories of items. For example, dedicate one area for gardening supplies like pots, soil, and tools. Allocate another section for power tools, hand tools, and hardware. If you have seasonal decorations, assign them their own zone to keep them together and easily accessible. Sporting equipment and outdoor gear can also have a designated spot. By grouping like items into clear zones, you’ll be able to quickly find what you need and maintain an organized, clutter-free shed. Labeled shelves or color-coded bins within each zone can provide extra clarity and tidiness.
Customizing your zones
To customize your storage zones for maximum efficiency, consider your specific needs and the items you’ll be storing. Measure your available space and plan out zones accordingly, ensuring frequently used items are easy to access. Adjustable shelving allows flexibility to accommodate various shapes and sizes. Organize seasonal decor and clothing in clear, labeled bins for easy retrieval. Reserve floor space for bulky equipment like lawnmowers or bikes. Pegboards or wall-mounted organizers are perfect for tools and gardening supplies. By tailoring zones to your unique requirements, you’ll create a functional, clutter-free shed that simplifies your storage experience.
Step 4: Install Versatile Storage Solutions
Installing versatile storage solutions is key to maximizing the space and functionality of your storage shed. Start by adding sturdy shelving units along the walls to store items of various sizes. Choose shelves with adjustable heights to accommodate changing needs. Cabinets with doors are perfect for keeping items dust-free and out of sight, while open shelves provide easy access to frequently used tools and supplies. Pegboards and hooks are a game-changer when it comes to organizing smaller items like hand tools, gardening equipment, and sports gear. They allow you to hang items vertically, freeing up valuable floor space. Consider investing in a mix of metal and plastic hooks to suit different weights and sizes. By combining these shed storage solutions, you’ll create a well-organized and clutter-free environment that makes finding what you need a breeze. Don’t forget to label your storage containers and designate specific areas for each category of items to maintain order in the long run. With these smart storage solutions in place, your shed will become a functional extension of your home, ready to tackle any project that comes your way.
Step 5: Utilize Vertical Space
Making the most of vertical space is key to maximizing storage capacity in your shed. Utilize the walls by installing pegboards, hooks, and shelves to hang tools, garden equipment, and other items. This keeps them organized and easily accessible. Consider hanging bikes vertically to save floor space. Install a window to let in natural light, making it easier to find what you need. Use magnetic strips to store small metal items like drill bits and screws. Hang baskets or bags on the walls to store smaller items like gloves, twine, or seeds. By taking advantage of your shed’s wall space, you’ll create a more organized and efficient storage area that maximizes every inch of available space.
Step 6: Label Everything
Labeling is key to maintaining an organized storage shed. Invest in a label maker or use masking tape and a permanent marker to clearly label each container with its contents. Don’t forget to label shelves and zones too, such as “gardening supplies” or “holiday decor.” This makes it a breeze to find what you need without rummaging through every box. Color-coding labels by category can further simplify the process. Updating labels regularly as the contents of your shed evolve will ensure your system stays efficient and clutter-free. A little effort spent labeling now will save you time and frustration in the long run.
Step 7: Maintain Your Organization System
To keep your storage shed organized for the long haul, establish a regular clean-out and maintenance schedule. Set aside time every few months, or at least twice a year, to reassess your storage setup and make necessary adjustments. During these clean-outs, remove any items you no longer need or use, and donate, sell, or dispose of them accordingly. Take the opportunity to sweep out the shed, dust off shelves, and check for any signs of pest intrusion or damage. Rearrange items as needed to maintain a logical flow and easy access to frequently used items. Consider implementing a “one in, one out” policy to prevent clutter from accumulating over time. By dedicating regular attention to your storage shed organization system, you’ll ensure it remains functional, efficient, and clutter-free for years to come. Remember, a well-maintained and organized shed not only simplifies your life but also extends the life of your tools and equipment by protecting them from damage and disarray.

Organizing your storage shed may seem like a daunting task, but by following the steps outlined in this guide, you can transform your cluttered space into a functional and visually appealing area. Remember to start by decluttering and sorting your items, investing in the right storage solutions, and labeling everything for easy access. Regularly maintaining and cleaning your shed will ensure it stays organized for years to come. With a well-organized shed, you’ll save time, reduce stress, and have more space for the things you love. So, grab your gloves and get ready to tackle your shed organization project today! The satisfaction of a job well done and a clutter-free space awaits you.


Leave a Reply