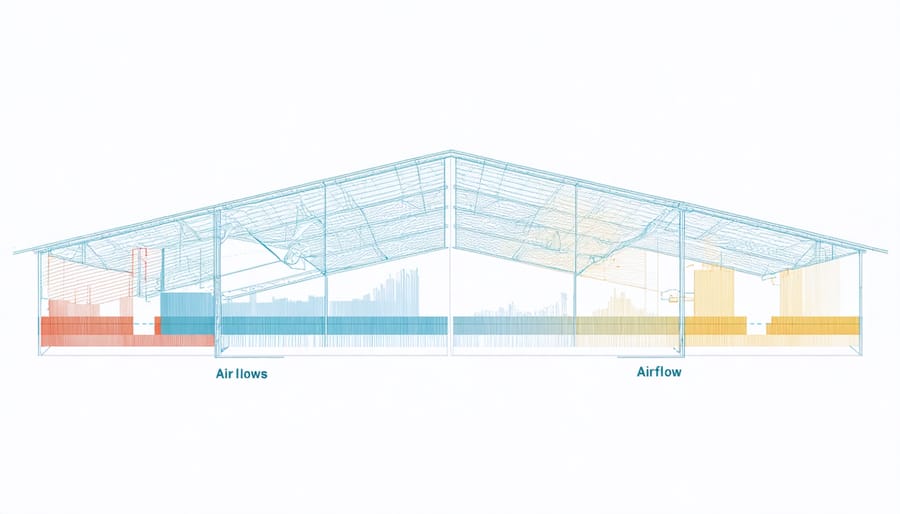
Install proper vents to promote air circulation and combat moisture buildup, helping to protect stored items. Place vents near the roof peak and down low to enable convection currents. Consider solar-powered or wind-driven turbine vents for continuous airflow without electricity. Ensure at least one square foot of vent opening per 150 square feet of floor area for optimal ventilation.
Assess Your Shed’s Ventilation Needs

Shed Size and Layout
The size and layout of your shed play a crucial role in determining its ventilation needs. A larger shed will require more ventilation to maintain healthy air circulation, while a smaller shed may get by with fewer vents. Consider the height of your shed too – hot air rises, so taller sheds may need additional vents near the roof to allow that air to escape. The placement of your vents is also important. Aim for cross-ventilation by positioning vents on opposite walls to encourage airflow throughout the space. If your shed has multiple rooms or levels, ensure each area has adequate ventilation. By taking your shed’s size and configuration into account, you can create an effective ventilation system that keeps your stored items in tip-top shape.
Local Climate Considerations
When designing your shed’s ventilation system, it’s crucial to consider your local climate conditions. In areas with high humidity, more ventilation may be needed to prevent moisture buildup and mold growth. Conversely, in drier regions, less ventilation could suffice. Temperature also plays a role – in hot climates, proper airflow helps regulate the shed’s internal temperature. Cold climates may require insulation alongside ventilation to maintain a stable environment. By adapting ventilation to your specific regional needs, you’ll create an optimal storage space that protects your belongings from the elements. Consult local resources or experts if you’re unsure about the best approach for your area.

7 Effective DIY Shed Ventilation Solutions
Rooftop Turbine Vents
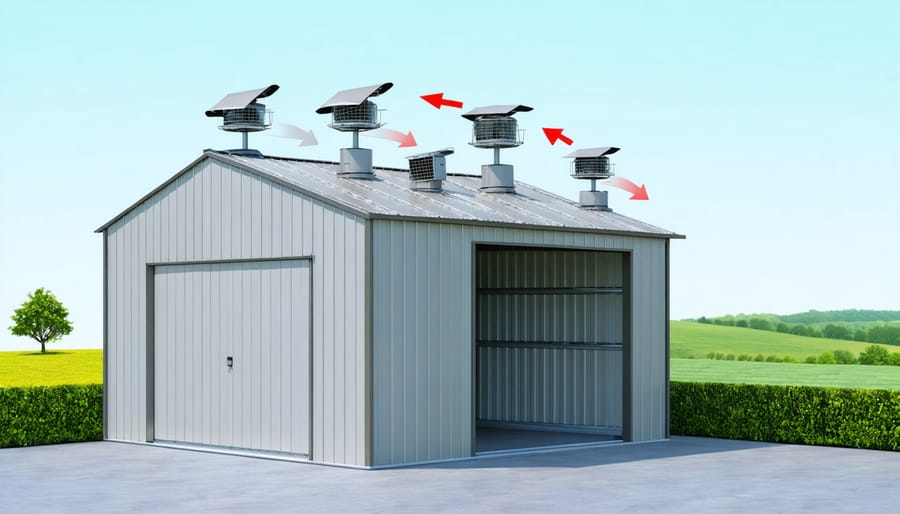
Installing rooftop turbine vents is an effective way to promote steady airflow in your shed. These vents, also known as whirlybirds, use wind power to draw hot, stale air out of the shed, creating a continuous circulation of fresh air. Turbine vents are relatively easy to install and require no electricity, making them a popular choice among DIY enthusiasts.
When selecting a turbine vent, consider factors such as the size of your shed, the number of vents needed, and the material (typically aluminum or galvanized steel). To install, first locate the ideal spot on your shed’s roof, ensuring it’s centered and away from any obstructions. Cut a hole in the roof slightly smaller than the vent’s base, then secure the vent using the provided screws and sealant to prevent leaks. As the wind blows, the turbine will spin, pulling hot air out and allowing cooler, fresh air to enter your shed, maintaining a healthy, moisture-free environment.
Gable Vents
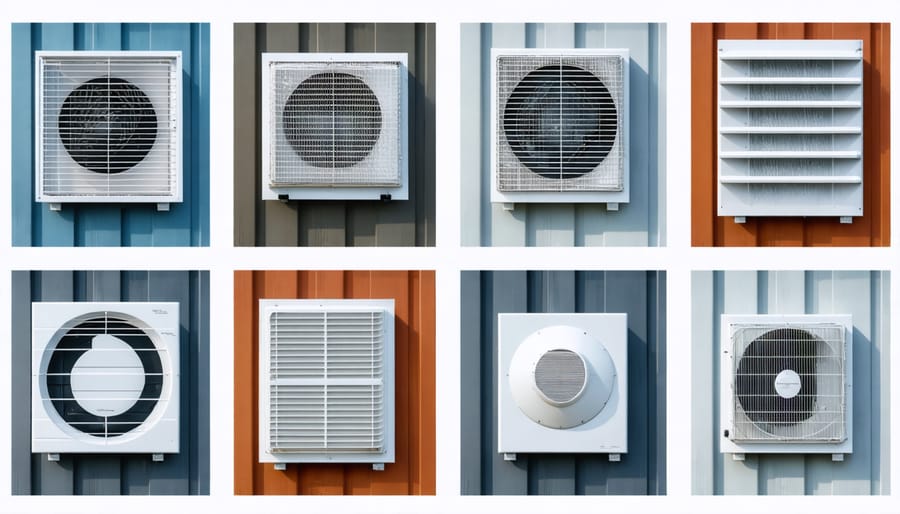
Gable vents are an effective way to promote cross ventilation in your shed. By installing vents at the top of the gable ends, you allow hot air to escape and fresh air to enter. This natural airflow helps regulate temperature and humidity levels inside the shed. When placing gable vents, consider the prevailing wind direction to maximize their efficiency. Aim for vents on opposite ends of the shed to create a continuous flow of air. You can choose from various materials such as wood, plastic, or metal, depending on your shed’s style and your personal preference. Gable vents come in different sizes and shapes, so make sure to select ones that are proportionate to your shed’s dimensions. With proper installation, gable vents can greatly improve the ventilation in your shed, keeping it dry, cool, and free from moisture-related issues.
Soffit Vents
Soffit vents, when used in combination with gable vents, can create a powerful ventilation system for your shed. By installing soffit vents along the underside of your shed’s roof overhang, you allow cool, fresh air to enter the space. As this air warms up, it naturally rises and escapes through the gable vents at the top of your shed’s walls. This continuous cycle of air movement helps regulate temperature and humidity levels, preventing the buildup of moisture that can lead to mold, mildew, and rot. When installing soffit vents, be sure to position them evenly along the length of your shed’s eaves for optimal airflow. Consider the size and number of vents needed based on your shed’s square footage to ensure adequate ventilation. With soffit and gable vents working together, you can create a simple yet effective solution for maintaining a dry, comfortable environment inside your shed.
Ridge Vents
Ridge vents are an effective way to promote even airflow throughout your shed when paired with soffit vents. This continuous ventilation system allows cool air to enter through the soffit vents, located under the eaves, while warm, humid air escapes through the ridge vent at the peak of the roof. As the air naturally rises, it creates a steady circulation pattern that helps regulate temperature and moisture levels inside the shed. Installing a ridge vent is a relatively simple DIY project that can significantly improve your shed’s ventilation. By allowing hot air to escape and fresh air to enter, you’ll create a more comfortable environment for storing tools, equipment, and other belongings. Plus, proper ventilation helps prevent issues like mold, mildew, and rust that can damage your shed’s contents over time. When considering a ridge vent for your shed, be sure to choose a high-quality product designed for your specific roofing material.
Sliding Windows or Doors
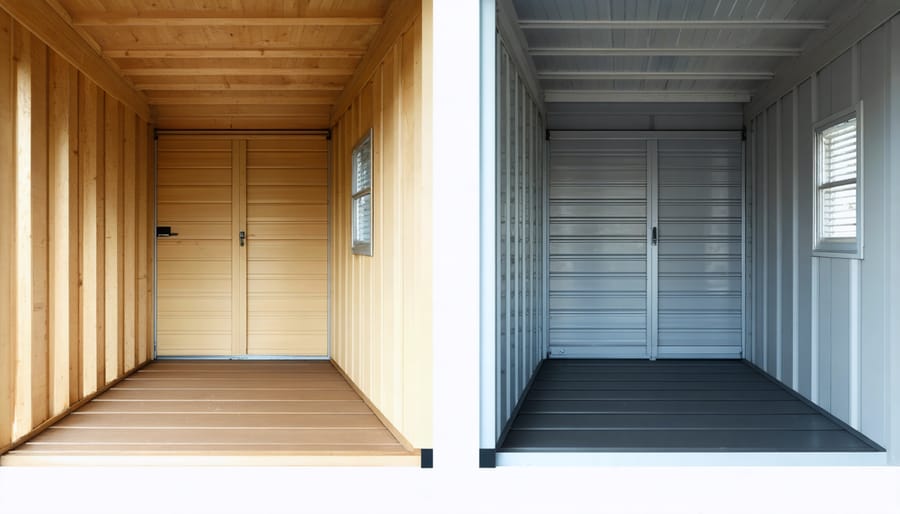
Installing sliding windows or doors in your shed is an excellent way to enhance ventilation control. These adjustable openings allow you to let in fresh air and sunlight when needed, while also providing the ability to close them for weather protection or security. Sliding windows are a popular choice as they don’t take up valuable interior space when open. When selecting your sliding panels, ensure they are appropriately sized for your shed wall and made of durable, weather-resistant materials. Proper installation is key to prevent leaks and ensure smooth operation. With sliding windows or doors, you’ll enjoy the flexibility to adjust your shed’s ventilation to suit the season and your storage needs.
Powered Ventilation Fans
For more powerful ventilation, consider installing electric exhaust fans. These are ideal when you need to quickly remove excess moisture or heat, such as after using power tools or on particularly humid days. Look for fans with adjustable speeds and a CFM (cubic feet per minute) rating appropriate for your shed’s size. Proper placement is key – mount the fan high on a wall or on the ceiling, venting outside and away from doors or windows. Pair the fan with an intake vent on the opposite side for optimal airflow. While running the fan, keep the shed door closed to prevent pulling in outside air. Set the fan on a timer to regularly air out the space without wasting energy. With a quality exhaust fan, you’ll enjoy a drier, more comfortable shed environment and added protection for your valuable tools and belongings.
Cupolas With Vents
Adding a cupola with vents to your shed’s roof is a great way to enhance both its appearance and functionality. These charming architectural features not only add a decorative touch to your shed’s exterior but also promote natural ventilation. The vents allow hot air to escape and fresh air to circulate, helping to regulate temperature and humidity levels inside the shed. When selecting a cupola with vents, consider the size of your shed and choose a proportionate option that complements its overall design. Installation typically involves cutting a hole in the roof and securing the cupola in place, so be sure to follow the manufacturer’s instructions carefully. With a vented cupola atop your shed, you’ll enjoy improved air quality and a delightful visual accent that showcases your personal style.

Additional Tips for Optimizing Shed Ventilation
Here are a few more tips to optimize airflow in your shed:
Consider installing a ceiling fan to circulate air and improve airflow, especially on hot summer days. Solar-powered fans are an energy-efficient option. Make sure to seal any gaps around windows and doors to prevent drafts and pests from sneaking in. Organize your shed contents to maximize open space and avoid blocking vents. Periodically clean vents and fan blades to remove dust and debris. With these extra touches, you’ll create an even more pleasant, dry shed environment to work or relax in.
Conclusion
Implementing proper ventilation in your shed is a smart investment that will pay off in the long run. By taking proactive steps to improve airflow and reduce moisture, you can protect your valuable tools and equipment, prevent mold and mildew growth, and create a more comfortable environment for working or relaxing. The DIY solutions outlined in this article are easy to execute and can be tailored to your specific shed’s needs. Whether you opt for simple vents, fans, or a combination of strategies, you’ll be well on your way to a healthier, more functional shed. So roll up your sleeves, grab your tools, and get started on improving your shed’s ventilation today!


Leave a Reply