Insulate your shed ceiling to reap the benefits of insulating and achieve optimal temperature control. Choose the right insulation material based on your climate, budget, and R-value requirements. Prepare the ceiling by sealing gaps, ensuring proper ventilation, and installing a vapor barrier if needed. Carefully install the insulation, ensuring full coverage without compression for maximum effectiveness.
Choose the Right Insulation Material
Fiberglass Batts
Fiberglass batts are a popular choice for insulating shed ceilings due to their affordability and ease of installation. These pre-cut panels of insulation fit snugly between the rafters, providing an effective barrier against heat transfer. The main advantage of fiberglass batts is their cost-effectiveness, making them an attractive option for budget-conscious homeowners.
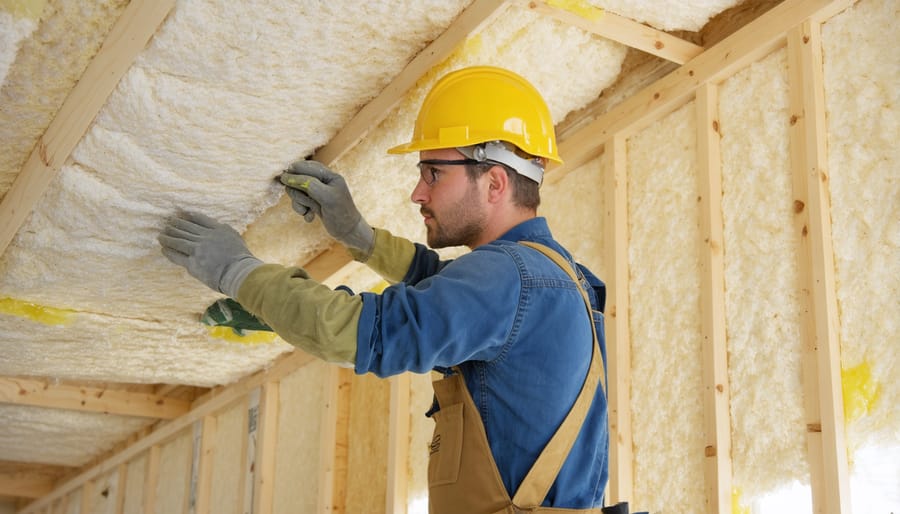
However, there are some drawbacks to consider. Fiberglass can be itchy and irritating to the skin and eyes, so proper protective gear is essential during installation. Additionally, fiberglass batts can lose their effectiveness if they become damp or compressed, so ensuring adequate ventilation and careful installation is crucial.
When installing fiberglass batts, it’s important to cut them to the right size and fit them securely between the rafters without leaving gaps. Vapor barriers should also be considered in high-humidity environments to prevent moisture buildup. Despite these considerations, fiberglass batts remain a tried-and-true solution for many DIY shed insulation projects.

Rigid Foam Boards
Rigid foam board insulation offers excellent thermal resistance and is easy to install on shed ceilings. These lightweight boards come in various thicknesses and can be cut to fit between rafters or joists. Rigid foam provides a high R-value per inch, making it an efficient choice for limited space. However, foam boards are more expensive than other options and may require a vapor barrier to prevent moisture buildup. Additionally, they must be covered with a fire-resistant material like drywall for safety. Despite these drawbacks, rigid foam boards are a popular choice for their effectiveness and ease of installation, especially in sheds with limited headroom. When selecting rigid foam insulation, consider factors such as R-value, thickness, and compatibility with your shed’s structure and ventilation needs. Proper installation and sealing of the boards are crucial for optimal performance and longevity.
Spray Foam Insulation
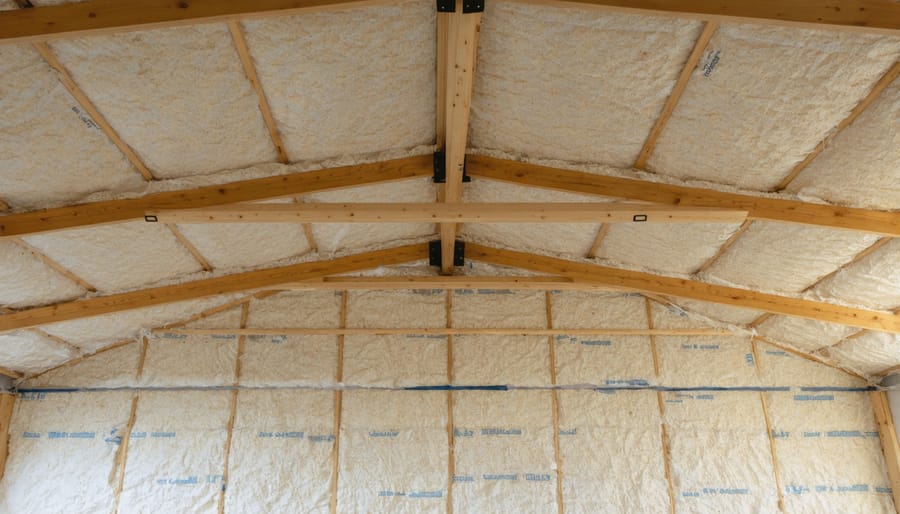
Spray foam insulation offers superior coverage and air sealing for shed ceilings. It expands to fill gaps and crevices, preventing drafts and moisture intrusion. Spray foam also has a high R-value per inch, providing excellent thermal performance in a thin layer. However, it is more expensive than other options and requires professional installation. Proper ventilation is crucial when using spray foam to prevent moisture buildup. While it offers unmatched insulation properties, the cost and complexity of installation may be drawbacks for some shed owners. Consider your budget, climate, and desired level of insulation when deciding if spray foam is right for your shed ceiling.
Prepare the Shed Ceiling
Before you start insulating your shed ceiling, it’s essential to prepare the surface properly. Begin by clearing out the shed and removing any stored items or obstacles that may hinder your work. Next, thoroughly clean the ceiling, removing any dust, dirt, or debris using a broom or vacuum cleaner. This step ensures that the insulation will adhere properly and last longer.
Inspect the ceiling for any cracks, holes, or gaps. These openings can allow air leakage and reduce the effectiveness of your insulation. Use a suitable sealant, such as caulk or expanding foam, to fill in these gaps and create an airtight seal. Pay special attention to the areas where the walls meet the ceiling and around any electrical outlets or light fixtures.
If your shed is prone to moisture or condensation, consider installing a vapor barrier before adding insulation. A vapor barrier is a thin layer of material, typically plastic sheeting, that prevents moisture from passing through the insulation and causing damage. To install the vapor barrier, simply staple or tape it to the underside of the ceiling joists, ensuring that it is taut and free of wrinkles or gaps.
Once you have sealed any gaps and installed a vapor barrier (if necessary), your shed ceiling is ready for insulation. By taking the time to properly prepare the surface, you’ll ensure that your insulation is effective, durable, and able to provide the desired benefits for years to come.

Install the Insulation
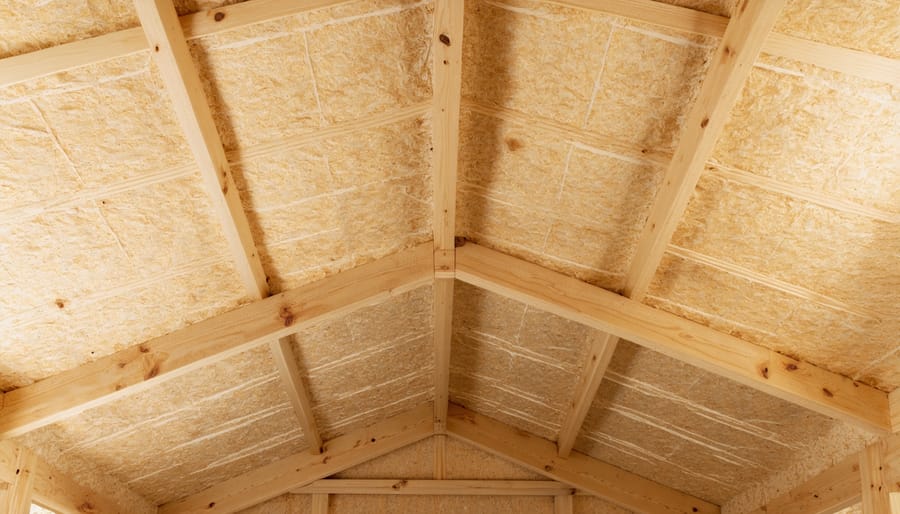
Installing the insulation in your shed ceiling is a crucial step in ensuring optimal comfort and protection for your stored items. Begin by measuring the distance between the rafters and cutting the insulation material to fit snugly within these spaces. For fiberglass batts, use a utility knife to make clean, precise cuts. If you’re working with rigid foam boards, a saw or specialized cutter will be necessary.
When placing the insulation, start at one end of the shed and work your way across, ensuring that each piece fits tightly against the adjacent one. Avoid leaving gaps or compressing the material, as this can reduce its effectiveness. For fiberglass batts, the paper or foil backing should face downward, toward the shed’s interior.
If you encounter any obstacles, such as electrical wiring or support beams, carefully cut the insulation to fit around them without leaving gaps. Use small pieces of insulation to fill in any remaining spaces. For a more finished look and to prevent the insulation from sagging over time, consider installing a wire mesh or netting across the rafters before placing the insulation.
When working with fiberglass insulation, always wear protective gear, including gloves, a long-sleeved shirt, and a face mask to avoid skin and respiratory irritation. Take breaks as needed and ensure proper ventilation in the workspace.
If you opt for blown-in insulation, follow the manufacturer’s instructions for the recommended depth and density. Rent the appropriate equipment and take the time to familiarize yourself with its operation before beginning the project.
Once the insulation is in place, it’s essential to maintain proper ventilation in the shed. Install vents at the top of the walls or in the gable ends to allow air to circulate and prevent moisture buildup. This will help protect your insulation and the shed’s structural integrity in the long run.
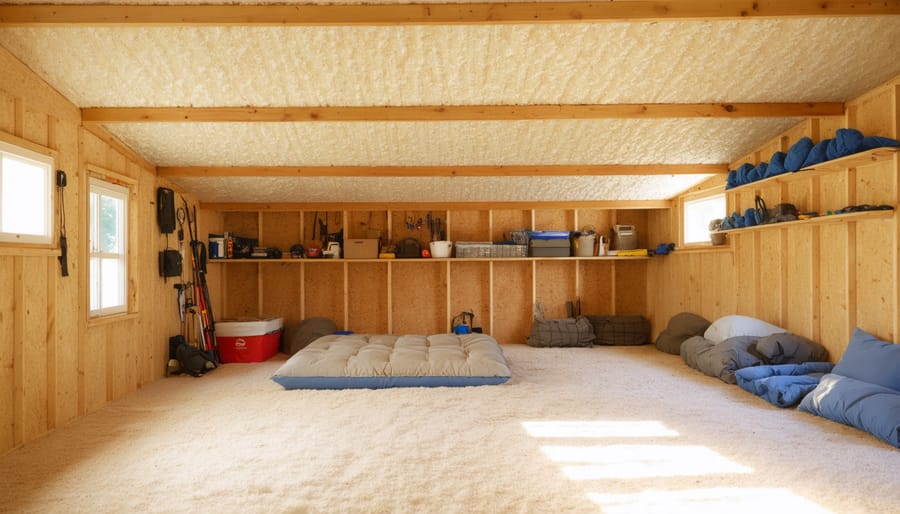
By following these guidelines and taking the necessary precautions, you can effectively install insulation in your shed ceiling, creating a more comfortable and secure storage environment for your belongings.
Seal and Finish the Insulation
When sealing and finishing the insulation in your shed ceiling, it’s essential to prevent air leaks and moisture intrusion, which can compromise the effectiveness of your insulation. Start by using a utility knife to trim any excess insulation material, ensuring a flush fit against the rafters. Next, apply a bead of acrylic latex caulk along the edges where the insulation meets the rafters, creating an airtight seal. For added protection against moisture, consider installing a vapor barrier, such as polyethylene sheeting, over the insulation. Secure the vapor barrier to the rafters using a staple gun, overlapping the edges by at least 6 inches and sealing the seams with tape.
Once the insulation is sealed, you can cover it with a material of your choice, such as drywall or plywood. Drywall provides a smooth, finished look and can be painted to match your shed’s interior. To install drywall, measure and cut the panels to fit between the rafters, then secure them using drywall screws. Tape and mud the seams, sand smooth, and apply a coat of primer and paint. Alternatively, plywood offers a more rustic appearance and can be installed using a similar method. Choose a thickness that complements your insulation’s R-value and attach the plywood panels to the rafters using wood screws. Fill any gaps or screw holes with wood filler, sand smooth, and apply a coat of paint or stain if desired. Regardless of your chosen material, ensure proper ventilation by leaving a gap between the insulation and the roofing material, allowing air to circulate and prevent moisture buildup. By sealing and finishing your shed ceiling insulation properly, you’ll create a comfortable, energy-efficient space that will protect your stored items for years to come.
Ventilation Considerations
Proper ventilation is crucial when insulating a shed ceiling to prevent moisture buildup and maintain a healthy indoor environment. Without adequate airflow, condensation can accumulate, leading to mold, mildew, and structural damage. To ensure your insulated shed remains well-ventilated, consider installing vents or fans. Soffit vents along the eaves and a ridge vent at the peak of the roof allow for natural air circulation. If your shed lacks these features, you can install gable vents on opposite walls or a turbine vent on the roof. For additional airflow, consider adding a small electric fan. Proper ventilation helps regulate temperature, reduces humidity, and prolongs the life of your insulation and stored items. When planning your insulation project, factor in ventilation requirements to create a comfortable, moisture-free environment within your shed. By taking these steps, you’ll protect your investment and ensure your shed remains a functional, well-maintained space for years to come.

Conclusion
In conclusion, insulating your shed ceiling is a worthwhile investment that offers numerous benefits. By choosing the right insulation material, properly preparing the space, and following the installation steps outlined in this guide, you can create a more comfortable and energy-efficient shed environment. Remember to consider factors like ventilation and moisture control to ensure the longevity of your insulation and the overall health of your shed. With a well-insulated ceiling, you’ll enjoy improved temperature regulation, reduced energy costs, and better protection for your stored items. Don’t hesitate to take on this DIY project and experience the advantages of a properly insulated shed ceiling firsthand. For more information and tips on shed maintenance and optimization, be sure to explore our other helpful resources, such as understanding what to put around the bottom of your shed to keep water out.


Leave a Reply