


Protect your shed’s structural integrity and stored belongings by installing proper ventilation beneath the floor. A well-ventilated shed foundation prevents moisture accumulation, rot, and mold growth that can devastate both the building and its contents. Proper shed ventilation starts from the ground up, with strategic airflow management under the floor playing a crucial role in maintaining a dry, healthy storage environment.
Install foundation vents every 8-10 feet along the shed’s perimeter, ensuring cross-ventilation that eliminates trapped moisture. Elevate the shed floor at least 6 inches above ground level using concrete blocks or pressure-treated lumber to create essential air circulation space. Add a moisture barrier between the soil and floor structure, using 6-mil polyethylene sheeting to block ground moisture from rising into the shed’s subfloor system. These foundational steps create a protective barrier against dampness while maximizing your shed’s longevity and usefulness.
Signs Your Shed Floor Needs Better Ventilation
Moisture Damage Warning Signs
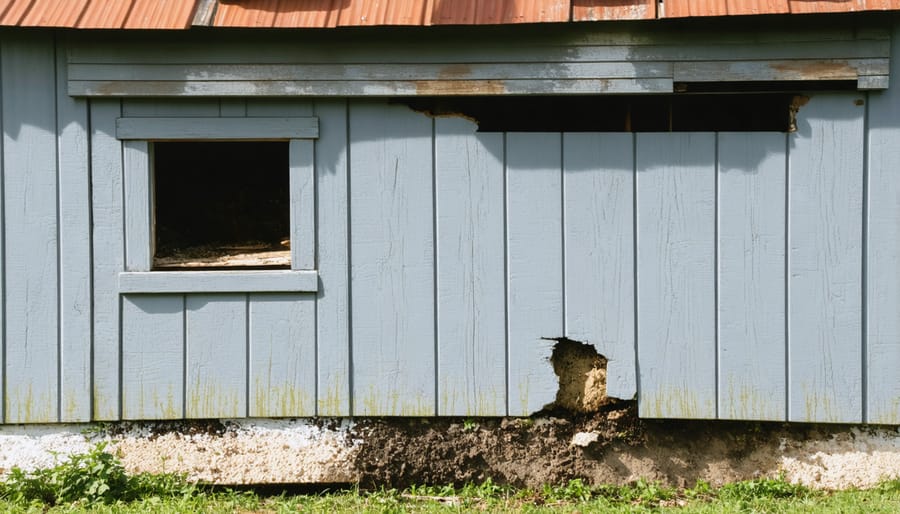
Protecting your shed from moisture damage starts with recognizing early warning signs. The most common indicator is a musty, damp odor that lingers even on dry days. This smell often accompanies visible mold or mildew growth, which typically appears as dark spots on wooden surfaces or floor joists. Keep an eye out for warped or soft floorboards, as these are clear signs that moisture is compromising your shed’s structural integrity. Discolored wood, especially with a greenish or blackish tint, indicates advanced moisture problems that require immediate attention. For comprehensive weather-resistant shed protection, inspect the floor’s perimeter regularly for signs of rot or decay. Watch for condensation on windows or metal surfaces, particularly during temperature changes, as this suggests poor ventilation. If you notice any of these signs, addressing the underlying ventilation issues promptly can prevent costly repairs and protect your stored items from damage.
Structural Issues to Watch For
Regular inspection of your shed floor can help you spot structural issues before they become major problems. Watch for signs of warping, which often appears as uneven or buckled floorboards that can make doors stick or create trip hazards. Sagging floors typically indicate weakened support beams or inadequate foundation, especially noticeable in the middle of the shed where weight tends to concentrate.
Pay close attention to floor joists and support posts for signs of rot, particularly where they contact the ground or in corners where moisture can accumulate. Dark spots, soft wood, or visible fungal growth are red flags that require immediate attention. The presence of small holes or sawdust might indicate pest infestation, which can compromise floor integrity.
Check the levelness of your shed floor regularly using a basic bubble level. Any significant changes in floor angle could suggest foundation settling or deteriorating supports beneath the structure.
Essential Ventilation Solutions
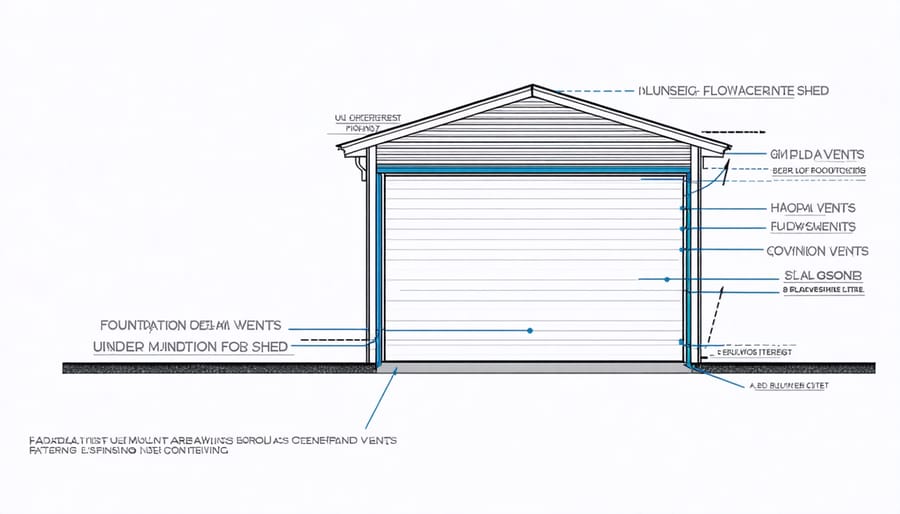
Foundation Vents and Their Placement
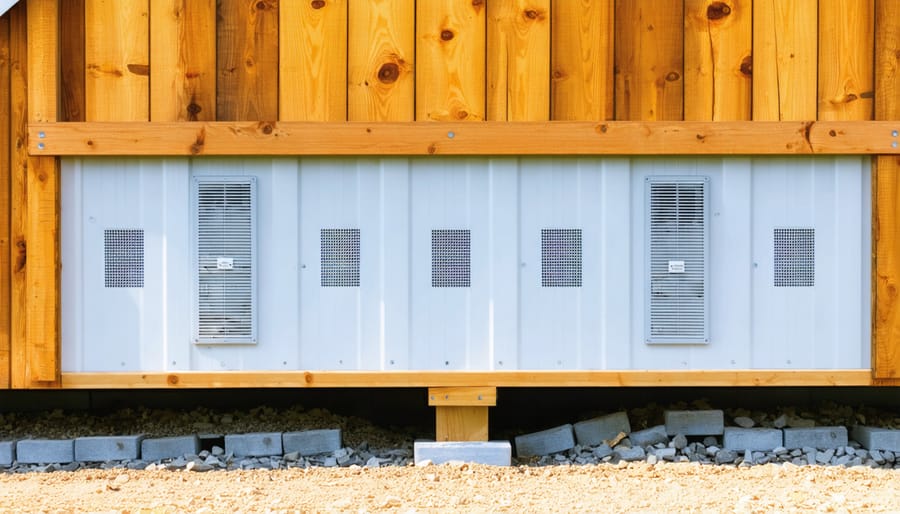
Foundation vents come in various styles, with the most popular being rectangular metal or plastic grilles designed specifically for crawl space ventilation. These vents typically feature a screen mesh to keep out critters while allowing proper airflow. For a standard shed, automatic foundation vents are particularly effective as they open and close based on temperature changes, helping regulate moisture levels year-round.
The key to effective ventilation lies in proper vent placement. As a general rule, install vents on opposite sides of your shed to create cross-ventilation. For optimal airflow, place vents within 3 feet of each corner and space additional vents every 8-10 feet along the foundation walls. A good calculation to remember is one square foot of vent space for every 150 square feet of floor area.
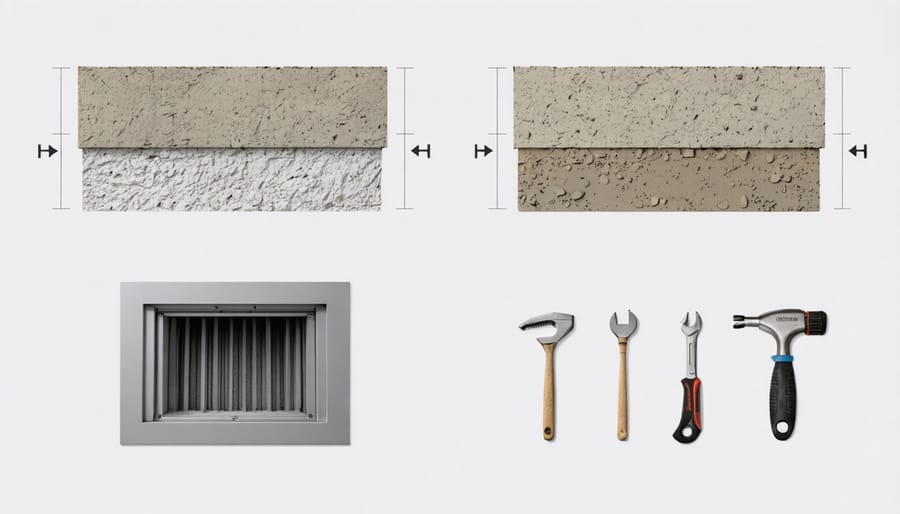
When installing vents, position them no more than 3 inches below the floor joists and at least 3 inches above the ground level. This placement ensures good air circulation while preventing moisture from splashing into the vents during rain. For areas with high humidity, consider installing slightly more vents than the minimum requirement.
Make sure the vents remain unobstructed by vegetation, stored items, or debris. Installing vent wells around the openings can help prevent soil and mulch from blocking the airflow, especially in cases where the ground level is close to the vent opening.
Creating Proper Air Flow Channels
Creating effective air flow channels under your shed floor is essential for preventing moisture buildup and extending the life of your structure. Start by ensuring there’s a minimum of 6 inches of clearance between the ground and the bottom of your shed floor joists. This space allows air to move freely underneath the entire structure.
Position your ventilation openings strategically by installing them on opposite sides of the shed. This cross-ventilation setup creates a natural flow of air that helps keep the underside of your floor dry. For optimal results, add vent openings every 8-10 feet along the foundation walls or skirting.
Many successful shed owners use a combination of soffit vents and foundation vents. The foundation vents should be installed just above ground level, while soffit vents can be placed higher up to create a chimney effect. This arrangement encourages warm, moist air to rise and exit through the upper vents while drawing in fresh air through the lower ones.
Remember to keep the area around your vents clear of debris, vegetation, and stored items. Even the best-designed ventilation system won’t work effectively if air can’t flow freely through the openings. Consider installing mesh screens over your vents to prevent insects and small animals from entering while maintaining proper airflow.
Moisture Barriers and Ground Protection
Beyond proper ventilation, implementing effective moisture barriers and ground protection is crucial to keep water out of your shed. Start by laying a heavy-duty vapor barrier directly on the ground beneath your shed. A 6-mil polyethylene sheet works wonderfully for this purpose, creating a reliable barrier between the damp earth and your shed floor.
For added protection, consider spreading a 2-3 inch layer of gravel or crushed stone beneath the vapor barrier. This creates a natural drainage system that helps direct water away from your shed’s foundation. Choose angular gravel over round stones, as it locks together better and provides superior stability.
Don’t forget to extend both the vapor barrier and gravel layer about 12 inches beyond your shed’s perimeter. This extra coverage helps manage water runoff during heavy rains and prevents splash-back from affecting your shed’s foundation.
For areas with particularly challenging moisture conditions, consider installing a French drain system around your shed. This simple but effective solution channels ground water away from your structure, working in harmony with your ventilation system to maintain a dry, healthy environment for your stored items.
Remember to inspect these moisture barriers annually, especially after severe weather events, to ensure they continue performing effectively.
DIY Installation Tips
Tools and Materials Needed
To properly ventilate your shed floor, you’ll need these essential tools and materials:
Basic Tools:
– Drill with various drill bits
– Circular saw or reciprocating saw
– Measuring tape
– Pencil and marking tools
– Level
– Safety glasses and work gloves
– Dust mask
Ventilation Materials:
– Foundation vents (4-6 depending on shed size)
– Vent covers or screens to prevent pest entry
– Hardware cloth (¼-inch mesh)
– Galvanized screws
– Weather stripping or caulk
Optional but Recommended:
– Moisture meter to check wood dampness
– Hammer and pry bar for existing structures
– Gravel for improved drainage (½-inch clean stone)
– Landscape fabric for weed prevention
– PVC pipe for additional air channels
– Metal flashing for moisture barrier
Having these items ready before starting will ensure a smooth installation process. Consider renting larger tools if you don’t own them, as this is typically a one-time project. Remember to check all materials are suitable for outdoor use and resistant to moisture.
Installation Steps
Installing proper ventilation under your shed floor is a straightforward process that you can complete in a single weekend. Start by clearing the area beneath your shed, ensuring you have good access to work. First, roll out a heavy-duty vapor barrier across the entire ground surface, extending it about 6 inches beyond your shed’s perimeter. Overlap any seams by at least 12 inches and secure the edges with landscaping stakes.
Next, install foundation vents at regular intervals around your shed’s foundation or skirting. For optimal airflow, place vents on opposite sides of the shed, typically every 8-10 feet. Mark your vent locations and cut precise openings using a reciprocating saw or jigsaw. Insert the vents and secure them with weatherproof screws, ensuring they’re level and properly sealed.
For enhanced ventilation, consider installing a combination of low and high vents. Low vents should be placed near ground level, while high vents can be positioned just under the floor joists. This creates a natural chimney effect, promoting better air circulation.
Add vent covers with mesh screens to prevent rodents and debris from entering while maintaining airflow. For areas with severe weather, install automatic foundation vents that close during extreme conditions. Finally, check that all vents are properly sealed around the edges with weatherproof caulking to prevent moisture intrusion.
Remember to inspect your ventilation system seasonally, clearing any debris and ensuring all vents remain unobstructed. This maintenance routine will help maximize the effectiveness of your shed’s underfloor ventilation system.
Proper ventilation under your shed floor is a crucial investment in the longevity of your storage structure. By implementing the ventilation strategies we’ve discussed, you’ll protect your shed and its contents from moisture damage, mold growth, and structural deterioration. Remember that good airflow isn’t just about installing vents – it’s about creating a complete system that works year-round to keep your shed dry and healthy. Taking the time to install proper ventilation now will save you significant repair costs down the line and ensure your stored items remain in pristine condition. Whether you choose crawl space vents, vapor barriers, or a combination of solutions, the key is consistent maintenance and monitoring of your ventilation system. Your future self will thank you for making this smart investment in your shed’s foundation.
Leave a Reply