


Transform your backyard into a stunning outdoor kitchen for a fraction of the traditional cost. Building an affordable outdoor cooking space doesn’t mean sacrificing style or functionality – smart planning and strategic material choices can create a professional-looking entertainment area that enhances your home’s value while keeping your budget intact. From repurposed materials to modular components, modern homeowners have countless options to craft the perfect outdoor kitchen without breaking the bank. Whether you’re dreaming of weekend barbecues or planning elaborate outdoor dinner parties, this guide will show you how to maximize your investment and create a beautiful, functional cooking space that fits your lifestyle and your wallet.
The key lies in understanding which elements truly matter for your cooking needs and where you can make smart compromises. Strategic choices like opting for prefabricated components, selecting durable yet affordable materials, and incorporating clever DIY solutions can reduce costs by 50-70% compared to high-end outdoor kitchen builds. With careful planning and the right approach, your dream outdoor kitchen is more accessible than you might think.
Smart Planning for Your Outdoor Kitchen Space
Choosing the Perfect Location
Selecting the right location for your outdoor kitchen is crucial for both functionality and cost-effectiveness. Start by choosing a spot close to your home’s existing utilities, particularly water and electrical lines, to minimize installation expenses. Consider positioning near your back door for convenient access to indoor amenities and to reduce the need for additional storage solutions.
Weather protection plays a vital role in preserving your investment. Look for areas that offer natural shelter from wind and direct sunlight, such as beneath existing overhangs or near protective structures. If you’re planning to build on your deck or patio, ensure it can support the additional weight and explore budget-friendly flooring options if needed.
Take advantage of existing features like walls or fences that can serve as natural boundaries and mounting points for cabinets or utilities. This approach not only saves money but also creates a more integrated look with your home’s exterior. Remember to check local building codes and HOA regulations before finalizing your location to avoid costly modifications later.
Essential vs. Nice-to-Have Features
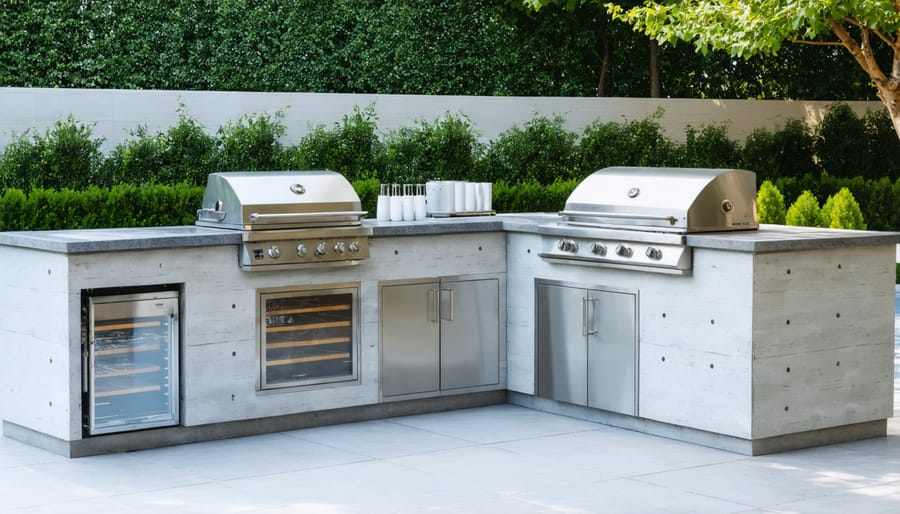
When planning your budget-friendly outdoor kitchen, start with the essentials: a reliable grill or cooking surface, adequate counter space for food prep, and basic storage for utensils and cooking tools. A durable, weather-resistant countertop and a sturdy base structure are non-negotiable elements that ensure longevity and functionality.
Nice-to-have features can be added gradually as your budget allows. These include a small refrigerator, a sink with running water, additional lighting, or a pizza oven. While appealing, specialized cooking equipment like smokers or side burners aren’t crucial for a functional outdoor kitchen. Built-in storage cabinets, while convenient, can be substituted initially with mobile storage solutions.
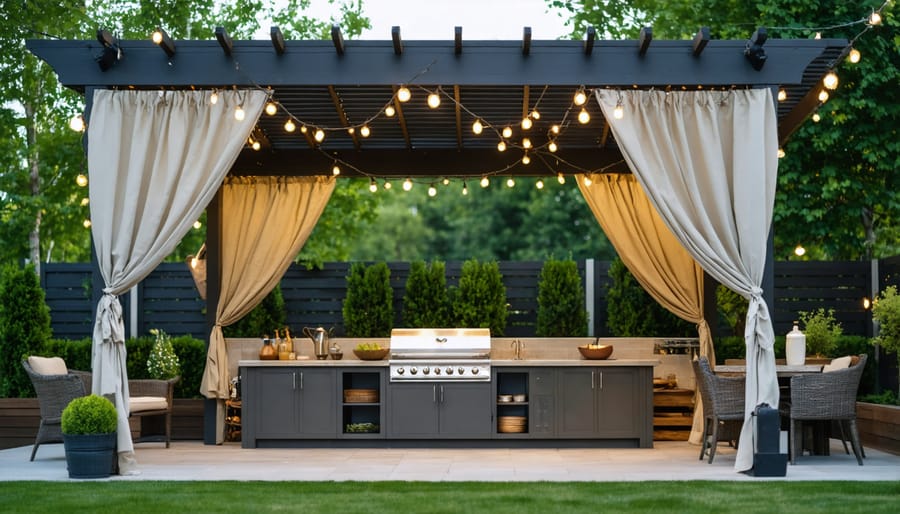
Consider weather protection elements like pergolas or awnings as secondary additions. Entertainment features such as outdoor speakers or a mounted TV, while enhancing the space, shouldn’t take priority over core cooking functionality. Remember, you can always upgrade your outdoor kitchen over time, so focus first on creating a solid foundation with essential elements.
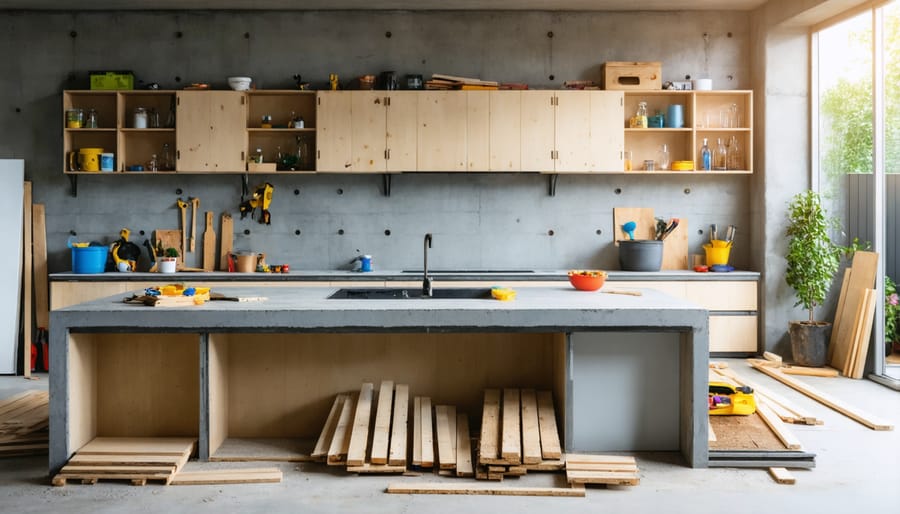
Budget-Friendly Building Materials
Countertop Alternatives
When it comes to affordable countertop options, you don’t have to compromise on style or durability. Concrete countertops offer an excellent budget-friendly solution, costing around $10-15 per square foot when poured yourself. With proper sealing, they withstand outdoor elements beautifully and can be customized with colors and patterns.
Ceramic tile is another cost-effective choice, typically running $5-10 per square foot. Choose frost-resistant outdoor tiles and use weatherproof grout for longevity. The variety of colors and patterns available makes it easy to create a unique look while staying within budget.
For the environmentally conscious, consider recycled materials like salvaged granite or repurposed wood sealed for outdoor use. Check local stone yards for remnants or discontinued pieces, which often sell at significant discounts. Some homeowners have successfully transformed old wooden doors or reclaimed bowling alley lanes into stunning countertops with proper treatment and sealing.
Don’t overlook composite materials made from recycled plastic and wood fibers. These low-maintenance options resist weather damage and typically cost less than natural stone while providing a similar appearance.
Storage Solutions
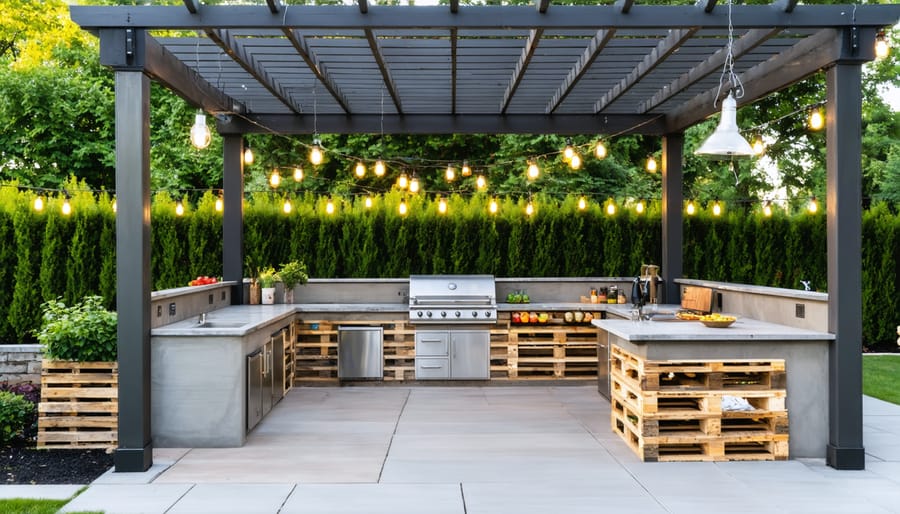
Storage doesn’t have to break the bank in your outdoor kitchen. Consider repurposing wooden pallets into wall-mounted shelving units for spices and cooking tools, or transform old metal filing cabinets into weather-resistant storage spaces. One of the most popular clever storage solutions is using plastic storage bins inside repurposed cabinets to protect items from moisture and pests.
For a more polished look without the high cost, check out unfinished kitchen cabinets from home improvement stores. These can be sealed for outdoor use and painted to match your style. Rolling carts from second-hand stores make excellent mobile storage units – perfect for storing grilling accessories and serving as extra counter space when needed.
Don’t overlook vertical space! Install pegboards on walls for hanging utensils and tools, or mount magnetic strips for keeping metal implements within easy reach. Repurposed mason jars can be attached under cabinets or shelves to store smaller items like herbs and spices, while old wooden crates can be stained and mounted as decorative yet functional storage boxes.
DIY Equipment Integration
Grill Station Setup
The heart of any outdoor kitchen is the grill station, and creating one doesn’t have to break the bank. Start by choosing a sturdy, level location at least 10 feet away from your home’s exterior walls. For budget-conscious homeowners, a simple concrete pad or level paver base provides excellent stability for your grill.
Consider purchasing a quality mid-range grill that balances cost with features – look for sales at the end of summer when prices often drop significantly. To create a proper workspace, add heat-resistant countertops on either side using affordable materials like concrete blocks topped with tile or sealed concrete. This gives you valuable prep space without excessive costs.
Safety is paramount, so install a simple metal backsplash behind the grill area to protect nearby surfaces. For ventilation, position your grill station where natural airflow can help disperse smoke and heat. If you’re working with a covered area, consider adding an affordable range hood or installing a basic exhaust fan.
Remember to include proper lighting for evening cooking – solar-powered lights offer an energy-efficient solution that requires no electrical work.
Prep and Serving Areas
Creating functional prep and serving areas doesn’t require expensive built-ins or custom countertops. Start with a sturdy folding table as your main prep station – these are affordable and can be easily stored when not in use. Add a weather-resistant tablecloth for style and protection. For additional counter space, consider repurposing wooden pallets or cinder blocks topped with sealed wooden boards.
Make the most of vertical space by installing simple floating shelves on your exterior wall. These provide convenient storage for plates, utensils, and serving pieces while keeping them within arm’s reach. A rolling cart from a discount store can serve as both prep space and storage, offering mobility when needed.
For serving areas, create a buffet station using weatherproof storage containers turned upside down as risers, topped with simple wooden boards. This creates different height levels for an attractive food display. Add mason jars for utensil storage and use galvanized metal trays for serving – they’re durable and affordable.
Consider adding a drop-leaf table attached to your exterior wall – it provides extra prep space when needed but folds away when not in use, perfect for smaller spaces.
Weather Protection and Maintenance
Affordable Coverage Options
Protecting your outdoor kitchen doesn’t have to break the bank. Start with a simple pergola structure using pressure-treated lumber, which offers basic coverage at a fraction of the cost of permanent roofing. Add weather-resistant fabric panels or retractable shade sails for flexible, affordable protection against sun and light rain. Consider installing corrugated polycarbonate panels overhead – they’re lightweight, durable, and cost-effective while allowing natural light through. For evening cooking sessions, incorporate affordable outdoor lighting to extend usability. DIY roll-down bamboo blinds or weather-resistant curtains can provide side protection from wind and rain when needed. For countertop areas, invest in good-quality covers that protect your cooking surfaces and appliances during harsh weather. Remember to create slight slopes in any overhead coverage to prevent water pooling and ensure proper drainage away from your cooking area.
Long-term Care Tips
To maximize the lifespan of your budget-friendly outdoor kitchen, establish a regular maintenance routine. After each use, wipe down countertops and cooking surfaces with appropriate cleaners to prevent grease buildup and staining. During the off-season, protect your appliances and workspace with weather-resistant covers, particularly if you’ve used cost-effective materials like wooden components or basic metal fixtures.
Inspect your outdoor kitchen quarterly for signs of wear, paying special attention to caulking around countertops and any wooden elements. Touch up sealants annually to prevent water damage, and tighten any loose hardware promptly. For concrete countertops, reapply sealer every two years to maintain their protective barrier.
Keep gutters and drainage clear to prevent water from pooling near your outdoor kitchen area. In winter months, ensure proper winterization of water lines and appliances. By following these maintenance practices, your budget-conscious outdoor kitchen can provide years of enjoyment and maintain its appearance despite its economical construction.
Creating an outdoor kitchen on a budget doesn’t mean compromising on functionality or style. By focusing on essential elements, choosing cost-effective materials, and incorporating smart DIY solutions, you can build an outdoor cooking space that serves your needs while maintaining your financial goals. Remember to start with a solid plan, prioritize your must-have features, and be strategic about where to save and where to spend.
Take advantage of affordable materials like concrete blocks, recycled materials, and pre-fabricated components to keep costs down. Don’t forget to check for seasonal sales and consider second-hand appliances in good condition. Your outdoor kitchen can start simple and evolve over time as your budget allows.
Most importantly, focus on creating a space that works for your lifestyle and entertaining needs. Whether you choose a basic grill station or incorporate additional features like a prep area and storage, your outdoor kitchen should reflect your cooking style and entertainment preferences. With careful planning and smart choices, you can create an inviting outdoor cooking space that adds value to your home without breaking the bank. Start your project today and enjoy the rewards of outdoor living at its finest.
Leave a Reply