


Transform your outdoor space while protecting your budget with a clear understanding of lighting installation costs, ranging from $2,000 to $5,000 for a typical residential project. Professional installation of landscape lights involves more than just fixtures – it’s an investment in your home’s safety, curb appeal, and evening functionality. Whether illuminating pathways, highlighting architectural features, or creating ambient garden spaces, the total cost depends on factors like fixture quality, labor complexity, and electrical requirements. Smart planning can significantly reduce expenses without compromising on the dramatic impact of well-designed outdoor lighting. From energy-efficient LED options to strategic placement decisions, understanding these cost factors empowers homeowners to make informed choices that balance aesthetic goals with financial considerations. This guide breaks down actual costs, installation variables, and money-saving strategies to help you plan your perfect outdoor lighting project.
Breaking Down Outdoor Lighting Installation Costs
Labor Costs: Professional vs. DIY Installation
When considering outdoor lighting installation, the choice between professional installation and DIY can significantly impact your overall costs. Professional installation typically ranges from $200 to $800 for a basic lighting setup, with complex systems potentially reaching $2,000 or more. This cost includes labor, expertise, and often a warranty on the installation work.
While professional installation ensures proper setup and electrical safety, tackling it as one of your DIY outdoor decor projects can save you considerable money. DIY installation costs mainly involve materials, typically ranging from $100 to $500, depending on your chosen fixtures and system complexity.
However, DIY installation requires specific skills and tools. You’ll need basic electrical knowledge, the ability to work with outdoor wiring, and approximately 6-12 hours for a standard installation. Essential tools include wire strippers, voltage testers, and weatherproof connection materials. Consider your comfort level with electrical work – mistakes can be costly and dangerous.
For simple solar light installations, DIY is often a practical choice. However, for complex systems involving high-voltage connections or extensive wiring, professional installation provides peace of mind and ensures compliance with local electrical codes. Remember that some manufacturers may void warranties if their products aren’t professionally installed, so factor this into your decision-making process.
Equipment and Materials Pricing
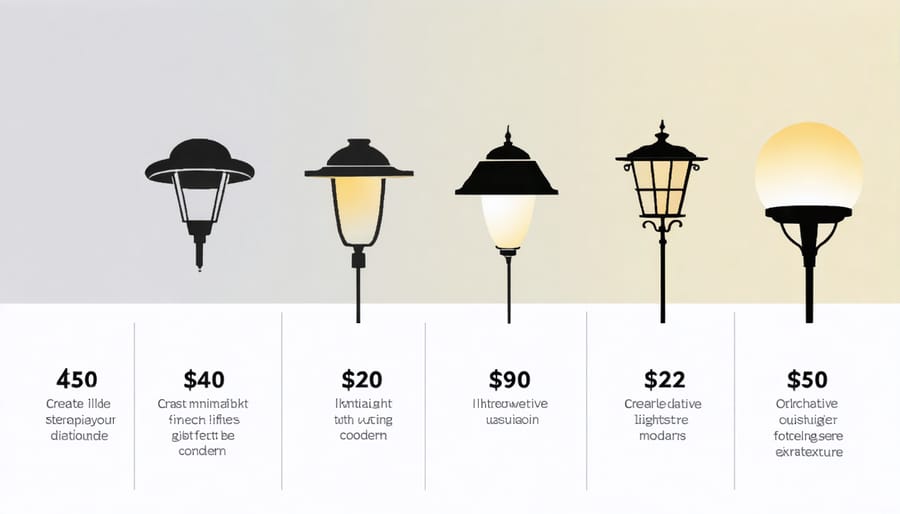
The cost of outdoor lighting equipment varies significantly based on quality and style. Basic path lights typically range from $20 to $50 per fixture, while premium options can cost $100 or more each. Spotlights and flood lights generally fall between $30 and $150, depending on their brightness and durability.
For a complete installation, you’ll need more than just fixtures. A reliable transformer, which converts standard household current to low voltage, costs between $100 and $300. Quality outdoor electrical wire runs about $0.50 to $2 per foot, and you’ll likely need 100-200 feet for an average yard, totaling $50-$400 for wiring alone.
Other essential materials include wire connectors ($10-$20), weatherproof junction boxes ($8-$15 each), and conduit for wire protection ($1-$3 per foot). If you’re planning automated features, motion sensors cost $20-$50, while smart controllers range from $50-$200.
Here’s a typical materials breakdown for a mid-range system with 8-10 lights:
– 8-10 fixtures: $240-$750
– Transformer: $200
– Wiring and connectors: $150
– Junction boxes: $40
– Conduit: $50
– Smart controls: $100
Remember to factor in additional materials like landscape staples, waterproof wire nuts, and extra bulbs. These smaller items typically add another $50-$100 to your total materials cost.
Smart Ways to Reduce Installation Expenses
Solar-Powered Solutions
Solar-powered outdoor lighting offers an eco-friendly and cost-effective solution for illuminating your outdoor spaces. These fixtures harness the sun’s energy during the day and automatically illuminate your property at night, eliminating electricity costs and reducing your carbon footprint.
The initial investment for solar lights typically ranges from $20 to $200 per fixture, depending on quality and brightness levels. While this might seem higher than traditional lighting options, the long-term savings on electricity bills and minimal maintenance requirements make them an attractive choice for budget-conscious homeowners.
However, solar lights do have some limitations to consider. Their performance depends heavily on direct sunlight exposure, making them less effective in heavily shaded areas or during extended periods of cloudy weather. They also tend to provide less intense illumination compared to hardwired fixtures, making them better suited for accent lighting rather than primary security lighting.
For optimal performance, place solar lights in areas that receive 6-8 hours of direct sunlight daily. Consider installing hybrid systems that combine solar and low-voltage lighting for a balanced approach to outdoor illumination.

Strategic Placement Tips
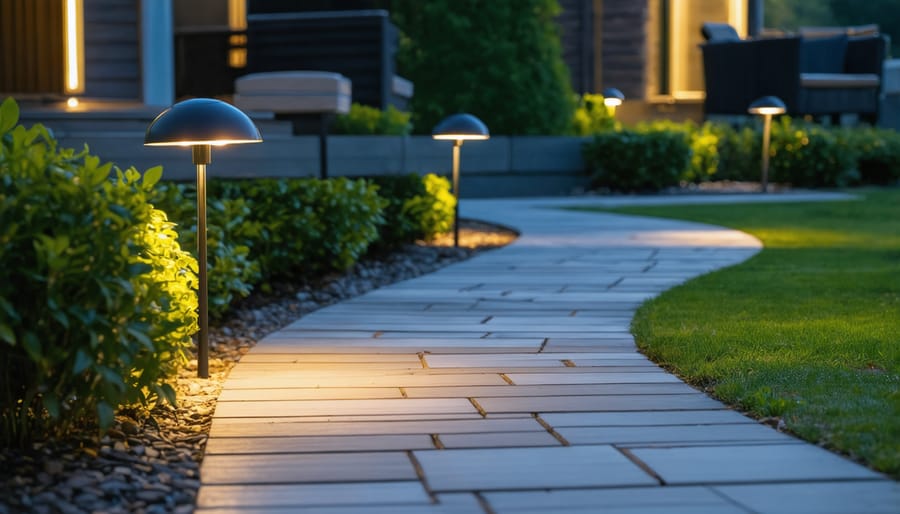
Strategic placement of outdoor lighting can dramatically reduce the number of fixtures needed while maximizing illumination. Start by identifying key focal points like entryways, pathways, and architectural features. Position lights at corners and transitions to cover multiple areas with a single fixture. For pathways, place lights at intervals of 8-12 feet, staggering them on alternating sides to create overlapping light patterns.
Use downlighting from trees or high mounting points to cover larger areas with fewer fixtures. One well-placed downlight can illuminate the same area that might require multiple ground-level lights. For security lighting, mount fixtures at the corners of your home where the beams can overlap, reducing the total number needed.
Consider using dual-purpose fixtures, such as combining accent lighting with security lighting. Install motion sensors on key fixtures to provide lighting only when needed, reducing energy costs. Reflective surfaces like light-colored walls or water features can help amplify existing lighting, allowing you to achieve desired brightness levels with fewer fixtures.
Remember to account for seasonal changes in foliage when planning fixture placement, as dense summer leaves might block light that passes freely in winter.
Long-Term Cost Considerations
Energy Efficiency Impact
Choosing energy-efficient outdoor lighting options like LED fixtures can significantly reduce your long-term costs. While LED lights typically cost 30-40% more upfront than traditional halogen or incandescent bulbs, they consume up to 75% less electricity and last 25 times longer. For a typical outdoor lighting setup of 10 fixtures, switching to LED can save you approximately $100-150 annually in energy costs. Plus, with an average lifespan of 50,000 hours compared to traditional bulbs’ 2,000 hours, you’ll spend less on replacements and maintenance. When you factor in these savings over time, LED lighting usually pays for itself within 2-3 years while providing brighter, more reliable illumination for your outdoor spaces.
Installing outdoor lighting doesn’t have to break the bank when you plan strategically and consider all your options. By understanding the various cost factors – from fixture selection to professional installation rates – you can make informed decisions that align with your budget and lighting needs. For budget-conscious homeowners, starting small with essential areas like entryways and pathways can help manage initial costs while allowing for future expansion.
Consider taking on simple DIY installations for basic fixtures while leaving complex electrical work to professionals. This hybrid approach can significantly reduce overall costs while ensuring safety and compliance. Remember to factor in long-term savings through energy-efficient LED fixtures and smart controls, which may cost more upfront but offer substantial savings over time.
For the best value, compare multiple contractor quotes, shop during off-season sales, and look for lighting packages that include installation. Don’t forget to account for maintenance costs and potential utility increases in your budget planning. By balancing immediate expenses with long-term benefits, you can create beautiful, functional outdoor lighting that enhances your home’s safety and appeal without overspending.
Leave a Reply