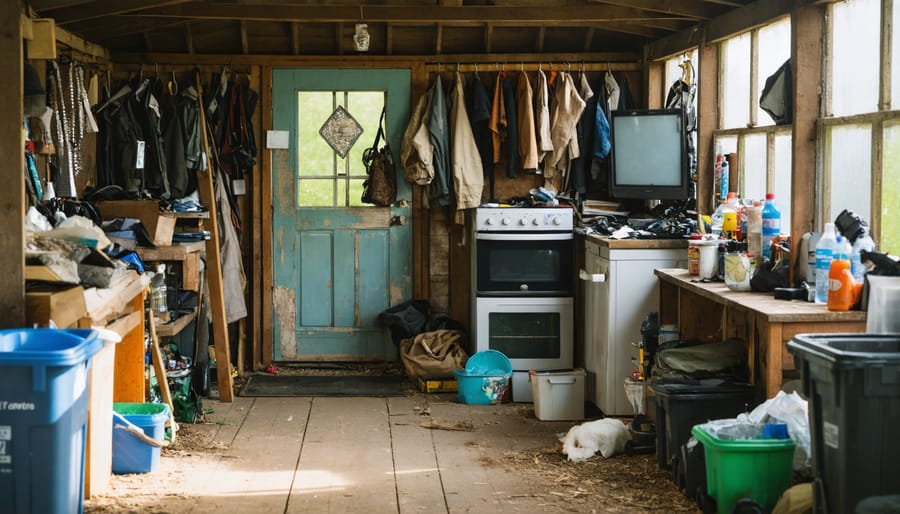
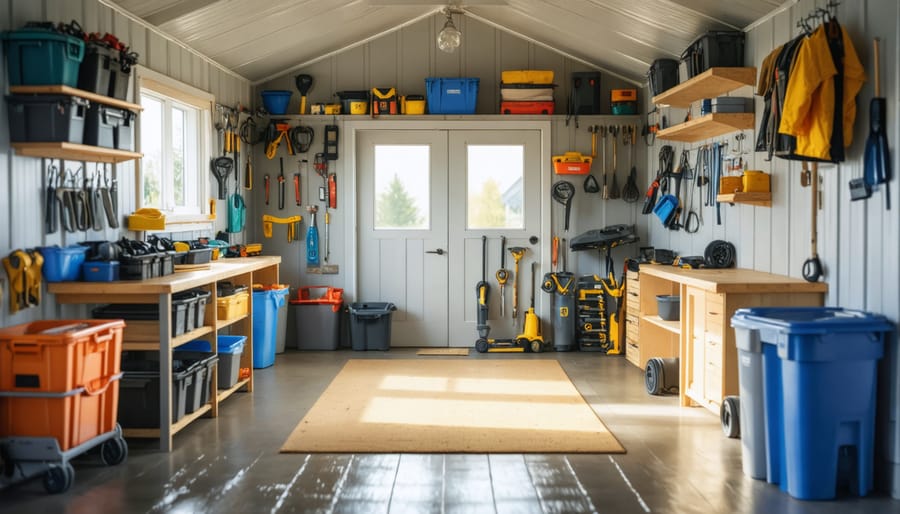
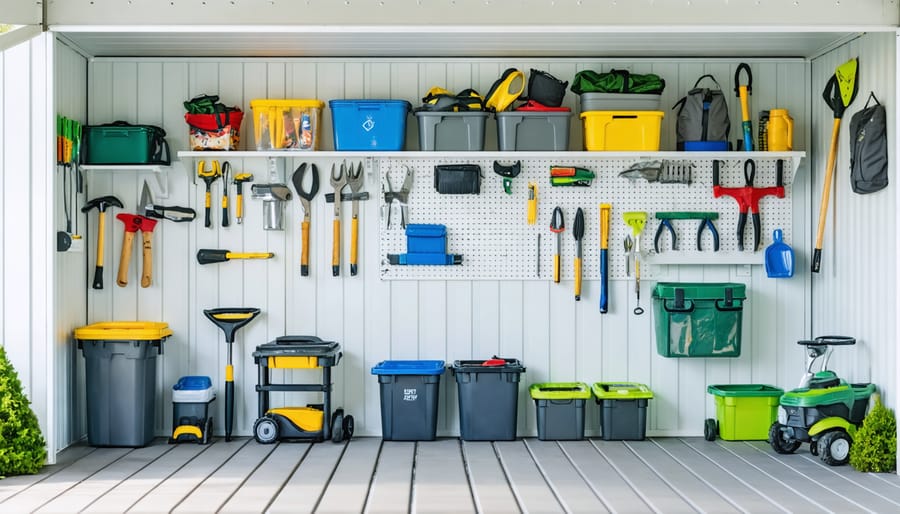
Declutter ruthlessly, removing any items that don’t belong or are no longer needed. Create distinct zones for different categories of items, such as gardening tools, sports equipment, and seasonal decor. Maximize vertical space with how to organize a shed using pegboards, hooks, and overhead storage racks. Invest in sturdy shelving units and clear plastic bins to keep items visible and easily accessible.

Purge Before You Organize
Create Keep, Donate, and Toss Piles
To efficiently sort your shed items, create three distinct piles: keep, donate, and toss. The keep pile should include items you regularly use or have sentimental value. Be honest with yourself about what you truly need and will use in the future. The donate pile is for items in good condition that you no longer need but could benefit others. Consider donating to local charities or offering them to friends and family. The toss pile is for broken, damaged, or expired items that cannot be repaired or donated. Properly dispose of hazardous materials like old paint or chemicals. As you sort, ask yourself if each item has a specific purpose and if it’s worth the storage space it occupies. This process may take time, but it’s crucial for creating an organized and clutter-free shed that maximizes storage potential.
Be Ruthless About Letting Go
To truly organize your shed, you must be willing to let go of items you no longer use or need. It’s easy to form emotional attachments to possessions, but holding onto them can lead to clutter and inefficient use of space. Ask yourself when you last used each item and be honest about its future utility. If it hasn’t been touched in a year or more, it’s likely time to say goodbye. Remember, the goal is a functional, organized space that serves your current needs. Donate, sell, or dispose of unused items guilt-free, knowing that you’re making room for what matters most.
Implement Zoning
Group by Frequency of Use
Organizing your shed by frequency of use is a key strategy for maximizing efficiency and accessibility. Start by grouping items based on how often you need them. Place frequently used tools, equipment, and supplies in easy-to-reach areas near the entrance. This could include everyday gardening tools, cleaning supplies, or sports gear. On the other hand, store rarely used or seasonal items like holiday decorations or winter equipment in harder-to-access spots such as high shelves or the back of the shed. Implementing shed storage solutions that prioritize frequency of use will save you time and frustration when retrieving items. Regularly reassess your usage patterns and adjust the organization accordingly to maintain an efficient system.
Create Activity Zones
Creating distinct zones for different activities within your shed is key to staying organized. Designate specific areas for gardening tools, sports equipment, power tools, holiday decorations, and other categories based on your needs. This allows you to quickly locate items and maintain a tidy space. Use labels or color-coding to clearly define each zone. Consider the frequency of use when deciding on zone placement, keeping frequently accessed items closer to the entrance. By establishing dedicated activity zones, you’ll transform your shed into a well-organized and efficient storage solution that simplifies your life.


Maximize Vertical Space
Install Pegboards and Hooks
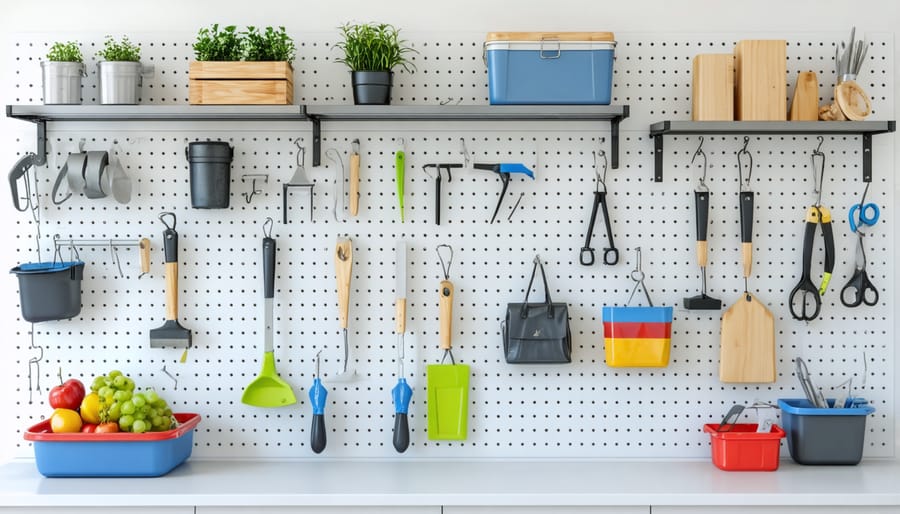
Installing pegboards and hooks on your shed walls is an excellent way to maximize vertical storage space while keeping tools and equipment easily accessible. Start by measuring your wall space and cutting the pegboard to fit. Use a stud finder to locate the wall studs and securely attach the pegboard using screws or anchors. Once installed, arrange an assortment of hooks, clips, and baskets to hang items like hand tools, garden hoses, extension cords, and more. Grouping similar items together on the pegboard creates a visually organized system that saves floor space and makes finding what you need a breeze. For an extra touch of organization, use a label maker or markers to clearly identify each section of your pegboard storage. With your walls now efficiently utilized, you’ll have more room to move around and locate items quickly in your neatly arranged shed.
Use Overhead Storage
Maximize your shed’s storage potential by taking advantage of overhead space. Install sturdy shelves or racks along the rafters to store rarely used or seasonal items like holiday decorations, camping gear, or spare tires. Ceiling-mounted shelves are another great option, providing an out-of-the-way spot for bulky items. Be sure to securely fasten any overhead storage and consider using clear plastic bins to easily identify contents. By utilizing this often-overlooked space, you can free up valuable floor area for frequently accessed items while keeping your shed organized and clutter-free. With a little creativity and planning, your shed’s ceiling can become a storage powerhouse.
Invest in Shelving Units
Choose Adjustable Shelving
Adjustable shelving is a game-changer when it comes to organizing your shed. Unlike fixed shelves, adjustable units allow you to customize the spacing between shelves to accommodate items of various sizes. This flexibility ensures that you can make the most of your vertical space, whether you’re storing tall tools, bulky boxes, or smaller items. Look for shelving units with easy-to-adjust mechanisms, such as clip-on or peg-and-hole systems, which allow you to effortlessly change the shelf heights as your storage needs evolve. With adjustable shelving, you’ll have a versatile and adaptable storage solution that grows with you and your ever-changing shed organization needs.
Label Shelves Clearly
Clearly labeling shelves and bins is essential for maintaining organization in your shed over time. Use a label maker or adhesive labels to mark each shelf or bin with its designated contents. This simple step ensures that everyone in the household knows where items belong, making it easier to find what you need and put things back in their proper place. Consider using color-coded labels for different categories or zones to further streamline the process. Regularly update labels as your storage needs change to keep your shed tidy and functional for years to come.
Utilize Clear Storage Containers
Choose Uniform Sizing When Possible
When it comes to organizing your shed, opting for uniform sizing in your storage containers can make a world of difference. Not only does it create a visually appealing and cohesive look, but it also makes stacking and arranging your stored items a breeze. Invest in a set of same-sized boxes, bins, or baskets that fit your shed’s dimensions and your storage needs. This uniformity will help you maximize vertical space and keep your shed looking tidy. Plus, when everything has its designated container, you’ll be able to find what you need quickly and easily.
Label Everything
Labeling is essential for quick and easy item retrieval, especially when using opaque containers. Invest in a reliable label maker or adhesive labels and a permanent marker. Clearly label each container with its contents, such as “Holiday Decorations” or “Camping Gear.” Consider including the date when you last used or checked the items. For frequently used items, add labels to the shelves or zones themselves. Color-coding labels can further enhance organization and make finding what you need a breeze. Remember to update labels as your storage needs change over time.
Keep a Clean and Tidy Space
Sweep and Declutter Often
To keep your shed organized and functional, make a habit of sweeping the floor and quickly decluttering every few weeks. This simple practice prevents the buildup of dirt, debris, and unnecessary items that can quickly overtake your storage space. By staying on top of these quick cleanings, you’ll find that deeper cleanings become much easier and less time-consuming. Regularly assess your stored items and remove anything that no longer serves a purpose or belongs elsewhere. A tidy shed not only looks better but also makes it easier to find what you need when you need it.
Put Things Back Immediately
Maintaining an organized shed is an ongoing process, and one of the most important habits to develop is putting things back in their designated spots immediately after use. This simple practice can save you time and frustration in the long run. When you’re finished using a tool or item, take a moment to return it to its proper place on a shelf, in a bin, or hung on the wall. By consistently putting things away, you’ll avoid the clutter that can quickly accumulate and make it difficult to find what you need. Plus, you’ll be able to easily see when items are missing or running low, so you can restock as necessary. Commit to this habit, and you’ll find that your shed stays organized with minimal effort.
Organizing your shed for maximum storage efficiency can be a game-changer when it comes to keeping your home and outdoor spaces clutter-free. By following these simple tips, you’ll be well on your way to a shed that not only looks great but also functions as a practical storage solution. Remember to declutter regularly, create designated zones, utilize vertical space, invest in sturdy shelving, and label everything for easy access. With a little effort and creativity, you can transform your shed from a chaotic catchall to a well-organized haven. So, roll up your sleeves, grab your labels, and get ready to tackle your shed organization project today!


Leave a Reply