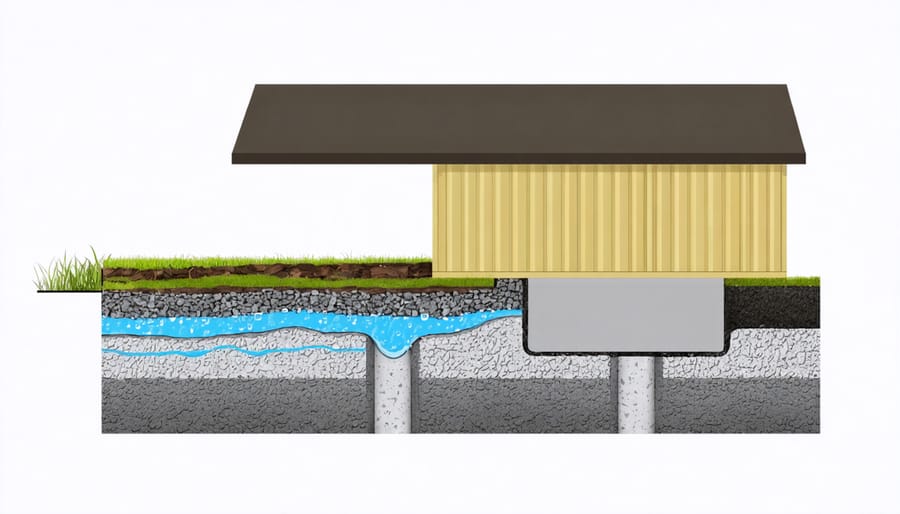
Seal the shed base with a waterproof membrane or vapor barrier to prevent moisture seepage. Ensure proper grading around the shed’s perimeter to direct water away from the foundation. Apply a concrete sealer or masonry waterproofer to the shed base for added protection against water intrusion. Consider installing a French drain system to channel water away from the shed if located in an area with poor drainage or high water table.
Assess the Area
Before breaking ground on your shed, take the time to assess the area where it will be located. Start by evaluating the slope of the land. Ideally, you want a relatively flat surface to ensure your shed’s stability and prevent water from pooling around the base. If the site has a slight slope, consider leveling it or creating a raised foundation to promote proper drainage.
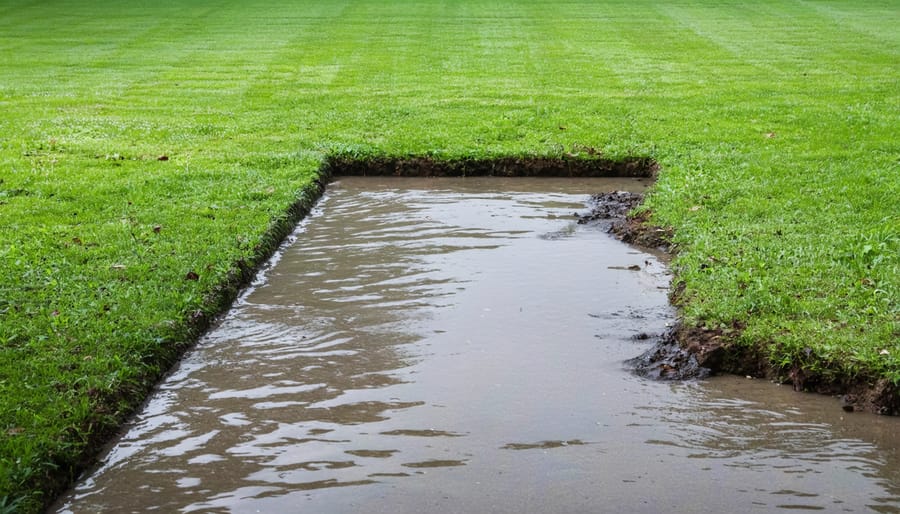
Next, observe how water flows through the area during rain or when using a garden hose. Identify any low spots where water tends to accumulate and plan to grade the soil accordingly. Proper grading helps direct water away from your shed’s foundation, reducing the risk of moisture damage.
Lastly, examine the soil type in the area. Clay soils retain more moisture and may require additional drainage measures, while sandy soils drain more readily but can shift over time. Understanding your soil type will help you determine the best foundation option for your shed, such as a concrete slab, gravel bed, or pressure-treated timber base.
By thoroughly assessing the area before construction, you can identify potential issues early on and take proactive steps to ensure your shed’s base remains dry and stable for years to come.


Choose Your Base Material
Concrete Base
To create a concrete base for your shed, start by excavating the area to a depth of at least 4 inches. Compact the soil and add a layer of gravel for drainage. Build a wooden frame slightly larger than your shed’s dimensions. Mix and pour concrete into the frame, leveling it with a straight edge. Once the concrete has cured for at least 24 hours, apply a waterproofing sealant or membrane to protect against moisture. For added protection, consider installing a vapor barrier beneath the concrete. Proper grading around the shed will also help direct water away from the best foundation for a shed. Allow the waterproofing material to dry completely before placing your shed on the concrete base. With these steps, you’ll have a sturdy, water-resistant foundation that will keep your shed and its contents dry for years to come.
Gravel Base
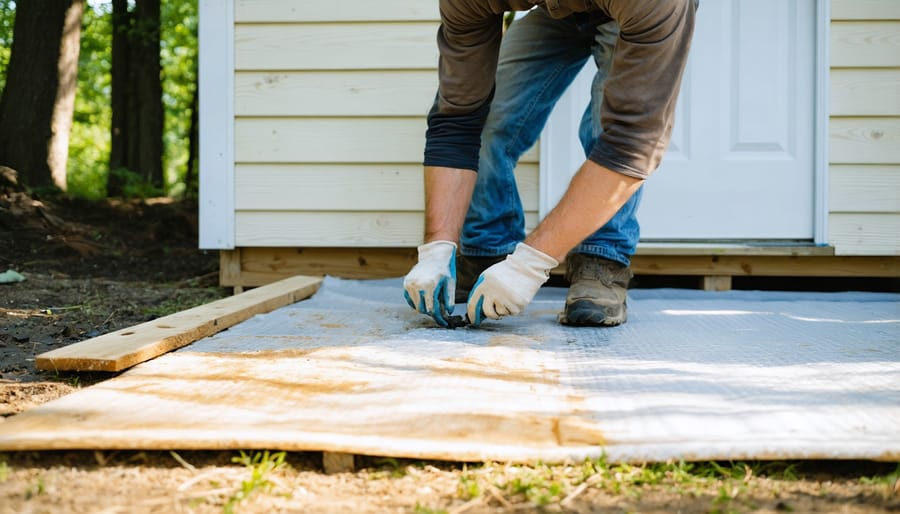
To create a gravel pad, excavate the area to a depth of about 4 inches. Lay down a moisture barrier, such as heavy-duty plastic sheeting or landscape fabric, to prevent water from seeping up from the ground. Overlap the edges by at least 6 inches and secure them with landscape staples. Next, fill the excavated area with a 4-inch layer of gravel, using a rake to distribute it evenly. Compact the gravel using a hand tamper or plate compactor to create a stable, level surface for your shed. This gravel base with a moisture barrier will help keep your shed floor dry and prevent water damage.
Paver Base
To lay pavers for a shed base, start by excavating the area and adding a layer of gravel for drainage. Next, spread a layer of sand and level it off. Place the pavers tightly together in your desired pattern, tapping them down with a rubber mallet. Once all pavers are in place, spread more sand over the surface and sweep it into the gaps. Use a plate compactor to vibrate the sand into the joints, creating a solid, even surface. Finally, sweep away any excess sand, and your paver shed base is ready for your new structure.
Level the Ground
Begin by clearing the area where your shed will be located, removing any vegetation, rocks or debris. Use a level to check the ground’s evenness, and mark any high or low spots. Remove soil from higher areas and fill in lower spots until the surface is level.
Next, compact the soil using a hand tamper or plate compactor. This helps create a stable foundation and prevents settling over time. If the soil is particularly soft or loose, consider adding a layer of gravel and compacting it for added stability.
Once the ground is level and compacted, it’s a good idea to lay down a weed barrier or landscape fabric. This will help prevent weeds from growing up through your shed base and can also provide an extra layer of moisture protection. Secure the fabric with landscape pins to keep it in place as you continue the installation process.
Install a Moisture Barrier
Installing a moisture barrier is a crucial step in waterproofing your shed base. Without it, moisture from the ground can seep into the wood, leading to rot, mold, and structural damage over time. To prevent this, lay down a layer of heavy-duty plastic sheeting or a specialized waterproof membrane before placing your shed on the base.
When choosing a moisture barrier, look for materials that are thick, durable, and resistant to tearing. 6-mil polyethylene plastic is a popular choice for its affordability and effectiveness. Alternatively, you can opt for a more heavy-duty waterproof membrane, such as rubberized asphalt or a self-adhesive bituminous membrane.
To install the moisture barrier, start by clearing the area where your shed will be placed. Make sure the surface is level and free of debris. Unroll the plastic sheeting or membrane, allowing it to overlap the edges of the base by at least 6 inches. If you’re using multiple sheets, overlap the seams by 12 inches and seal them with waterproof tape.
Once the moisture barrier is in place, you can add a layer of waterproof plywood or other flooring material on top for extra protection. This will create a solid, moisture-resistant foundation for your shed, ensuring it stays dry and structurally sound for years to come.

Seal the Edges
Once the shed base is completely dry and cured, it’s time to seal the edges where the walls meet the foundation. This critical step prevents water from seeping in and causing damage over time. Use a high-quality, waterproof caulking or sealant designed for exterior use. Apply a generous bead along the entire perimeter, ensuring there are no gaps or missed spots. Smooth the sealant with your finger or a caulking tool for a neat, professional finish. For added protection, consider adding a weatherproof strip or flashing over the sealed edge. This extra layer helps direct water away from the base of your shed, providing long-lasting defense against the elements. Allow the sealant to dry completely according to the manufacturer’s instructions before proceeding with the rest of your shed construction or moving in your stored items.
Maintain Proper Drainage
Maintaining proper drainage around your shed is crucial to prevent water from pooling near the foundation and causing damage. To achieve this, grade the ground surrounding your shed so that it slopes away from the structure. A gentle slope of about 6 inches over 10 feet is usually sufficient to direct water away from the shed base.
Consider adding gutters and downspouts to your shed to further enhance drainage. Gutters collect rainwater from the roof and channel it through downspouts, which direct the water away from the shed’s foundation. Make sure the downspouts extend at least 4 feet away from the shed to keep water out and prevent it from seeping back towards the base.
Regularly inspect the ground around your shed to ensure proper drainage is maintained. Fill in any low spots or depressions that may collect water, and remove any debris or obstacles that could impede the flow of water away from the structure. By taking these proactive measures, you can significantly reduce the risk of water damage to your shed’s foundation and keep it in top condition for years to come.
Conclusion
In conclusion, waterproofing your shed base is a crucial step in protecting your valuable tools and belongings from moisture damage. By following the steps outlined in this guide, including selecting the right materials, preparing the site, installing a moisture barrier, and applying a waterproof coating, you can ensure your shed stays dry and functional for years to come. Not only will a properly waterproofed shed base extend the life of your shed, but it will also prevent mold, mildew, and rot from taking hold. With a little time and effort, you can tackle this project yourself and enjoy the peace of mind that comes with a well-protected storage space. Don’t let moisture ruin your shed – take action today and waterproof your shed base like a pro!


Leave a Reply