Install a reliable shed foundation to ensure your wiring project rests on stable ground. Run electrical cables through conduit to protect them from the elements and potential damage. Connect wires securely using appropriate gauge, insulation, and junction boxes for a safe, code-compliant setup. Test all connections thoroughly before energizing the system to verify proper functionality and avoid hazards.
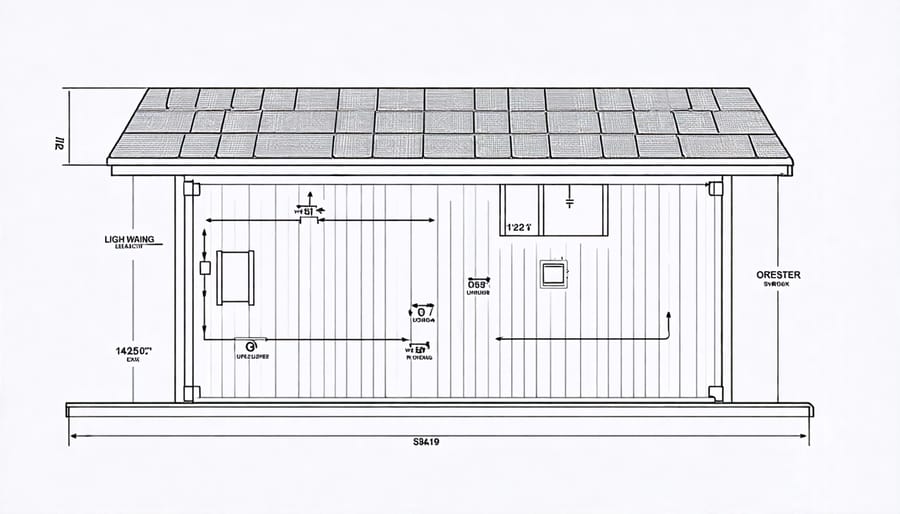
Planning Your Shed’s Electrical Layout

Determining Your Shed’s Power Needs
To determine your shed’s power needs, start by listing all the electrical devices and appliances you plan to use inside. This may include lighting, power tools, a mini-fridge, or even a small air conditioner. Check the wattage of each item, which is typically listed on the device or in the owner’s manual. Add up the wattages to get an estimate of your total power requirements.
Keep in mind that some appliances, like power tools or air conditioners, may have higher starting wattages than their running wattages. Factor in these peak demands when calculating your needs. If you plan to use multiple devices simultaneously, ensure your power supply can handle the combined load.
It’s always a good idea to slightly overestimate your power needs to account for future additions or unforeseen requirements. This will help you choose the right gauge wire and circuit breaker size for your shed’s electrical setup, ensuring a safe and reliable power supply for all your storage and workshop needs.
Outlet and Switch Placement
When placing outlets and switches in your shed, consider both convenience and safety. Position outlets at various points along the walls to avoid running long extension cords, which can pose tripping hazards. Consider installing outlets near workbenches or areas where you’ll frequently use power tools. For lighting switches, locate them near the entrance for easy access when entering the shed. If your shed has multiple doors, install switches at each entry point.
Ensure outlets are placed at a safe height, typically between 12 to 48 inches from the floor, to prevent water damage and accidental contact. Avoid placing outlets near windows or other potential water sources. If your shed has a sink or water connection, install GFCI (Ground Fault Circuit Interrupter) outlets to protect against electrical shocks.
When planning outlet and switch placement, consider your shed’s layout and intended use. If you’ll be using the space for woodworking or other hobbies, position outlets and switches to accommodate your equipment and workflow. For general storage, evenly distributed outlets should suffice.
Remember to adhere to local building codes and regulations when installing electrical components. If you’re unsure about proper placement or installation, consult with a licensed electrician to ensure your shed’s wiring is safe and compliant.
Essential Components for Shed Wiring
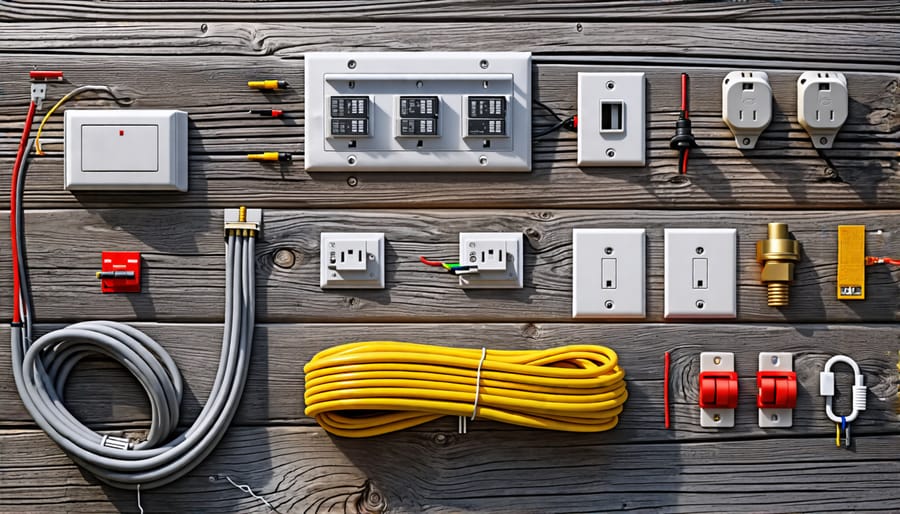
To properly wire your shed, you’ll need a few essential components. Start with the right type of wire, typically 12-gauge or 14-gauge copper wire, depending on the amperage of your circuit. You’ll also need conduit to protect the wiring from damage. Rigid metal conduit or PVC conduit are popular choices for their durability and ease of installation.
Next, you’ll need outlets and switches to control and access the power in your shed. Choose weather-resistant outlets and switches designed for outdoor use. A circuit breaker is another crucial component, as it protects your wiring from overloads and short circuits. Make sure to select a breaker that matches the amperage of your wire and the total load of your shed’s electrical devices.
Other materials you might need include junction boxes, wire connectors, and fasteners to secure the wiring and components in place. Having the right tools on hand, such as wire strippers, a voltage tester, and a drill, will also make the wiring process smoother and safer.
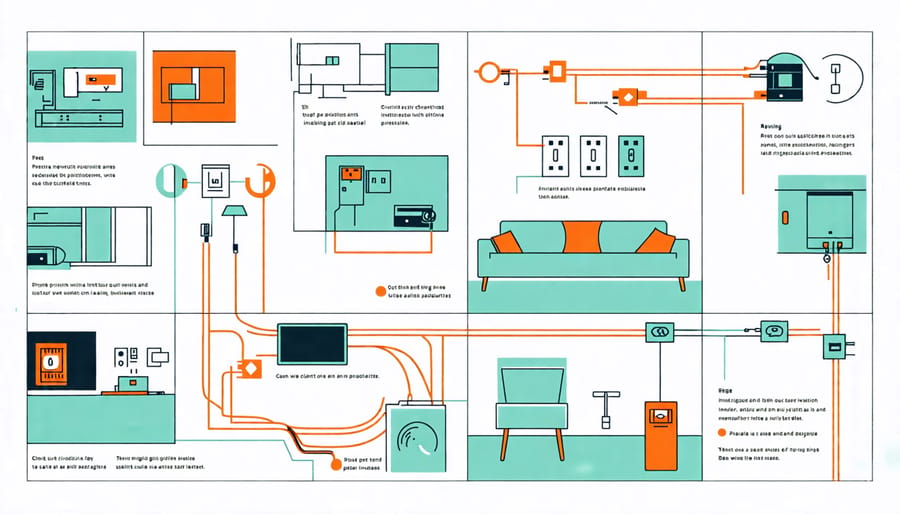
When purchasing these components, opt for high-quality materials from reputable brands to ensure longevity and reliability. Don’t skimp on safety features like GFCI outlets or proper grounding. With the right components and a carefully planned wiring diagram, you’ll be well on your way to bringing power to your shed safely and effectively.


Step-by-Step Shed Wiring Process
Running the Wire
When running wire through conduit or wall cavities, it’s essential to take your time and follow best practices to ensure a safe, reliable electrical connection. Start by measuring the length of the conduit or wall cavity and cut the wire accordingly, leaving an extra foot on each end for connections. Feed the wire through the conduit using a fish tape or pull string, being careful not to kink or damage the insulation. If running wire through wall cavities, use a stud finder to locate and avoid drilling into wall studs or other obstacles. Secure the wire every few feet with cable staples to prevent sagging and maintain a neat appearance. When making connections, strip the wire ends and use wire nuts or terminal blocks to join them securely, following the manufacturer’s instructions. Double-check all connections and ensure no bare wire is exposed before closing up the conduit or wall cavity. Throughout the process, prioritize safety by turning off the power at the main breaker, wearing protective gear, and following local building codes and regulations. With patience and attention to detail, you can successfully run wire for your shed and enjoy reliable power for years to come.
Installing Outlets and Switches
Once you’ve planned your shed’s wiring and gathered the necessary components, it’s time to install the outlets and switches. Begin by mounting the electrical boxes securely to the wall studs, ensuring they are level and at the correct height. Pull the wires through the holes in the boxes, leaving enough slack for connections. Strip the insulation from the wire ends and connect them to the terminals on the outlets and switches, following the manufacturer’s instructions and wiring diagram. For outlets, connect the black (hot) wire to the brass terminal, the white (neutral) wire to the silver terminal, and the green or bare (ground) wire to the green terminal. For switches, connect the black wire to one terminal and the other black wire leading to the light or outlet to the other terminal. Secure the wires with the terminal screws and carefully tuck them into the box. Mount the outlets and switches into their respective boxes, ensuring a snug fit. Finally, attach the cover plates, making sure they are straight and secure. Test each outlet and switch to confirm proper functioning before proceeding with the rest of your shed wiring project.
Connecting to the Main Power Source
To safely connect your shed wiring to the main electrical panel, start by consulting with a licensed electrician to ensure compliance with local codes and regulations. They can help determine the appropriate size and type of cable needed based on the shed’s power requirements and distance from the main panel.
When running the cable, use a trencher or manual digging to create a trench at least 18 inches deep to protect the cable from damage. Consider using conduit for added protection, especially in areas with high traffic or potential for digging.
At the main panel, install a dedicated circuit breaker for the shed, ensuring it is properly sized for the cable and load. Connect the cable to the breaker, following the manufacturer’s instructions and local codes. Use weatherproof connectors and sealant to prevent moisture intrusion where the cable enters the shed.
Inside the shed, install a subpanel with a main disconnect switch. Connect the cable to the subpanel, following the same guidelines as the main panel. From the subpanel, you can run individual circuits for lighting, outlets, and other electrical needs.
Throughout the process, prioritize safety by turning off the main power before working, using proper grounding techniques, and having your work inspected by a professional before energizing the system. With careful planning and execution, you can safely and efficiently connect your shed to the main power source.
Safety Precautions and Best Practices
When wiring your shed, safety should be your top priority. Always wear protective gear, such as gloves and safety glasses, to minimize the risk of injury. Before starting any electrical work, ensure the power is turned off at the main breaker to avoid electric shock. It’s crucial to use the correct wire gauge and type for your shed’s electrical needs. Overloading circuits or using improper wiring can lead to fire hazards. Regularly inspect your wiring for any signs of damage or wear, and replace as needed.
To ensure your shed’s wiring meets local building codes and regulations, consult with a licensed electrician or your local building department. They can provide guidance on the specific requirements for your area, such as the depth of trenches for underground wiring or the proper placement of outlets and switches. Following these codes not only ensures the safety of your shed but also helps avoid potential fines or legal issues.
When running electrical lines to your shed, consider using underground conduits to protect the wires from damage caused by weather, animals, or landscaping activities. Properly seal any penetrations in your shed’s walls or roof to prevent moisture and pests from entering and compromising your wiring. By adhering to these safety precautions and best practices, you can enjoy a well-lit, functional shed while minimizing the risk of electrical hazards.
Proper shed wiring is essential for the safety, functionality, and longevity of your outdoor storage space. By following the steps outlined in this article and adhering to local building codes and regulations, you can ensure that your shed is wired correctly and efficiently. Don’t let the thought of electrical work intimidate you – with careful planning, the right materials, and a methodical approach, you can confidently take on this DIY project. By investing time and effort into wiring your shed properly, you’ll create a well-lit, secure, and convenient space that will serve you for years to come. So, gather your tools, review the steps, and get ready to illuminate your shed with pride!


Leave a Reply