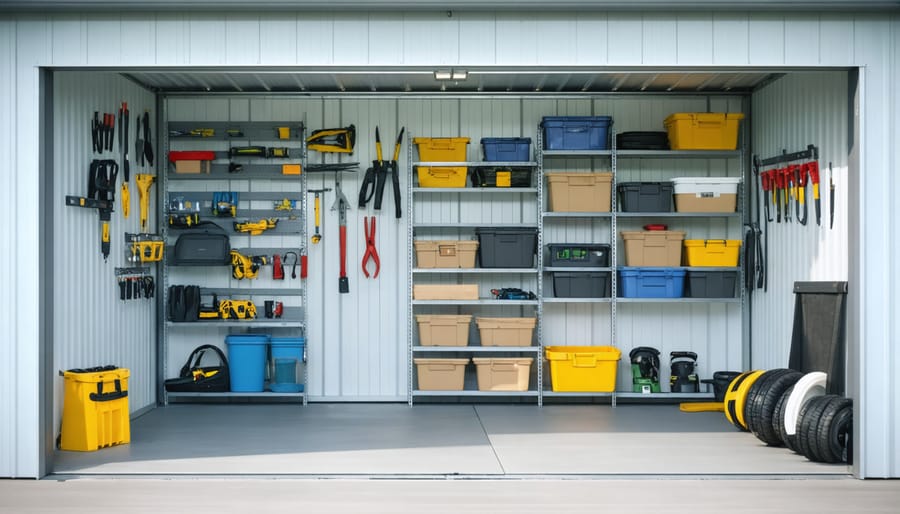
Install sturdy, adjustable shelving to maximize vertical space and keep items organized. Use clear plastic bins with labels to store small items and easily locate what you need. Designate specific zones for different categories like gardening tools, sports equipment, and seasonal decor. Organize a shed by hanging frequently used tools on pegboards or wall-mounted hooks for quick access. Repurpose old furniture like dressers or bookshelves to create additional storage and a unique, personalized touch.
Install Adjustable Shelving Units

Shelf Material Options
When selecting shelving for your vinyl shed, consider the material’s durability, weight capacity, and ease of cleaning. Wire shelves offer excellent ventilation and are lightweight, but may not support heavy items. Wood shelves provide a classic look and strong support, but require more maintenance to prevent warping or rot in humid conditions. Plastic shelves are moisture-resistant, lightweight, and easy to clean, making them a popular choice for shed storage. However, they may not be as sturdy as wood or metal. Ultimately, the best shelving material depends on your specific storage needs and the items you plan to store. Consider using a combination of materials to create a customized storage solution that maximizes functionality and organization in your vinyl shed. Additionally, if you need to enhance your shed’s structural integrity against heavy items, consider reviewing the best foundation for a shed to ensure your installation is stable and lasting.
Optimizing Shelf Spacing
When optimizing shelf spacing in your vinyl shed, consider the size and shape of the items you plan to store. Measure the height of frequently used objects and add a few inches of clearance to determine the ideal distance between shelves. For example, if storing boxes of holiday decorations, space shelves about 18-24 inches apart. Leave ample room for bulky items like coolers or large bins by allocating taller spaces or adjustable shelving. Stagger shelf heights to maximize vertical space and accommodate a variety of item sizes. With thoughtful planning, you can create an efficient and organized storage system tailored to your specific needs.
Utilize Vertical Space with Wall Organizers
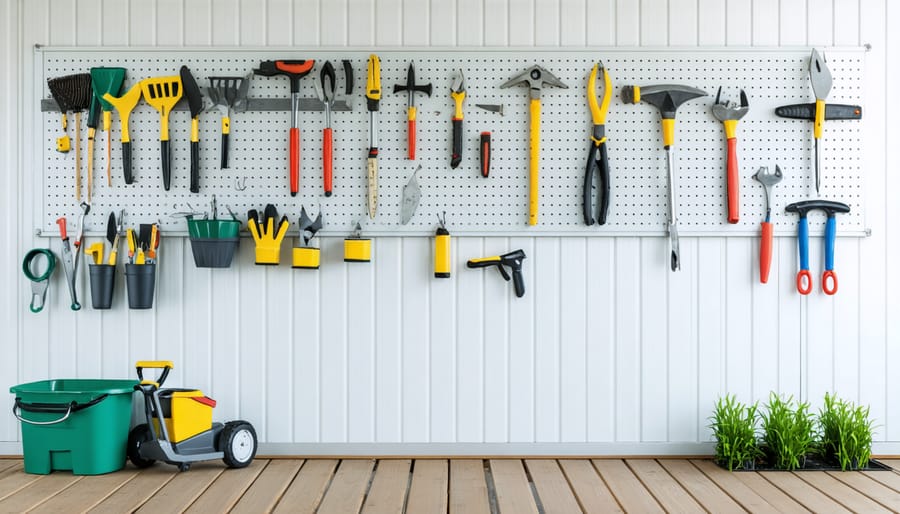
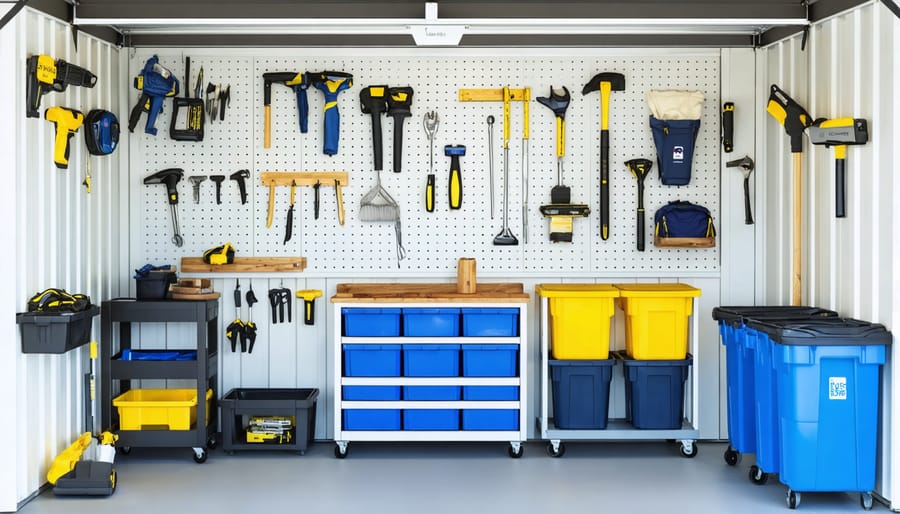
When it comes to maximizing storage space in your vinyl shed, don’t forget about the walls! Utilizing vertical space is a game-changer for keeping your tools, supplies, and equipment organized and easily accessible. Pegboards are a classic choice for shed wall storage, allowing you to customize the layout with various hooks, brackets, and holders to suit your needs. You can hang everything from gardening tools to power cords, keeping them off the floor and in clear view.
Another option is to install a series of sturdy hooks or tool hangers along the walls. This is perfect for larger items like ladders, rakes, and shovels that can be hung vertically, saving valuable floor space. For smaller tools and accessories, consider using magnetic strips or even repurposed kitchen organizers like utensil holders or spice racks.
Wall-mounted shelves are also a great way to make use of vertical space while keeping items organized and easy to find. You can opt for adjustable shelving systems or DIY your own using brackets and boards. This is ideal for storing bins, boxes, or even displaying frequently used items like gloves or spray bottles.
By getting creative with wall organizers, you can transform your vinyl shed from a cluttered catchall to a well-organized and efficient storage space. Plus, with everything in its designated spot, you’ll save time and frustration when working on your next DIY project or outdoor task.

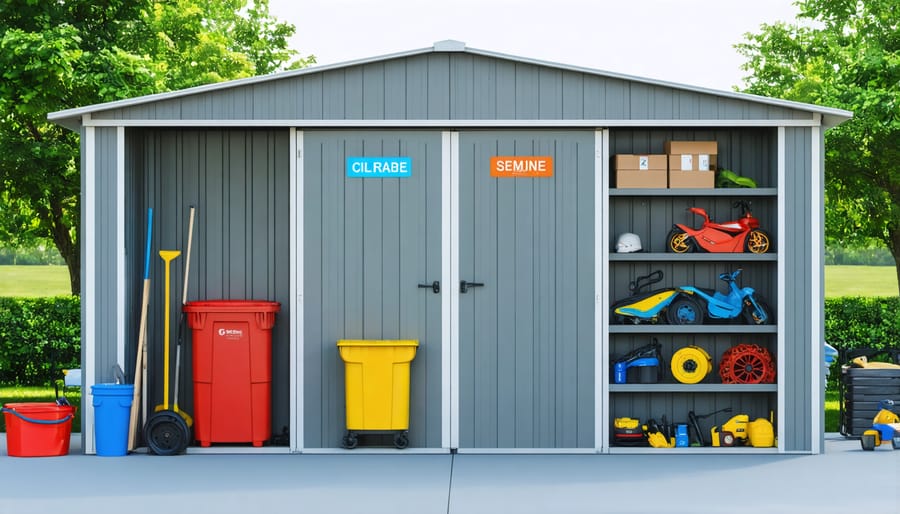
Create Designated Zones
Labeling Zones
To keep your storage zones easily identifiable, consider using chalkboard labels or color-coding. Chalkboard labels are an inexpensive and versatile option, allowing you to quickly update the contents of each zone as needed. Simply attach the labels to your shelves or bins and use chalk to write the category or items stored within. Alternatively, assign a specific color to each storage zone and use corresponding colored labels, bins, or even paint to visually distinguish them. This color-coding system makes it easy for family members to locate items and return them to their designated areas, maintaining an organized shed.

Maximize Floor Space with Rolling Carts
Rolling utility carts are a game-changer when it comes to maximizing floor space in your vinyl shed. These versatile storage solutions allow you to keep your items organized and easily accessible, all while keeping your shed floor clutter-free. By placing items on rolling carts, you can effortlessly move them around as needed, whether you’re grabbing a tool for a quick DIY project or rearranging your storage layout. The mobility of these carts also makes it a breeze to clean and maintain your shed floor. With various sizes and configurations available, you can find the perfect rolling cart to suit your specific storage needs. From heavy-duty options with sturdy wheels to lightweight carts with multiple shelves, there’s a solution for every shed owner. Embrace the convenience and flexibility of rolling utility carts and transform your vinyl shed into a well-organized and efficient storage space.
Install Magnetic Tool Holders
Magnetic tool holders are a game-changer for keeping your shed organized and your tools easily accessible. Simply mount magnetic strips or panels onto the walls or shelves of your vinyl shed, and let them securely hold your metal tools like screwdrivers, pliers, and wrenches. This clever storage solution keeps your tools visible and within reach while preventing them from cluttering up drawers or workbenches. Plus, the strong magnets ensure your tools stay put, even when the shed door swings open. For added protection, consider using magnetized holders with rubber coating to keep tools from rusting and scratching. With magnetic tool holders, you’ll spend less time searching for misplaced items and more time tackling your DIY projects.
Repurpose Household Items for Storage
Rather than buying expensive storage solutions, get creative by repurposing common household items to organize your vinyl shed. Glass jars and plastic containers are perfect for storing small parts, nails, screws, and other loose items. Keep them neatly arranged on shelves for easy access. Old wooden crates or plastic milk crates can be stacked to create modular shelving units – great for storing tools, gardening supplies, or sports equipment. Wicker baskets add a decorative touch while keeping items contained and easy to transport. Hanging an over-the-door shoe organizer provides convenient storage for small hand tools, gloves, or cleaning supplies. You can even upcycle old furniture like dressers or bookshelves to maximize storage space and keep your shed tidy. By repurposing items you already have on hand, you’ll save money and reduce waste while creating a functional and organized storage shed that meets your unique needs. So before heading to the store, take a look around your home for hidden storage gems waiting to be put to good use in your vinyl shed.
Implementing these vinyl shed storage ideas will not only help you declutter and organize your space but also create a more functional and visually appealing environment. By utilizing shelves, hooks, organizers, and designated zones, you’ll be able to easily locate and access your tools, equipment, and supplies whenever you need them. Repurposing everyday items like jars, crates, and pegboards can add a creative touch while maximizing your storage potential. Don’t let a disorganized shed hinder your productivity or enjoyment of your outdoor space. Take the first step towards a well-organized and efficient shed by trying out some of these practical storage solutions. Whether you have a small or large shed, these tips can be adapted to suit your specific needs. Remember, a little effort goes a long way in transforming your vinyl shed into a clutter-free haven. Start organizing your small shed today and experience the benefits of a tidy and well-maintained storage space.


Leave a Reply