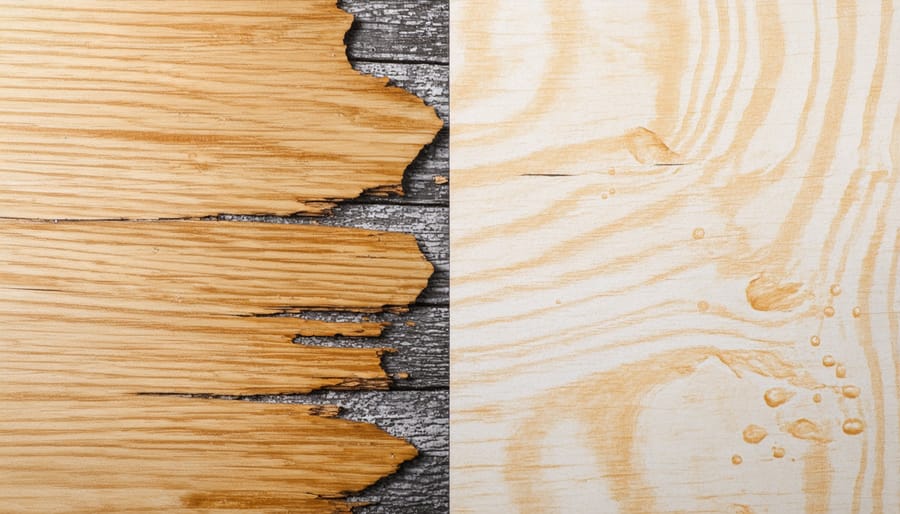
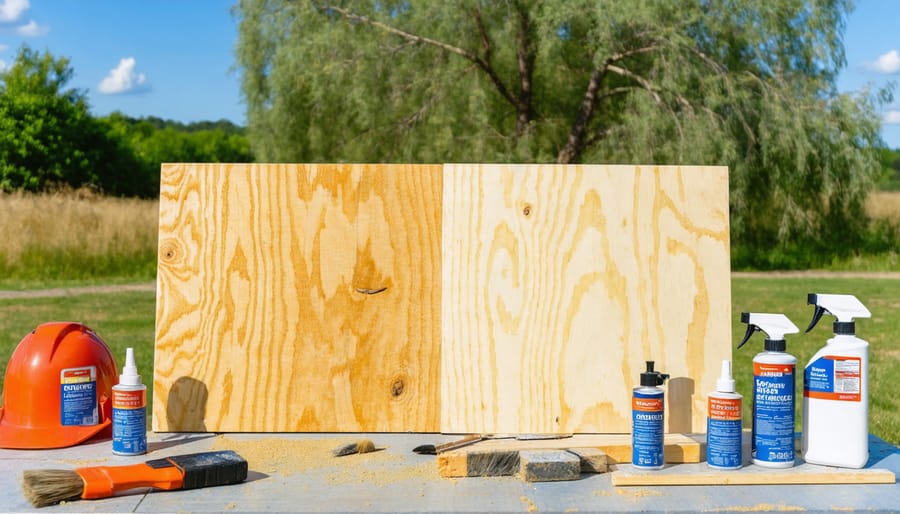
Transform ordinary plywood into a weather-resistant powerhouse by using marine-grade sealants, epoxy coatings, or oil-based preservatives to protect outdoor wooden structures. Apply multiple thin coats of waterproof primer before the final sealant to ensure maximum penetration and durability. Pre-treat all edges, joints, and exposed surfaces with copper naphthenate for superior moisture resistance, especially in high-humidity environments. Choose the right waterproofing method based on your climate – paint-on sealants work well in moderate conditions, while specialized marine-grade treatments are essential for severe weather exposure. Regular maintenance and reapplication every 2-3 years will extend the life of your outdoor plywood projects significantly, preventing warping, rot, and structural damage that commonly plague untreated wood.
Understanding Plywood and Water Damage

Types of Plywood Suitable for Outdoor Use
When selecting plywood for outdoor projects, two main types stand out for their ability to prevent water damage: marine-grade and exterior-grade plywood. Marine-grade plywood offers the highest level of water resistance, featuring high-quality hardwood veneers and waterproof adhesives throughout all layers. While more expensive, it’s ideal for projects exposed to frequent moisture or harsh weather conditions.
Exterior-grade plywood provides a more budget-friendly alternative while still offering good weather resistance. It’s manufactured with water-resistant adhesives and features at least one high-quality face veneer, though internal layers may contain some voids. This type works well for most outdoor storage solutions and general construction projects.
Both types come in various thicknesses and sizes, with marine-grade typically available in ¼” to 1″ thickness and exterior-grade offering more size options. When choosing between the two, consider your project’s exposure to elements, budget constraints, and intended longevity. For storage sheds and similar structures, exterior-grade plywood often provides sufficient protection when properly sealed and maintained.
Essential Materials and Tools
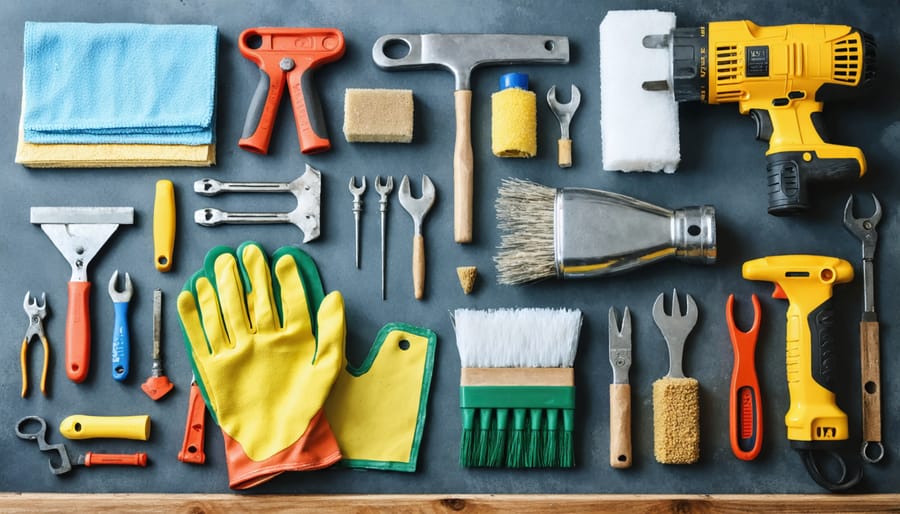
Before starting your waterproofing project, gather these essential materials and tools to ensure a smooth and successful application:
Waterproofing Products:
– Marine-grade spar urethane or varnish
– Oil-based or water-based wood sealer
– Epoxy-based waterproof coating
– Exterior-grade wood primer
– Water-repellent preservative
– Paint or stain (if desired for aesthetics)
Application Tools:
– Paint brushes (natural or synthetic bristles)
– Paint rollers with medium-nap covers
– Paint trays
– Clean rags or cloths
– Sandpaper (80-grit and 120-grit)
– Electric sander (optional but recommended)
– Putty knife
– Protective drop cloths
– Mixing sticks
– Clean buckets for mixing (if needed)
Safety Equipment:
– Safety goggles
– Respiratory mask
– Chemical-resistant gloves
– Long-sleeved clothing
– Closed-toe shoes
Cleaning Supplies:
– Wood cleaner
– Wire brush
– Garden hose
– Pressure washer (optional)
– Clean water
– Tack cloth
Pro tip: Purchase slightly more waterproofing product than you think you’ll need – it’s better to have extra than to run short mid-project. Store all materials in a dry, temperature-controlled space until you’re ready to begin.

Step-by-Step Waterproofing Methods
Oil-Based Sealants
Oil-based sealants provide excellent protection for outdoor plywood by deeply penetrating the wood fibers. Start by thoroughly cleaning the plywood surface and letting it dry completely. Apply the oil-based sealant using a natural-bristle brush or roller, working in the direction of the wood grain. For best results, apply thin, even coats rather than one thick layer.
Popular options include linseed oil, tung oil, and Danish oil, all of which offer reliable protection while enhancing the wood’s natural beauty. These products typically require multiple coats, with 24 hours of drying time between applications. Most projects need 2-3 coats for optimal protection.
When applying, pay special attention to end grains and joints, as these areas are particularly vulnerable to moisture. Consider applying an extra coat to these spots. The final coat should be allowed to cure for at least 72 hours before exposing the plywood to outdoor conditions.
Remember to maintain your sealed plywood by reapplying a fresh coat annually or when water stops beading on the surface. This regular maintenance will significantly extend the life of your outdoor plywood projects.
Epoxy-Based Solutions
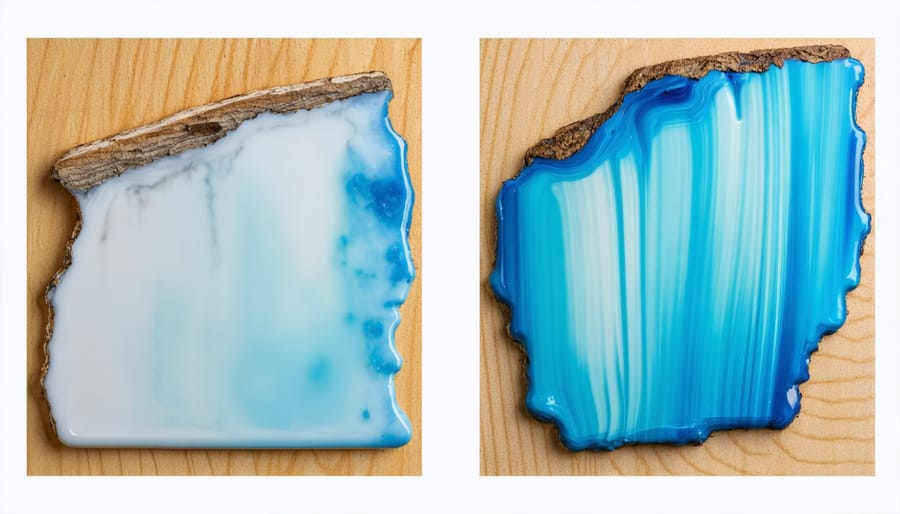
Epoxy-based solutions offer one of the most reliable methods for waterproofing plywood, creating a virtually impenetrable barrier against moisture. Start by thoroughly cleaning and sanding your plywood surface to ensure proper adhesion. Mix your marine-grade epoxy according to the manufacturer’s instructions – typically combining equal parts resin and hardener.
Apply the first coat using a foam roller, working in small sections and maintaining a consistent thickness. Allow this layer to become tacky but not completely dry (usually 2-4 hours) before applying the second coat. This timing creates the strongest bond between layers. For maximum protection, apply 3-4 coats total, sanding lightly between fully cured layers if needed.
For high-traffic areas or surfaces exposed to extreme weather, consider adding non-skid additives to your final coat. The curing process typically takes 24-48 hours, depending on temperature and humidity levels. While epoxy solutions are more expensive than other waterproofing methods, they provide superior protection and can extend your plywood’s lifespan by several years.
Remember to work in a well-ventilated area and wear appropriate protective gear, as epoxy fumes can be strong during application.

Paint and Primer Method
One of the most effective methods for waterproofing plywood is using specialized outdoor paints and primers. Start by thoroughly cleaning the plywood surface and allowing it to dry completely. Apply a high-quality exterior primer specifically designed for wood, working it into all edges and corners. This creates a strong foundation for weather-resistant protection.
Once the primer has dried according to the manufacturer’s instructions, apply two to three coats of exterior-grade paint. Marine-grade paints work exceptionally well, as they’re formulated to withstand harsh weather conditions. Remember to sand lightly between coats for the best adhesion and smoothest finish.
Pay special attention to the edges and any cut ends of the plywood, as these areas are particularly vulnerable to moisture penetration. Apply additional coats to these spots for extra protection. For optimal results, choose paint colors that reflect rather than absorb heat, as this can help extend the life of your waterproofing treatment.
Allow each coat to dry thoroughly before applying the next, and avoid painting in direct sunlight or when rain is forecasted within 24 hours.
Varnish and Polyurethane
Varnish and polyurethane finishes offer excellent protection while maintaining the natural beauty of your plywood. Start by sanding the surface smooth with medium-grit sandpaper, then clean thoroughly to remove all dust. For best results, apply your chosen finish in a well-ventilated area on a dry day with moderate temperature and humidity.
Marine-grade varnish is particularly effective for outdoor use, as it contains UV inhibitors and offers superior water resistance. Apply thin, even coats using a high-quality natural bristle brush, working in the direction of the wood grain. Allow each coat to dry completely and lightly sand between applications. Most projects benefit from 3-4 coats minimum.
Alternatively, exterior polyurethane provides robust protection and is generally more durable than traditional varnish. It’s available in both water-based and oil-based formulations, with oil-based options offering better water resistance. Apply using the same technique as varnish, but expect slightly longer drying times between coats.
Remember to maintain your finish by applying a fresh coat annually or when you notice the surface beginning to dull or wear. This maintenance will significantly extend the life of your plywood project.
Professional Spray-On Treatments
Professional spray-on waterproofing treatments offer a convenient and effective solution for protecting your plywood from moisture damage. These products typically come in aerosol cans or spray bottles, making them easy to apply evenly across the surface without the need for brushes or rollers.
When selecting a spray-on treatment, look for products specifically designed for exterior wood protection. Popular options include clear polyurethane sprays, water-repellent preservatives, and silicone-based waterproofing sprays. These treatments not only create a protective barrier against moisture but also help prevent UV damage and wood rot.
Before applying any spray treatment, ensure your plywood is clean, dry, and free from dust or debris. Work in a well-ventilated area and maintain a consistent spraying distance of about 8-12 inches from the surface. Apply thin, even coats, allowing each layer to dry completely before adding the next. Most manufacturers recommend 2-3 coats for optimal protection.
For best results, spray in a sweeping motion, slightly overlapping each pass to ensure complete coverage. Pay special attention to edges, joints, and any exposed end grain, as these areas are particularly vulnerable to water penetration. Remember to protect surrounding areas with drop cloths or masking tape to prevent overspray.
While spray-on treatments may need more frequent reapplication compared to other methods, their ease of use and excellent coverage make them a popular choice for DIY enthusiasts.
Maintenance and Long-Term Care
Regular inspection and long-term maintenance are crucial for extending the life of your waterproofed plywood. Check your plywood surfaces every six months for signs of wear, focusing on edges, joints, and areas exposed to heavy rainfall. Look for peeling sealant, water stains, or any changes in the wood’s texture.
Reapply a maintenance coat of waterproof sealant every 2-3 years, even if the surface appears to be in good condition. Don’t wait for visible damage – prevention is always better than cure. Before reapplying, clean the surface thoroughly with a soft brush and mild detergent, allowing it to dry completely.
Pay special attention to edges and joints, as these areas are most vulnerable to water penetration. Apply an extra coat of sealant to these spots during maintenance. If you notice any cracks or splits, address them immediately with wood filler and reseal the area.
Keep the plywood surface clean by regularly removing debris, leaves, and standing water. Trim nearby vegetation to prevent moisture retention and ensure proper airflow around the wood. During winter months, clear snow promptly to prevent prolonged moisture exposure.
If you spot any early signs of water damage, don’t delay repairs. Quick action can prevent more extensive damage and costly replacements down the line. Remember, consistent care and attention will significantly extend your waterproofed plywood’s lifespan.
Troubleshooting Common Issues
Even with careful application, you might encounter some common issues when waterproofing plywood. If you notice bubbling in your sealant, this usually indicates trapped moisture beneath the surface. Strip the affected area, allow it to dry completely, and reapply the waterproofing solution. For uneven coverage, lightly sand the surface and apply an additional thin coat rather than one thick layer.
Peeling or flaking typically occurs when the surface wasn’t properly cleaned before application. In such cases, remove all loose material, clean thoroughly, and ensure the plywood is completely dry before reapplying. If you spot dark spots or discoloration after waterproofing, this could signal water penetration. Act quickly by drying the area and applying an additional protective layer.
Watch out for these common mistakes: rushing the drying time between coats, applying sealer in direct sunlight or extreme temperatures, and skipping the crucial step of sealing the edges and joints. Remember that prevention is better than cure – always store treated plywood off the ground and slightly tilted to prevent water pooling.
If you notice mold growth, remove it immediately with a mixture of water and mild detergent, dry thoroughly, and apply a mold-resistant sealer. For best results, check your waterproofed plywood regularly and address any issues promptly to prevent more serious damage.
Waterproofing your plywood for outdoor use doesn’t have to be complicated, and with the right approach, you can significantly extend the life of your wooden structures. By following the methods we’ve discussed, including proper sealing, painting, and regular maintenance, you can create a durable and weather-resistant surface that stands up to the elements. Remember to always start with quality plywood, prepare your surface thoroughly, and choose the right waterproofing products for your specific needs.
For best results, consider using multiple layers of protection and don’t skip the essential maintenance checks. A well-protected plywood structure can last for many years with proper care. Whether you’ve chosen marine-grade sealants, epoxy coatings, or oil-based treatments, regular inspections and touch-ups will help maintain the waterproof barrier.
Finally, don’t forget that prevention is always better than cure. Install your plywood with proper drainage and ventilation in mind, and address any water exposure issues promptly. With these strategies in place, you can enjoy your outdoor plywood projects for years to come, saving both time and money on replacements and repairs.


Leave a Reply