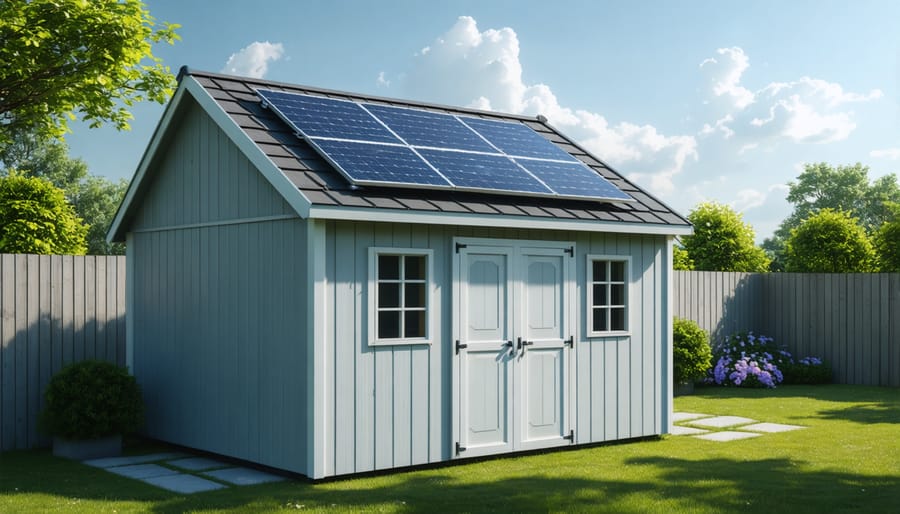
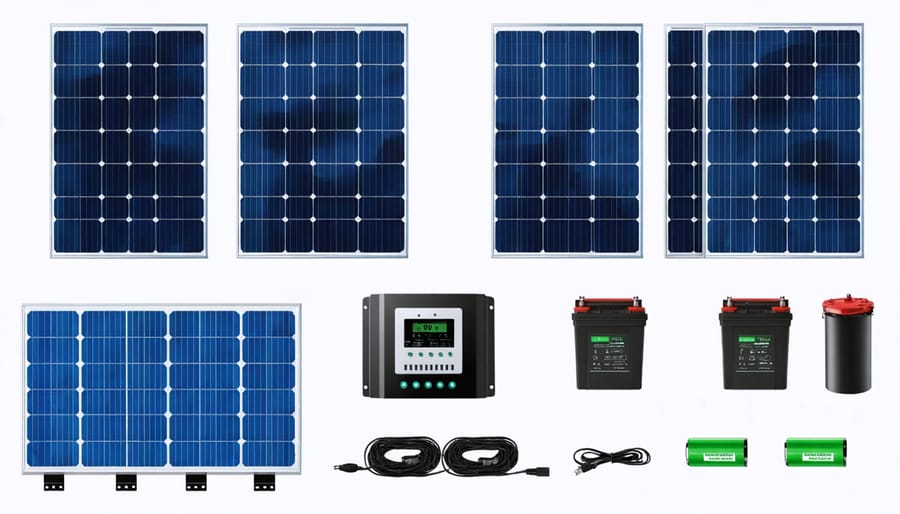
Harness the sun’s power to electrify your shed with a DIY solar setup. Properly sized solar panels, batteries, charge controllers and inverters turn your shed into an energy-independent powerhouse. Maximize solar potential by orienting panels southward and avoiding shade. Wire components carefully, following manufacturer instructions for a safe, code-compliant installation. Regular cleaning and inspection ensure your shed solar system provides reliable, eco-friendly electricity for years to come, powering lights, tools and more in your backyard retreat.

Assessing Your Shed’s Solar Potential
Shed Location and Sunlight
To determine if your shed receives enough direct sunlight for solar, start by observing the proposed shed location throughout the day. Ideally, the spot should get at least 6 hours of unobstructed sunlight daily. Consider any nearby trees, buildings, or other structures that might cast shadows on the shed, especially during peak sunlight hours. If you’re still uncertain, use a solar pathfinder or sun chart to map the sun’s path and identify any potential obstructions. Keep in mind that the shed’s orientation and roof pitch can also impact solar efficiency. For optimal results, the shed should face south (in the northern hemisphere) and have a shed foundation that allows for the proper angle of the solar panels. If your location doesn’t receive enough direct sunlight, consider trimming trees or adjusting the shed’s placement to maximize solar exposure.
Estimating Your Energy Requirements
To estimate your shed’s solar energy needs, start by listing all the electrical devices you plan to use, such as lights, power tools, and appliances. Check their wattage ratings and estimate the hours of daily use for each item. A 100-watt light bulb used for 4 hours will consume 400 watt-hours (Wh) per day. Sum up the daily watt-hours for all devices to determine your total energy requirements. Remember to factor in the shed size and activities, as larger sheds with more tools will have higher energy demands. It’s wise to add a 20% buffer to your calculations to account for unexpected usage or future additions. This total daily watt-hour estimate will guide you in selecting the appropriate solar panel and battery capacity for your shed’s off-grid power system.

Choosing the Right Solar Components
Solar Panels
When choosing solar panels for your shed, there are a few key factors to consider. Monocrystalline panels are the most efficient and have a sleek, black appearance, but they come at a higher price point. Polycrystalline panels are less efficient but more affordable, making them a popular choice for smaller shed setups. Thin-film panels, while not as common, are flexible and lightweight, which can be beneficial for certain shed designs.
Consider the size of your shed and its energy requirements when selecting the number and wattage of panels needed. A typical 100-watt panel measures around 47″ x 21″ and can produce approximately 30 amp-hours per day, depending on sun exposure. It’s essential to assess your shed’s solar potential, taking into account factors such as roof size, orientation, shading, and local climate, to determine the optimal panel configuration for your specific needs.
Charge Controllers
Charge controllers are essential components in a shed solar setup, regulating the flow of electricity from the solar panels to the batteries. They prevent overcharging and ensure optimal battery performance and longevity. When choosing a charge controller, consider factors such as the voltage and current of your solar array, battery type, and expected power consumption. PWM (Pulse Width Modulation) controllers are simpler and more affordable, suitable for smaller systems. MPPT (Maximum Power Point Tracking) controllers are more efficient and ideal for larger setups, as they can extract maximum power from the panels. Look for features like temperature compensation, LCD displays, and USB ports for convenient monitoring and charging of small devices. Consult with a professional or refer to the manufacturer’s guidelines to select the appropriate charge controller for your specific shed solar configuration.
Batteries
When selecting batteries for your shed solar setup, consider deep-cycle batteries designed for repeated charging and discharging. Lead-acid batteries, such as flooded, AGM, or gel, are cost-effective options, while lithium-ion batteries offer longer lifespans and higher efficiency at a higher price point. Size your battery bank based on your energy needs and budget, factoring in days of autonomy for cloudy weather. Choose batteries with a low self-discharge rate and adequate capacity for your shed’s power requirements. Proper battery maintenance, including regular checking of fluid levels and connections, will extend their lifespan. Ensure your batteries are stored in a well-ventilated area and protected from extreme temperatures. With the right battery selection and care, you can enjoy reliable off-grid power for your shed.

Installing Your Shed Solar System
Mounting Solar Panels
Once you’ve determined the optimal location for your solar panels, it’s time to securely mount them. If your shed has an eco-friendly roofing material like metal or composite, you can directly attach the panels using specialized mounts. For other roof types, consider using a separate rack system that elevates the panels slightly above the surface. This not only protects your roof but also allows for better airflow and cooling of the panels.
When installing the mounts or racks, be sure to use corrosion-resistant hardware and seal any penetrations to prevent leaks. If you’re not comfortable working on your shed’s roof, you can also install the panels on a ground-mounted rack adjacent to the shed. This allows for easier access for maintenance and cleaning.
Whichever mounting method you choose, ensure the panels are securely fastened and angled correctly for optimal sun exposure. With proper installation, your solar panels will be ready to harness the sun’s energy and power your shed’s electrical needs for years to come.
Connecting Components
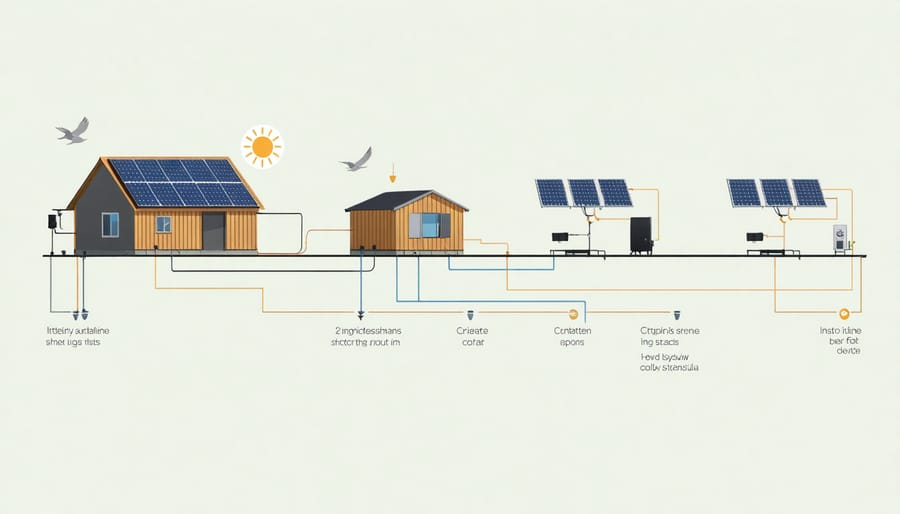
Once you have your solar panels, charge controller, batteries, and inverter ready, it’s time to connect them. Start by mounting the charge controller near the batteries, ensuring it’s easily accessible. Connect the solar panels to the charge controller’s input terminals, paying attention to the polarity. Next, wire the batteries to the charge controller’s output terminals, again being mindful of the positive and negative connections.
When connecting the batteries, it’s essential to use thick, insulated cables to handle the current safely. If you’re using multiple batteries, wire them in parallel to increase capacity while maintaining the voltage. After the batteries are connected, wire the inverter to the battery bank, ensuring it’s sized appropriately for your power needs.
Double-check all connections and secure them with the proper fittings to prevent loosening over time. Consider installing fuses or circuit breakers between components for added safety. Once everything is connected, power on the system and test each component to ensure proper functioning.
If you’re unsure about any aspect of the wiring process, consult a professional electrician or refer to the manufacturer’s instructions for your specific components. Taking the time to set up your solar shed system correctly will ensure reliable, renewable power for years to come, allowing you to enjoy the benefits of energy independence in your backyard retreat.
Safety Precautions
When working with solar equipment for your shed, it’s crucial to prioritize safety. Always follow the manufacturer’s instructions and wear protective gear, including gloves and safety glasses. Before starting the installation, ensure that the solar panels and electrical components are compatible and rated for outdoor use. Properly ground all electrical connections to prevent shocks and fires. If you’re not confident in your electrical skills, consider hiring a professional to handle the wiring and connections. When mounting solar panels on your shed roof, use a sturdy ladder and have a partner nearby to assist you. Regularly inspect your solar setup for any signs of damage, loose connections, or worn insulation. By following these safety precautions, you can enjoy the benefits of a shed solar setup while minimizing the risk of accidents or equipment failure. Remember, a little extra caution goes a long way in ensuring a successful and safe solar installation.
Maintenance and Troubleshooting
Regular maintenance is crucial for keeping your shed solar system operating at peak performance. Periodically clean the solar panels using a soft brush or cloth to remove dust, debris, or snow that can obstruct sunlight and reduce efficiency. Check the batteries every few months and top up the electrolyte levels if necessary. Inspect all wiring connections to ensure they are tight and free from corrosion. If you notice any signs of wear or damage, replace the affected components promptly.
Common issues with shed solar systems include insufficient power output, battery failure, and inverter malfunction. If your system isn’t generating enough power, check for shading on the panels or adjust their angle to optimize sun exposure. When batteries fail to hold a charge, they may need to be replaced. Inverter problems can often be resolved by resetting the device or checking for loose connections. Consult your system’s manual or a professional for more complex troubleshooting.
By staying proactive with maintenance and addressing issues early, you can ensure your shed solar setup remains a reliable and sustainable power source for years to come. Regular care not only extends the lifespan of your components but also maximizes the efficiency and cost-saving benefits of your solar-powered shed.


Leave a Reply