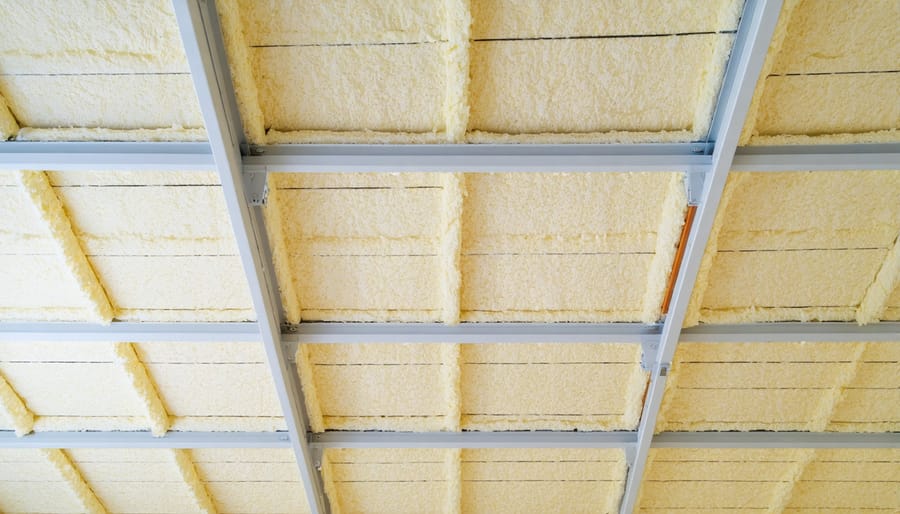
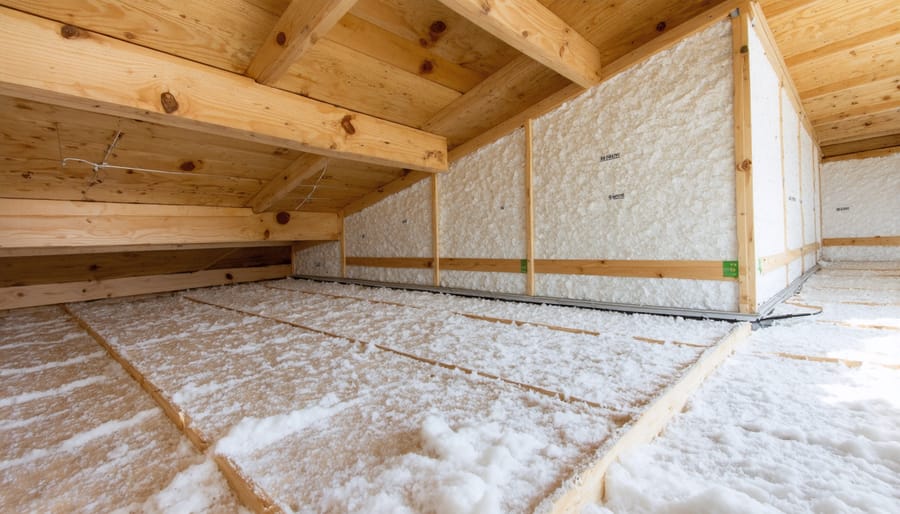
Insulate your shed ceiling properly to maximize energy efficiency and protect your stored items. Measure the ceiling area and calculate how much insulation you need based on the R-value recommended for your climate zone. Choose an insulation material suitable for your shed, such as fiberglass batts, rigid foam boards, or spray foam insulation. Install the insulation securely between the ceiling joists, ensuring a snug fit without compression, and cover it with a vapor barrier to prevent moisture issues. Finish the job by sealing any gaps or cracks around the edges of the insulation and installing a proper ventilation system to maintain air circulation and prevent condensation buildup. With these steps, you’ll create a well-insulated shed ceiling that keeps your space comfortable and your belongings safe from temperature fluctuations and moisture damage.
Step 1: Choose Your Insulation Material

Factors to Consider When Selecting Insulation
When choosing insulation for your shed ceiling, consider the R-value, which measures the material’s resistance to heat flow. Higher R-values indicate better insulation performance. Moisture resistance is crucial, as sheds are prone to humidity and condensation. Look for insulation materials that won’t degrade or lose effectiveness when exposed to moisture. Ease of installation is another important factor, especially for DIY enthusiasts. Some insulation types, like fiberglass batts, are easier to handle and install than others. Finally, consider the cost of the insulation material and any necessary accessories, such as vapor barriers or protective gear. While it may be tempting to opt for the cheapest option, investing in high-quality, appropriate insulation can save you money on energy costs in the long run and ensure your shed remains comfortable and protected from the elements.
Step 2: Prepare the Shed Ceiling
Before installing insulation, it’s crucial to prepare the shed ceiling properly. Start by thoroughly cleaning the ceiling surface, removing any dirt, debris, or cobwebs. Use a broom or vacuum cleaner to ensure the area is spotless and ready for the next steps.
Next, inspect the ceiling for any gaps, cracks, or holes. These openings can allow air leaks and moisture to enter, compromising the effectiveness of your insulation. Use a caulking gun to seal smaller gaps and cracks with a suitable sealant. For larger holes, consider using expanding foam insulation or patching them with wood filler.
Depending on your local climate and the type of insulation you plan to use, installing a vapor barrier might be necessary. A vapor barrier is a thin, plastic sheet that helps prevent moisture from entering the insulation and causing damage. If required, staple the vapor barrier to the ceiling joists, ensuring it’s taut and free of wrinkles or tears. Overlap the seams by a few inches and seal them with vapor barrier tape for a continuous, moisture-resistant layer.
By taking the time to clean, seal, and install a vapor barrier on your shed ceiling, you’ll create a solid foundation for your insulation project. These preparatory steps will help ensure that your insulation performs optimally, keeping your shed comfortable and protecting your stored items from temperature fluctuations and moisture damage.
Step 3: Measure and Cut the Insulation
Before cutting the insulation, measure the length and width of your shed ceiling, accounting for any irregularities or obstacles. It’s best to measure in a few different spots to ensure accuracy. Add an extra inch to each measurement to allow for a snug fit. When cutting the insulation, use a sharp utility knife and a straight edge as a guide. Place the insulation on a flat surface, such as a plywood board, to ensure clean, even cuts. If your insulation has a facing, cut through this layer first, then slice through the insulation itself. For optimal coverage, cut the insulation to fit tightly between the joists without compressing it. If you need to cut out sections to accommodate electrical boxes or other obstructions, measure these areas carefully and mark them on the insulation before cutting. Remember to wear protective gloves and a dust mask while handling and cutting the insulation material to avoid skin irritation and inhaling fibers. Take your time and double-check your measurements to ensure a precise fit for the best insulation performance.
Step 4: Install the Insulation

Safety Precautions and Recommended Tools
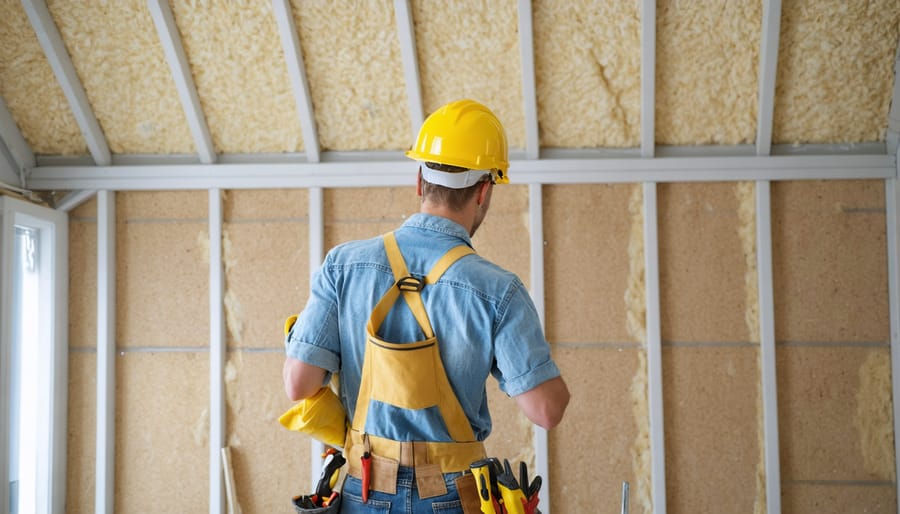
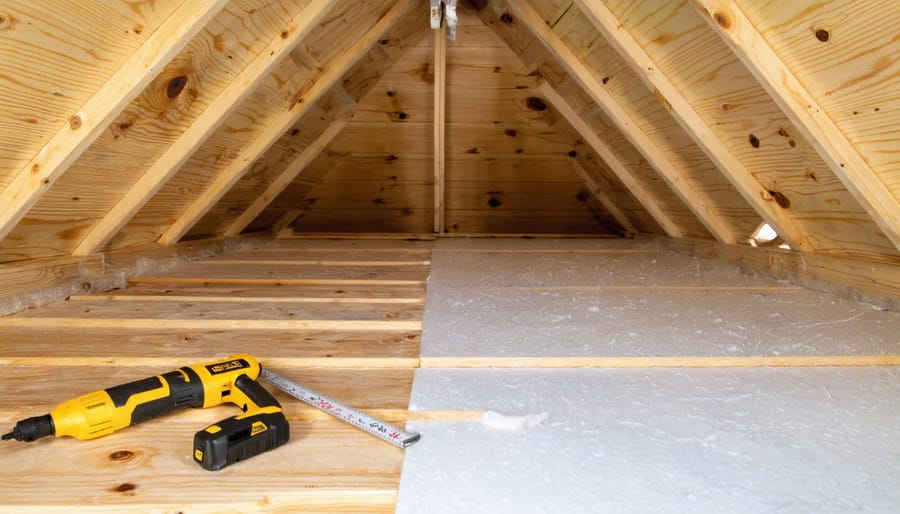
Before starting any insulation project, ensure you have the necessary safety gear, such as safety glasses, a dust mask, gloves, and a sturdy ladder. Gather essential tools, including a utility knife, measuring tape, straight edge, and a staple gun or hammer tacker. If using foam board insulation, you’ll also need a foam-compatible adhesive. For fiberglass batts, consider a putty knife for tucking the material into tight spaces. Having the right equipment on hand will make the installation process safer and more efficient, allowing you to achieve the best results for your shed’s insulated ceiling.
Step 5: Finish and Inspect the Installation
After installing the insulation, it’s time to cover it with a final layer to protect and conceal it. Drywall or plywood are popular choices for this purpose. If using drywall, cut the sheets to fit snugly between the rafters and secure them with drywall screws. For plywood, measure and cut the panels to size, then nail or screw them into place. Make sure the edges of the drywall or plywood are properly sealed to prevent air leaks.
Once the final layer is installed, take a step back and inspect your work. Check for any gaps or areas where the insulation may have been compressed during installation. If you find any issues, address them promptly to ensure optimal insulation performance. Look for any exposed edges of the insulation and cover them with appropriate tape or sealant.
Finally, give yourself a pat on the back for completing this important DIY project! By insulating your shed ceiling, you’ve not only improved its energy efficiency but also created a more comfortable environment for your storage needs. Your tools, equipment, and stored items will now be better protected from extreme temperatures and moisture, ensuring their longevity and functionality.

Insulating your shed ceiling offers numerous benefits, from improving energy efficiency and temperature control to reducing moisture buildup and creating a more comfortable environment for working or organizing your shed. By following the steps outlined in this guide, you can tackle this DIY project with confidence and enjoy a well-insulated shed that serves your needs for years to come. Don’t hesitate to take on this rewarding task – your shed and the items you store inside will thank you for it!


Leave a Reply