Cut an opening in your shed wall by measuring and marking the desired window location, ensuring it’s between the wall studs. Use a reciprocating saw for precise cuts. Install a header above the opening to bear the load, ensuring the window frame’s stability. Place the window into the opening, checking that it’s level and plumb. Secure it with nails or screws, then apply caulk around the edges for weatherproofing. Finish by adding trim or molding for a polished look, enhancing both functionality and aesthetics.
Tools and Materials Needed
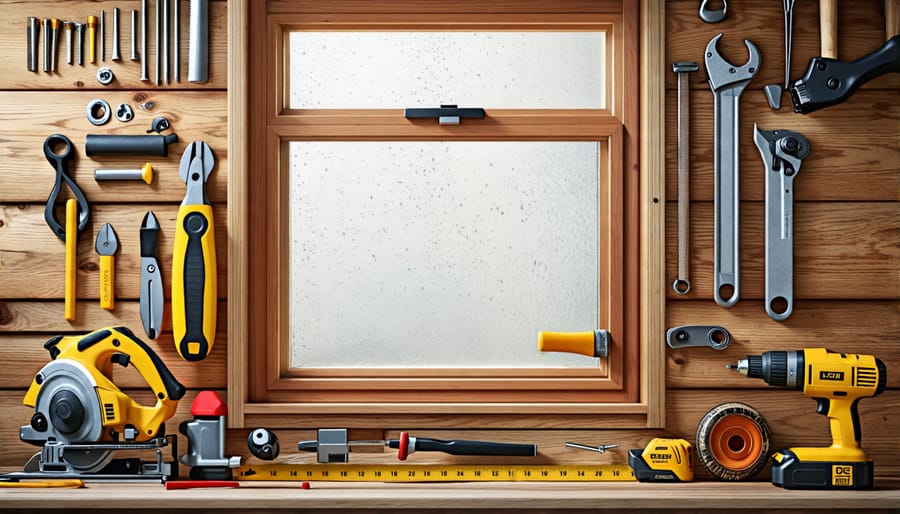
To successfully install a window in your shed, having the right tools and materials is crucial. Start with safety gear: goggles and gloves protect you from splinters and glass shards. A measuring tape is essential for precise measurements of the window and the cutout space on the shed wall. Mark these measurements clearly with a pencil. Use a leveling tool to ensure your window sits straight. A circular saw or a handsaw will help you cut through the shed wall, while a drill and a set of screws secure the window frame in place. Make sure you have a hammer for any additional nailing.
You’ll need shims to level the window and sealant to weatherproof it—consider silicone for its durability. Flashing tape is invaluable in preventing moisture from seeping in, ensuring your window installation is watertight. Don’t forget the window itself, ideally pre-checked for fit and quality. A screwdriver or power drill with a screwdriver bit will help tighten any loose ends. Lastly, paint or wood stain can touch up any exposed areas of the wall, leaving your shed looking neat and polished. With these tools and materials, your window installation can be a smooth and rewarding DIY project.

Choosing the Right Window
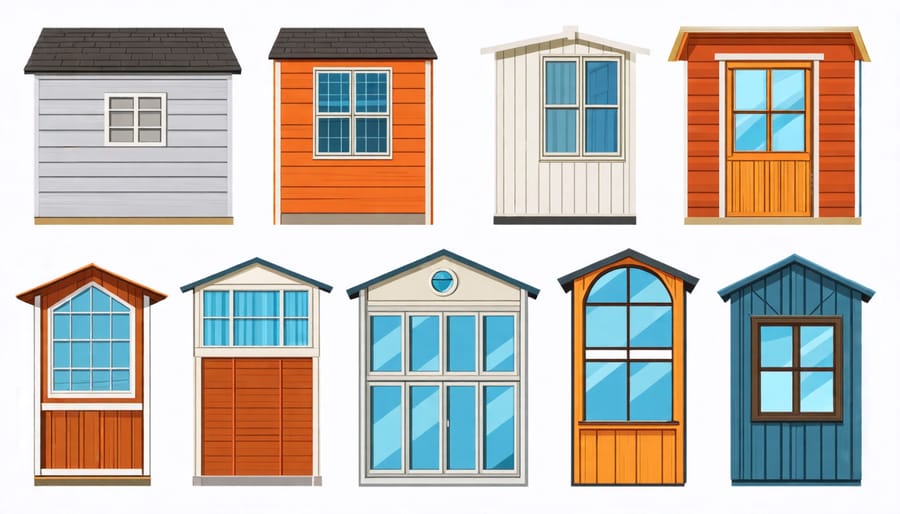
When choosing the right window for your shed, several key factors can help make your decision both functional and visually appealing. Start by considering the size of the window. A larger window will allow more natural light to brighten up your shed, making it easier to find tools and complete projects inside. However, ensure the window size is proportionate to the shed’s dimensions to maintain balance and avoid overwhelming the structure.
Next, think about the style of the window. Casement windows, which open outward with a crank, are great for ventilation, while fixed windows provide a sleek option for letting in light without the need to open. Consider a window style that complements the architectural style of your home if you want a cohesive look.
Material plays a crucial role too. Vinyl windows are low maintenance and durable, while wood offers a classic aesthetic that can be customized with paint or stain—perfect for DIY enthusiasts who enjoy a bit of crafting. Aluminum frames provide a modern, minimalist look and are extremely resistant to outside elements.
Finally, balance these factors within your budget. Custom windows can be an investment, offering precise fits and unique designs, while pre-fabricated options are often more budget-friendly. Remember, the goal is to enhance your shed’s utility while keeping the aesthetics in line with your personal style. Making a thoughtful choice in these areas will ensure your shed not only fulfills its purpose but also becomes a charming addition to your outdoor space.

Preparing Your Shed for Installation
Before the excitement of having your shed installed, it’s essential to ensure the area is ready and suitable for the structure. Begin by measuring and marking the installation site. Use stakes and string to outline the space, ensuring it’s not only large enough for the shed itself but also allows for some extra room on all sides for maintenance access. A level ground is crucial for maintaining your shed’s structural integrity, preventing issues like door misalignment or water pooling around the base. If your yard isn’t naturally level, you may want to consider adding a gravel bed or concrete slab to create a stable foundation.
Think about real-life scenarios where the shed’s accessibility and positioning could make life easier, such as placing it near a garden for easy tool access. Testimonial experiences suggest that a well-thought-out position can save time and effort in day-to-day tasks. Once the ground is level, think about anchoring your shed to avoid damage during high winds – this can be especially important in more turbulent climates. Remember, a little preparation goes a long way in keeping your shed a secure and enduring addition to your home.
Step-by-Step Window Installation

Cutting the Opening
Before cutting the opening for your new shed window, gather the essential tools: a tape measure, pencil, level, straightedge, and a power saw, such as a circular or reciprocating saw. Start by marking the window’s dimensions on the shed wall. Ensure accuracy by double-checking your measurements and using the level to confirm the lines are straight. This step is crucial for achieving a snug fit and avoiding unnecessary gaps or misalignment.
Safety is paramount when working with power tools. Protect yourself with safety goggles and gloves, and make sure your working area is clear of debris. Begin by cutting small pilot holes at each corner of the marked rectangle with a drill. These will serve as entry points for the saw and guide you as you cut along the lines. Follow the outline carefully, applying even pressure and allowing the saw to do the work.
Once the cut is complete, remove the section of the wall and set it aside. Check the opening for rough edges and sand them down if necessary to ensure a smooth surface for the window frame. This preparation will not only make the installation process easier but also enhance the overall finish of your shed project. Remember, taking your time during this step will help prevent mistakes and lead to a more professional-looking result.
Installing the Window Frame
Start by carefully positioning the window frame into the opening. It’s important to ensure that the frame fits snugly against the shed’s structure, so take your time to check the alignment. A handy tip is to use a level to make sure the frame is square and evenly placed. Once you’re satisfied with the positioning, secure the window frame using screws. Begin by fixing the top corners first; this stabilizes the frame and allows for minor adjustments if needed. As you work your way around, make sure the frame remains level and plumb. This step is crucial as it prevents any potential issues with opening or closing the window later on. If there are any small gaps between the frame and the wall, seal them with weatherproof caulk to keep drafts and moisture out. This little bit of effort will go a long way in ensuring your shed stays cozy and protected from the elements.
Sealing and Finishing Touches
To ensure your window installation in a shed is both functional and aesthetically pleasing, sealing and finishing touches are crucial. Start by applying a quality exterior-grade sealant around the window’s edges. This not only prevents potential leaks but also guards against drafts and pests, ensuring your shed stays snug and dry. When applying the sealant, use a steady hand for a smooth line, and clean any excess immediately with a damp cloth to maintain a tidy appearance.
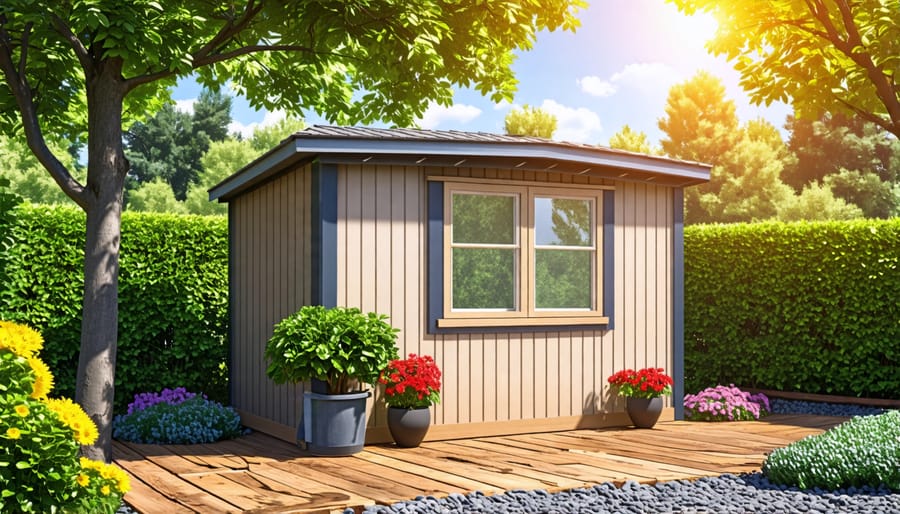
Once sealed, consider trimming around the window with appropriate molding or casing to enhance its look. This small detail can significantly elevate the overall appearance of your shed, giving it a polished finish. Choose materials and colors that complement your shed’s design, creating a cohesive aesthetic. Additionally, a fresh coat of exterior paint around the window can provide extra protection from the elements while adding a pop of color or a sophisticated touch. With these steps, your shed will not only function better but will also exude charm and durability.
Post-Installation Tips
To ensure the longevity of your newly installed shed window, regular maintenance is key. Start by keeping the glass and frame clean; a simple mixture of mild soap and water often does the trick. Clean windows not only enhance your shed’s appearance but also increase light entry. Next, focus on sealing the window properly to prevent leaks. Use high-quality, weather-resistant caulking around the edges and consider installing storm windows for added protection.
Periodically, check the window frame for any signs of wear or damage. Look out for drafts, which could indicate the need for resealing or minor repairs. For ongoing protection against the elements, familiarize yourself with effective waterproofing techniques that are suitable for your shed’s materials.
Finally, embrace preventive measures by touching up paint on wooden frames, using weatherstripping where needed, and ensuring that the window opens and closes smoothly. By staying proactive, you’ll enjoy a durable, efficient window that complements your shed for years to come.
Conclusion
Adding a window to your shed is a simple yet transformative project that brings an array of benefits. With natural light streaming in, your shed becomes not just a storage space, but a brighter, more inviting area. By enhancing ventilation, a window ensures your shed remains fresh and free from musty odors, while also improving energy efficiency when paired with insulating your shed. Many homeowners have found increased satisfaction and functionality in their sheds after installing a window, transforming them into personalized and productive workshops or serene garden retreats. Embrace this rewarding DIY project to elevate your shed’s utility and charm.


Leave a Reply