Protect your shed’s contents from moisture damage with a properly waterproofed floor. Prepare the surface by cleaning thoroughly, filling cracks, and ensuring adequate ventilation. Choose a high-quality waterproofing sealant suitable for your floor type, such as concrete, wood, or OSB. Apply the sealant evenly, following the manufacturer’s instructions for optimal coverage and drying time. Maintain your waterproofed floor with regular cleaning and reapplication as needed to keep your shed dry and your stored items safe for years to come.
Preparing the Shed Floor
Clear Out the Shed
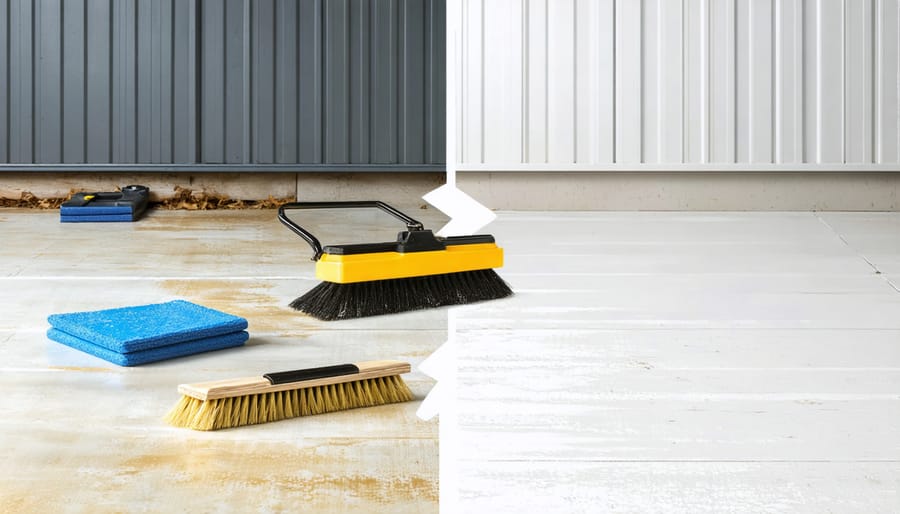
Before you can begin waterproofing your shed floor, it’s essential to clear out the space completely. Remove all stored items, such as tools, equipment, and boxes, to ensure you have a clean and unobstructed work area. Once the shed is empty, thoroughly sweep the floor to remove any loose dirt, debris, or cobwebs. For a more thorough cleaning, use a vacuum cleaner to eliminate any remaining dust or fine particles. This step is crucial as it allows you to inspect the floor for any cracks or damage that may need to be repaired before applying the waterproofing solution.
Inspect and Repair Floor
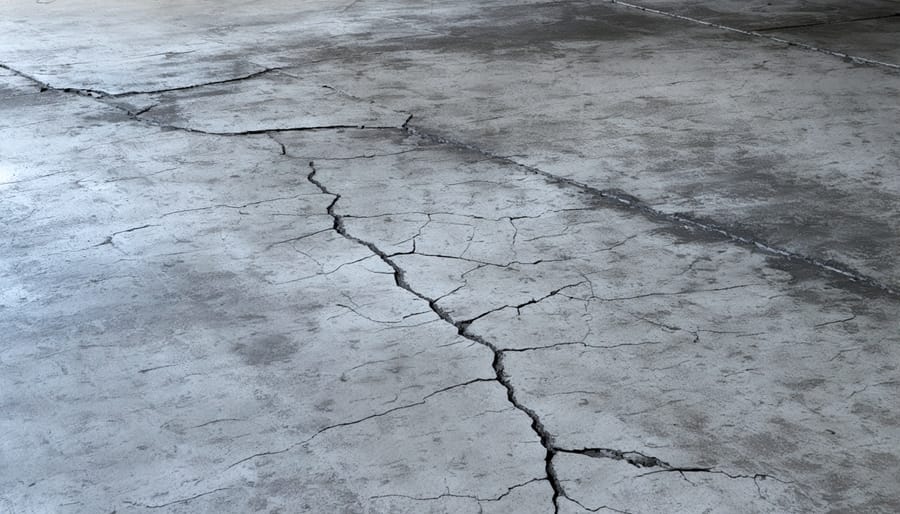
Before applying any waterproofing solution, it’s crucial to inspect your shed floor for any cracks or damage. Even the smallest cracks can allow moisture to seep through, undermining your waterproofing efforts. Take the time to thoroughly examine the entire floor surface, paying close attention to corners and edges where damage is more likely to occur.
If you spot any cracks or holes, don’t worry – these can be easily repaired using a concrete patching compound. This specialized product is designed to fill in gaps and create a smooth, even surface. When selecting a patching compound, look for one that is specifically formulated for use on concrete floors and is compatible with your chosen waterproofing solution.
To apply the patching compound, start by cleaning out any debris or loose material from the cracks using a wire brush or compressed air. Then, follow the manufacturer’s instructions to mix and apply the compound, using a trowel to press it firmly into the cracks. Once the compound has dried completely, sand down any rough spots to create a seamless finish.
By taking the time to properly inspect and repair your shed foundation before waterproofing, you’ll ensure a long-lasting, moisture-resistant floor that will protect your stored items for years to come.

Choosing a Waterproofing Sealant
When choosing a waterproofing sealant for your shed floor, there are several options to consider. Liquid rubber sealants are popular for their ease of application and flexibility, allowing the floor to expand and contract without cracking. Polyurethane sealants offer excellent durability and resistance to abrasion, making them ideal for high-traffic areas. Silicone sealants are another option, known for their water-repellent properties and ability to withstand extreme temperatures.
To select the right sealant, consider the material of your shed floor. For wooden floors, look for sealants specifically designed for waterproofing plywood or other wood surfaces. These often contain additional ingredients to prevent rot and decay. If your floor is concrete, opt for a sealant that can penetrate the surface and fill in any cracks or pores.
Also, think about the level of exposure your shed floor will face. If your shed is in an area prone to heavy rain or flooding, choose a sealant with higher waterproofing capabilities. For sheds in milder climates, a less aggressive sealant may suffice.
Finally, consider the appearance of your shed floor. Some sealants are transparent, allowing the natural look of the wood or concrete to show through, while others may add a slight tint or sheen. Choose a finish that complements your shed’s overall aesthetic and meets your personal preferences.
By taking the time to select the right waterproofing sealant for your specific needs, you’ll ensure a long-lasting, moisture-resistant floor that keeps your stored items safe and dry for years to come.
Applying the Waterproof Sealant
Tools and Materials Needed
To waterproof your shed floor, you’ll need a few essential tools and materials. Gather a broom, vacuum, or leaf blower to clean the floor thoroughly. You’ll also need a paintbrush, roller, or sprayer to apply the waterproofing product. Make sure to have a measuring tape to calculate the floor’s square footage. The main material you’ll need is a high-quality waterproofing sealant specifically designed for your floor type, such as concrete or wood. Consider purchasing a moisture meter to check the floor’s dampness before application. Lastly, don’t forget to wear protective gear, including gloves, a mask, and eye protection, to ensure your safety during the process.

Application Techniques
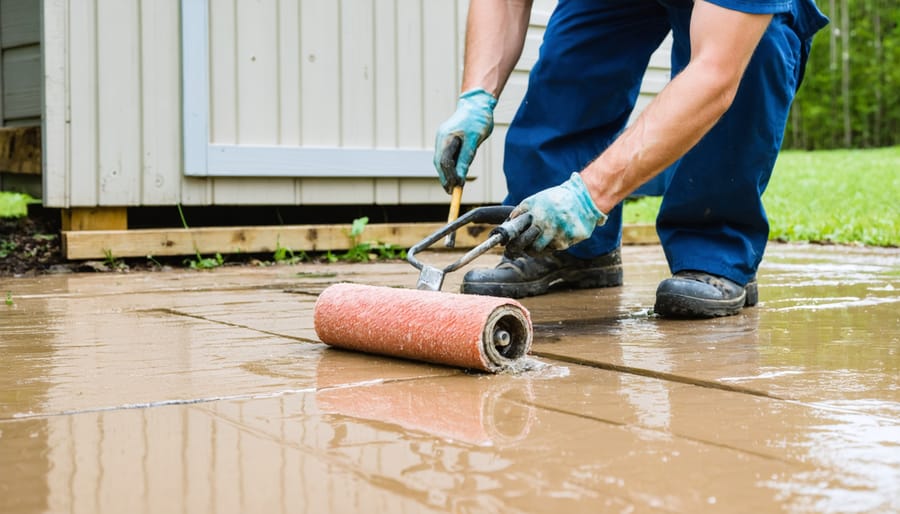
Before applying the waterproofing sealant, ensure the shed floor is thoroughly cleaned and completely dry. If using a liquid sealant, pour it into a paint tray and use a roller or brush to apply an even coat over the entire surface. Start at the back of the shed and work your way towards the door, maintaining a consistent application thickness.
For optimal coverage, apply the sealant in thin, overlapping strokes, ensuring that no areas are missed. Pay extra attention to corners, edges, and any cracks or crevices where water might seep through. If using a sprayer, hold it at a consistent distance from the surface and apply the sealant in a sweeping motion, overlapping each pass by about 50% to ensure even coverage.
If the product requires multiple coats, allow adequate drying time between each application as specified by the manufacturer. This is crucial for proper adhesion and maximum effectiveness. Once the final coat is applied, allow the sealant to cure fully before walking on the surface or placing any items on the shed floor.
For best results, apply the waterproofing sealant during dry weather conditions with temperatures above 50°F (10°C). Avoid applying the product in direct sunlight or when rain is expected within 24 hours of application. By following these techniques and adhering to the manufacturer’s guidelines, you can ensure a durable, long-lasting waterproof barrier that will protect your shed floor and the items stored within.
Allowing Proper Drying Time
Allowing your newly waterproofed shed floor to dry and cure completely is crucial for achieving the best results. Depending on the product used and environmental conditions, this process can take anywhere from 24 to 72 hours. Avoid walking on the surface or placing items back in the shed during this time, as it can disrupt the curing process and reduce the effectiveness of the waterproofing. Proper drying and curing ensure that the sealant adheres well to the surface, creating a durable barrier that will prevent water intrusion and protect your shed floor for years to come. Once the recommended drying time has passed, you can safely start using your shed again, knowing that your belongings are well-protected from moisture damage.
In conclusion, waterproofing your shed floor is a worthwhile investment that offers numerous benefits. By taking the time to properly prepare and apply a waterproofing solution, you can protect your stored items from moisture damage, prevent mold and mildew growth, and extend the life of your shed. Not only will this save you money in the long run, but it will also provide peace of mind knowing that your belongings are safe and secure. Ensure your shed’s efficiency and longevity by complementing these efforts with strategies to organize your shed effectively. So, don’t wait until it’s too late – take action today and enjoy a dry, comfortable, and long-lasting storage space for years to come.


Leave a Reply