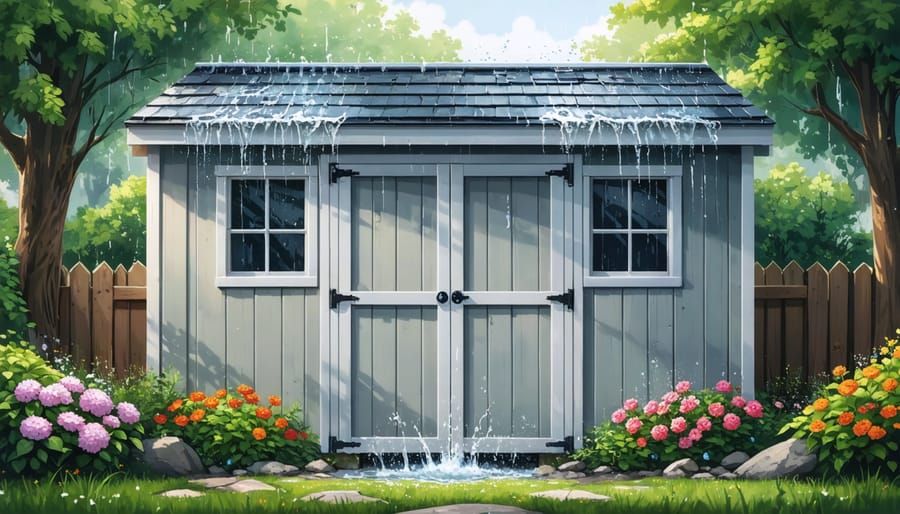
Seal gaps around doors, windows, and seams with waterproof caulking to keep water out. Apply a quality waterproofing sealant to exterior walls, paying extra attention to corners and edges. Install drip edges and gutters to direct water away from the shed’s foundation. Regularly inspect the roof and repair any damaged or missing shingles to prevent leaks.
Inspect the Shed Exterior
Check the Roof
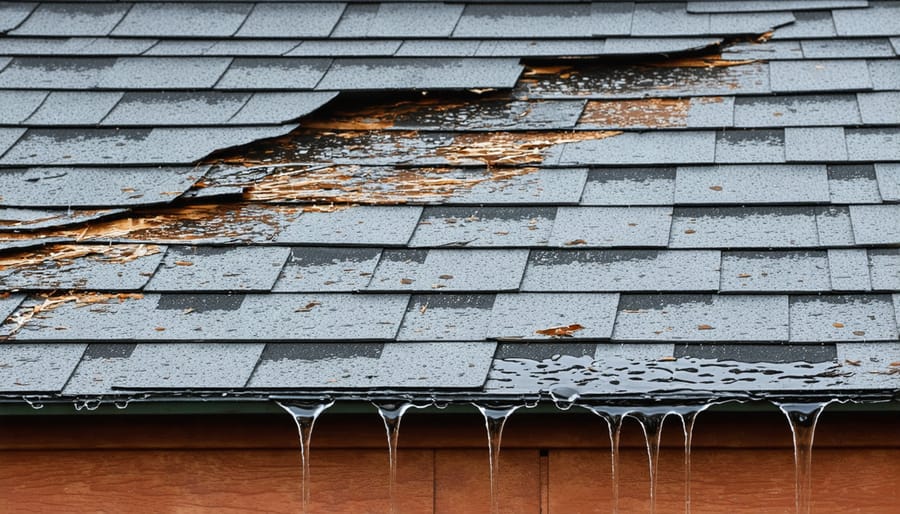
Before applying any waterproofing products, thoroughly inspect your shed’s roof for signs of damage. Look for missing, loose, or curled shingles that may allow water to seep through. Pay close attention to areas around vents, chimneys, and flashing, as these are common spots for leaks. If you notice any holes or cracks, repair them immediately with roofing cement or sealant. For more extensive damage, consider replacing the affected shingles entirely. Don’t forget to check the underside of the roof from inside the shed for any signs of water stains or mold, which can indicate a leak. By addressing these issues promptly, you can prevent further damage and ensure your shed remains dry and protected from the elements.

Examine Walls and Foundation
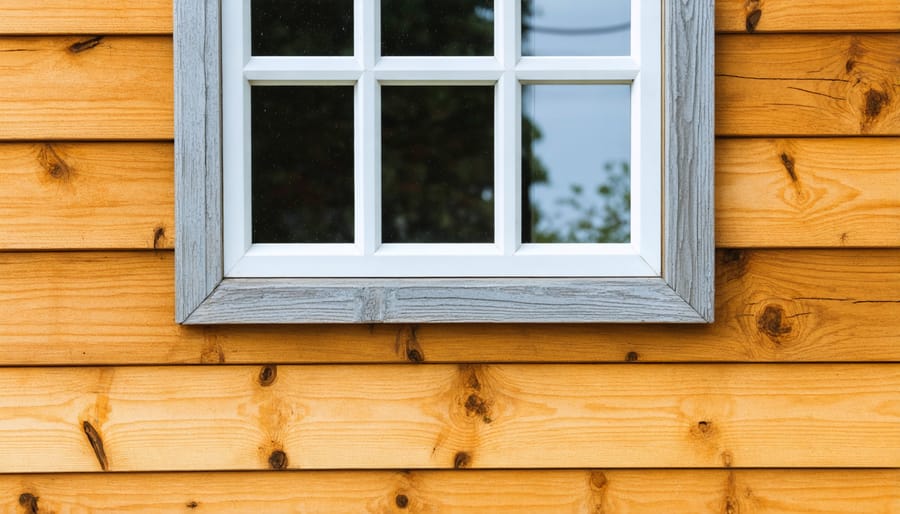
Before applying any waterproofing products, thoroughly inspect your shed’s exterior for signs of damage or deterioration. Check the siding, trim, door frames, and the base of the shed for cracks, gaps, or rotting wood. Pay special attention to areas exposed to moisture, such as near the ground or around windows and doors. If you find any issues, address them promptly to prevent further damage. Use wood filler or caulk to fill small cracks and gaps, sand down rough spots, and replace severely damaged pieces. By taking care of these problems early on, you’ll create a solid foundation for your waterproofing efforts and extend the life of your shed. Remember, a little maintenance goes a long way in keeping your outdoor storage space dry and protected from the elements.
Make Necessary Repairs
Roof Repairs
To ensure your shed remains watertight, inspect the roof for any damaged or missing shingles and replace them promptly. Pay close attention to the flashing around vents, chimneys, or skylights, as these areas are prone to leaks. Apply a quality sealant to create a waterproof barrier. While on the roof, look for any holes, gaps, or cracks, and repair them using a suitable patching material or sealant. Remember, a small leak can quickly lead to significant water damage, so it’s essential to address any issues as soon as you spot them. By taking a proactive approach to roof maintenance, you’ll extend the life of your shed and keep your stored items safe and dry.
Wall and Foundation Fixes
To fix walls and foundations, start by inspecting the shed’s siding for cracks, holes, or rotted wood. Fill any cracks with exterior-grade caulk, and replace damaged panels or boards. Check for gaps around windows and doors, and seal them with weatherstripping or caulk. Consider adding a fresh coat of paint or stain to protect the wood from moisture. If your shed has a concrete foundation, repair any cracks or holes with hydraulic cement or masonry crack filler. For added protection, apply a waterproof sealant to the foundation. If you plan to install a window, ensure it is properly sealed and flashed to prevent water infiltration. By addressing these potential problem areas, you can significantly improve your shed’s water resistance and extend its lifespan.
Clean and Prepare Surfaces
Before applying any waterproofing treatment, it’s crucial to thoroughly clean and prepare the shed’s surfaces. Start by removing any stored items and sweeping out debris, dust, and cobwebs. Using a pressure washer or garden hose, spray down the exterior walls, roof, and foundation, paying extra attention to areas with built-up dirt or mildew. If needed, scrub stubborn stains with a soft-bristled brush and mild detergent solution.
Next, inspect the shed for any cracks, holes, or damaged areas that need repair. Fill small cracks with exterior-grade caulk, and patch larger holes or rotted sections with wood filler or replacement boards. Sand down rough spots and splinters to create a smooth surface for the waterproofing product to adhere to.
If your shed has plywood walls or flooring, consider using a specialized product to waterproof plywood for added protection. Once all repairs are complete, allow the shed to dry thoroughly for at least 24 hours before proceeding with the waterproofing treatment. Proper cleaning and preparation will ensure optimal results and long-lasting water resistance for your shed.
Apply Waterproof Sealant
Choose the Right Product
When choosing a waterproofing sealant for your shed, consider the material it’s made from and its location. For wooden sheds, a silicone or polyurethane sealant works well, forming a durable, water-resistant barrier. Rubber sealants are ideal for metal sheds, flexing with temperature changes to maintain a watertight seal. If your shed is in a spot exposed to harsh sunlight or extreme temperatures, opt for a UV-resistant and temperature-stable sealant. Don’t forget to check the product’s compatibility with your shed’s paint or finish. By selecting the right sealant for your shed’s specific needs, you’ll ensure long-lasting protection against moisture damage.
Prepare the Sealant
Before applying the waterproofing sealant, carefully open the container and stir the contents thoroughly with a paint stick to ensure an even consistency. If using a caulk gun, cut the nozzle at a 45-degree angle to the desired bead size. For sprayers, dilute the product per the manufacturer’s instructions. Load the prepared sealant into your application tool, making sure it’s secure and ready for use. Always follow the product guidelines for optimal results and safety.

Apply Sealant Properly
When applying sealant, use long, even strokes to ensure consistent coverage. Pay close attention to corners, edges, and seams where water is most likely to penetrate. Smooth the sealant bead with a wet finger or tool to create a neat, gap-free finish that will effectively block moisture. Allow the sealant to dry completely according to the manufacturer’s instructions before applying additional coats or exposing the shed to water. Proper application is key to achieving a durable, waterproof barrier that will protect your shed for years to come. Take your time and don’t rush the process – a little extra care now will save you from costly repairs down the road.
Coat the Roof
Select Roof Coating
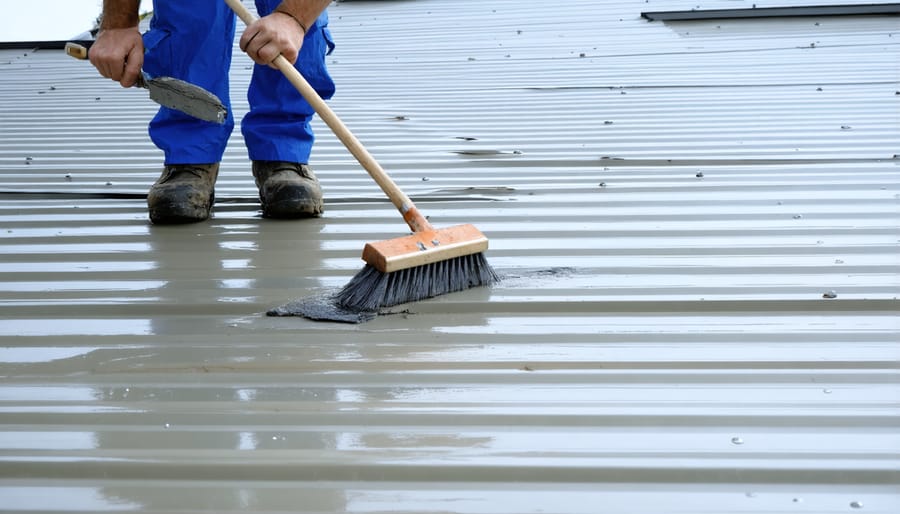
When selecting a roof coating, opt for a brush-on or spray-on product that is compatible with your shed’s roofing material. For metal roofs, acrylic or elastomeric coatings work well, offering excellent adhesion and flexibility. If you have an asphalt shingle roof, choose a coating specifically designed for this material to ensure proper bonding and durability. Consider the climate in your area and select a coating with UV resistance and the ability to withstand extreme temperatures. Read product labels carefully and consult with a professional if unsure about compatibility or application methods. A high-quality, compatible roof coating will provide a durable, waterproof barrier for your shed.
Apply Roof Coating
Once you’ve chosen a suitable roof coating, it’s time to apply it. Start by thoroughly mixing the coating according to the manufacturer’s instructions. For best results, use a brush or roller to apply an even layer across the entire roof surface. Make sure to cover all seams, edges, and corners, as these areas are more prone to leaks. If you’re using a spray-on coating, follow the product guidelines for application and safety precautions. Allow the first coat to dry completely before applying a second layer for added protection. Remember, if you decide to install metal roofing instead, proper application is still crucial for optimal waterproofing. After the final coat has been applied, give the coating ample time to cure according to the product’s recommended timeline. This process ensures that your shed roof is fully sealed and ready to withstand the elements.

Maintain Your Waterproofing
To maintain your shed’s waterproofing, schedule regular inspections at least twice a year. Look for any signs of wear, damage, or leaks, and address them promptly. Clean the exterior of your shed annually using a gentle pressure washer or a soft-bristled brush with mild detergent to remove dirt, debris, and mildew. This not only keeps your shed looking great but also prevents buildup that can compromise the waterproofing.
Reapply waterproofing products every few years, or as recommended by the manufacturer, to ensure continued protection. Don’t forget to check the roof and reapply sealant around flashing, vents, and other penetrations. By staying on top of maintenance and catching any issues early, you’ll extend the life of your shed and keep it looking and functioning at its best for years to come.
By waterproofing your shed, you’ll not only protect your valuable tools and belongings from moisture damage but also extend the life of your shed. Consider exploring creative ideas like transforming your backyard with a DIY garden shed greenhouse to make even better use of the space. A well-maintained, waterproof shed can provide years of reliable storage and serve as an attractive addition to your property. Don’t wait until leaks and water damage appear – take action now to safeguard your investment. With the right materials and a little effort, you can ensure your shed remains dry, functional, and looking great for years to come. Start your waterproofing project today and enjoy the peace of mind that comes with a properly protected shed.


Leave a Reply