Install metal roofing on your shed in 5 simple steps:
1. Measure your shed roof and order metal roofing panels, allowing an extra 3″ on all sides for overhang.
2. Remove any existing roofing material and repair damaged decking or rafters.
3. Install roofing felt as an underlayment for added protection against moisture.
4. Starting at the eave, secure the first metal panel using rubber-gasketed screws, overlapping subsequent panels by 6″ at the ends.
5. Seal the ridge cap, protrusions, and edges with silicone caulk for a watertight finish.
With the right tools and preparation, you can upgrade your shed roof to durable metal in a weekend. Follow these steps for a beautiful, long-lasting roof that will protect your shed and its contents for decades to come.
Step 1: Gather Your Materials and Tools
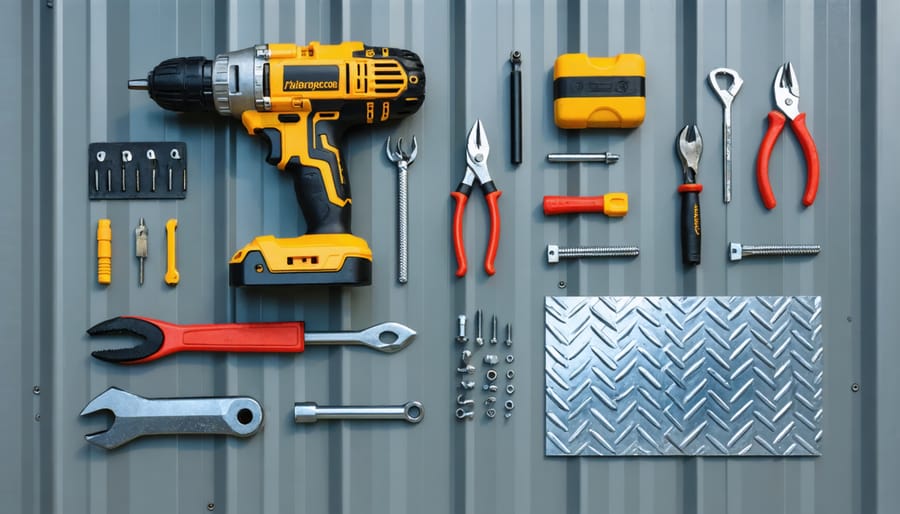
To install metal roofing on your shed, you’ll need to gather the necessary materials and tools. For materials, you’ll need metal roofing panels, which come in various colors and profiles to suit your style. Make sure to measure your roof accurately to determine the number of panels needed. You’ll also need closure strips to seal the gaps between the panels and the ridge cap, as well as roofing screws with rubber washers to secure the panels to the shed’s roof deck.
In terms of tools, a cordless drill is essential for driving the screws efficiently. Tin snips are handy for cutting the metal panels to size and shaping them around obstacles like vent pipes. A tape measure ensures accurate measurements, while a carpenter’s square helps you maintain straight lines and right angles. Don’t forget a pair of work gloves to protect your hands from sharp metal edges, and a ladder to access the roof safely. With these materials and tools on hand, you’ll be well-prepared to tackle your shed’s metal roofing installation and give it a durable, weather-resistant upgrade that looks great too.

Step 2: Remove the Old Roofing
Before installing your new metal roofing, you’ll need to remove the old shingles or roofing material. This is a crucial step to ensure a stable and secure foundation for your shed’s new roof. Start by using a roofing shovel or pry bar to carefully lift and remove the old shingles, working your way from the peak down to the eaves. Be cautious not to damage the underlying roof deck during this process.
As you remove the old roofing, inspect the roof deck for any signs of rot, water damage, or structural issues. If you notice any problems, now is the time to address them before proceeding with the installation. Replace any damaged or rotted wood to create a solid base for your new metal roofing.
Once all the old material is removed, sweep the roof deck clean of any debris, nails, or loose particles. This will help the new metal panels lay flat and secure against the surface. If your roof deck is particularly uneven or has gaps, consider installing a layer of roofing felt or underlayment to create a more uniform surface and provide an extra layer of protection against moisture.
With the old roofing removed and the roof deck prepared, you’re now ready to move on to the next step of installing your new metal roofing. Taking the time to properly remove and dispose of the old materials will pay off in the long run, ensuring a durable and long-lasting shed roof.
Step 3: Install Roof Underlayment
Before securing your metal roofing panels, it’s crucial to install a layer of underlayment to protect your shed from moisture damage. Underlayment acts as a barrier, preventing water from seeping through any gaps or holes in the roofing material. To begin, roll out the underlayment horizontally across the roof, starting at the bottom edge and working your way up. Ensure that each row overlaps the previous one by at least 2 inches to create a weathertight seal. Use a staple gun or roofing nails to secure the underlayment to the plywood sheathing every 6 to 8 inches along the edges and in the center. For added protection against strong winds, apply a strip of roofing tape along the seams and edges of the underlayment. Remember to trim any excess material hanging over the sides of the roof using a utility knife. By taking the time to properly install your underlayment, you’ll be setting your metal roof up for long-lasting success and ensuring your shed remains dry and protected from the elements.
Step 4: Measure and Cut the Metal Panels
Measuring and cutting the metal roofing panels is a crucial step in ensuring a proper fit for your shed roof. Start by measuring the length of your roof from the peak to the eave, adding an extra inch for overhang. Next, measure the width of your roof from one end to the other, again adding an inch for overhang on each side. Transfer these measurements to your metal panels, using a straight edge and a permanent marker to ensure accuracy.
When it comes time to cut the panels, you have a couple of options. For smaller cuts, a pair of heavy-duty tin snips can do the job. Make sure to wear gloves to protect your hands from the sharp edges. If you have a lot of panels to cut or need to make longer, straighter cuts, a circular saw with a metal cutting blade is a great choice. Remember to wear protective eyewear and a dust mask when using power tools.
As you measure and cut, keep in mind that it’s better to err on the side of leaving a little extra material rather than cutting the panels too short. You can always trim off excess later, but it’s much harder to stretch a panel that’s too small. With careful measuring and precise cutting, you’ll be ready to move on to installing your new metal roof and giving your shed a durable, attractive upgrade.
Step 5: Install the Metal Roofing Panels

Overlapping and Sealing the Panels
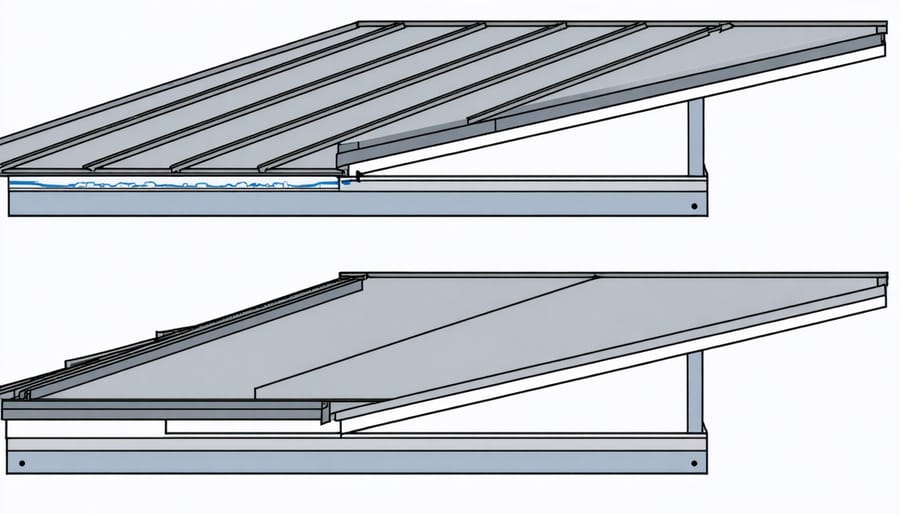
When overlapping the metal roof panels, ensure a minimum overlap of 2-3 inches on the sides and 6-8 inches on the ends for a secure, watertight seal. Apply a generous bead of high-quality, weather-resistant sealant along the entire length of each overlapping seam. Press the panels firmly together, allowing the sealant to spread evenly. For added protection, consider installing butyl tape or specialized foam closure strips beneath the overlaps before securing the panels with fasteners. This extra step helps prevent water infiltration and enhances the overall durability of your shed’s metal roof.
Step 6: Install Ridge Caps and Closure Strips
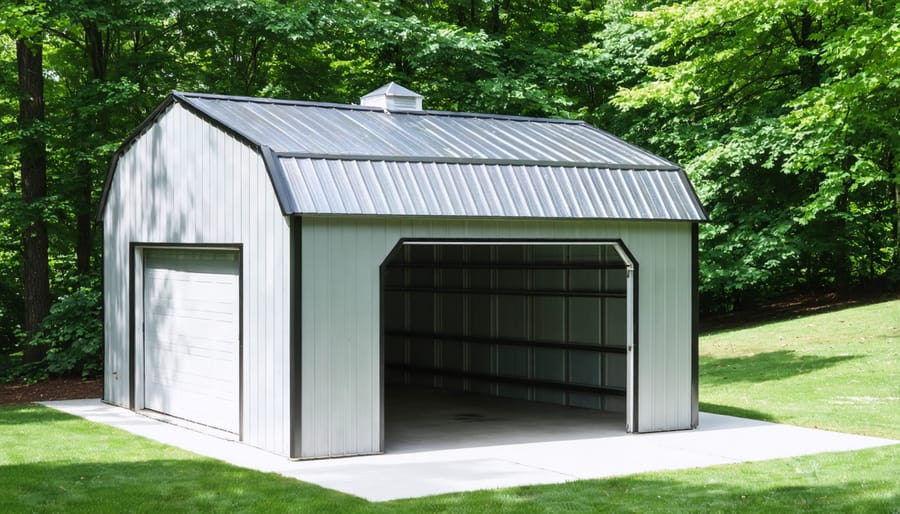
To complete your metal shed roof installation, you’ll need to install ridge caps along the peak where the two roof slopes meet. Start by placing a closure strip on either side of the ridge, ensuring a tight fit against the roof panels to prevent leaks and pest intrusion. Next, position the ridge cap over the closure strips, making sure it’s centered and overlaps the roof panels by at least an inch on each side. Secure the ridge cap using the same self-tapping screws and rubber washers as the roof panels, placing screws every 12 to 18 inches along both sides of the cap. For a polished look and added protection, consider applying a bead of silicone caulk along the underside of the ridge cap before installation. Once the ridge cap is in place, your metal shed roof is complete and ready to withstand the elements for years to come. Stand back and admire your handiwork – you’ve just successfully upgraded your shed with a durable, attractive metal roof that will provide reliable protection for your stored items.
Step 7: Clean Up and Admire Your Work
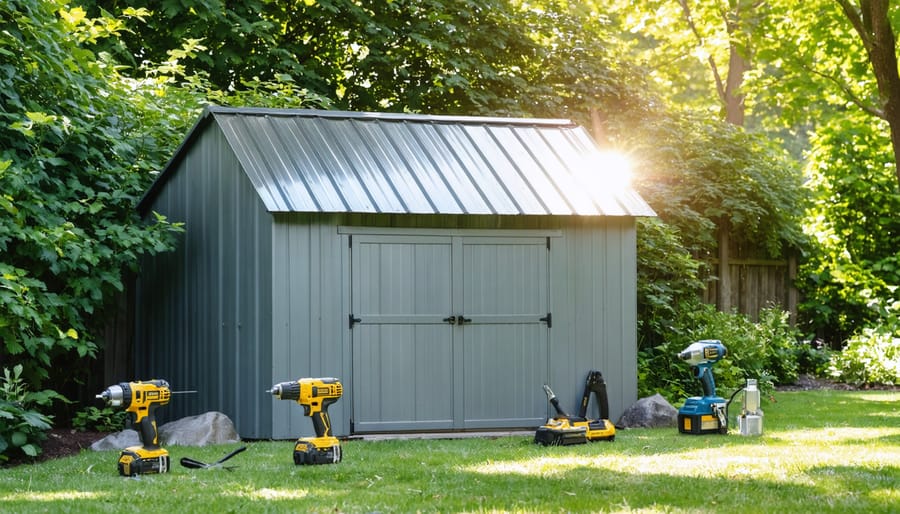
With your metal roofing installation complete, take a moment to clean up your workspace. Gather any remaining screws, fasteners, and tools, ensuring nothing is left behind on the roof or around the shed. Dispose of any debris or packaging materials responsibly. As you step back to admire your handiwork, appreciate the crisp lines and polished look of your newly installed metal roof. The sleek appearance not only enhances your shed’s aesthetic appeal but also provides durable protection against the elements for years to come. Now is also a great time to organize the interior of your shed, maximizing its storage potential and functionality.

In conclusion, installing a metal roof on your shed is a manageable DIY project that offers numerous benefits. Metal roofs are durable, long-lasting, and require minimal maintenance compared to other roofing materials. They also provide excellent protection against the elements, such as heavy rain, snow, and high winds. Moreover, metal roofs are energy-efficient, reflecting heat and keeping your shed cooler in the summer months. By following the steps outlined in this guide and taking the necessary safety precautions, you can successfully install a metal roof on your shed and enjoy its advantages for years to come. Not only will a metal roof enhance the functionality of your shed, but it will also improve its overall appearance, adding a sleek and modern look to your outdoor space. So, gather your tools, materials, and a helpful friend or two, and take on this rewarding DIY project with confidence!


Leave a Reply