
Smart Water Solutions That Make Your Shed Eco-Friendly (And Save You Money)
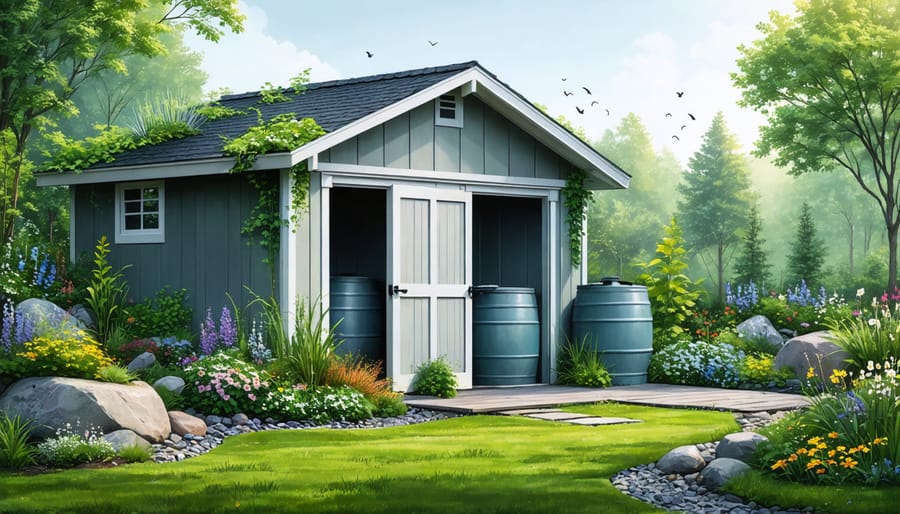
Transform your property’s water management with sustainable shed practices that protect both your investment and the environment. Install rainwater harvesting systems to capture roof runoff, reducing water bills while creating a reliable irrigation source. Design strategic drainage pathways using permeable materials and native plants to prevent flooding and soil erosion around storage structures. Implement water-efficient landscaping techniques like rain gardens and bioswales that naturally filter pollutants while beautifying your property. Smart water management isn’t just about conservation—it’s about creating resilient, self-sustaining systems that work with nature rather than against it. By integrating these practical solutions, homeowners can significantly reduce water waste, lower maintenance costs, and contribute to environmental preservation, all while maintaining functional and attractive outdoor spaces.
Rainwater Harvesting Systems for Your Shed
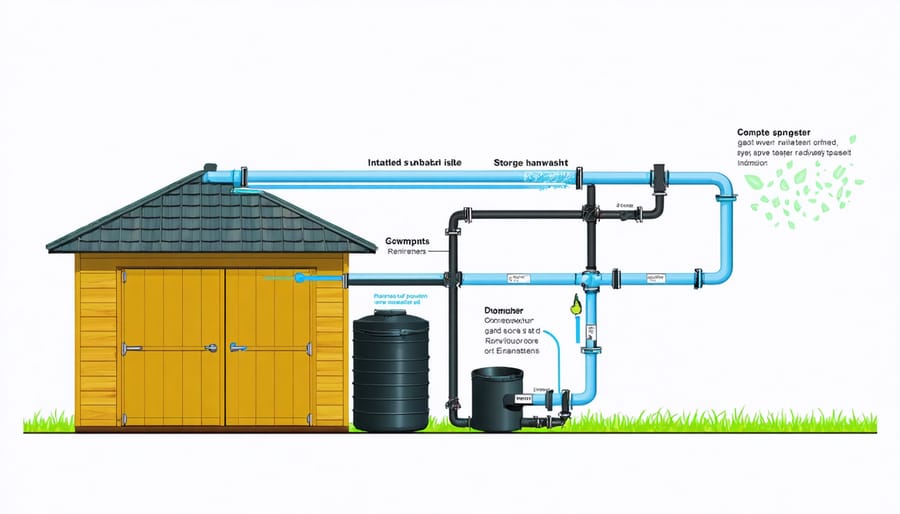
Setting Up Gutters and Downspouts
Installing a money-saving rainwater system starts with proper gutter and downspout placement. Begin by measuring your shed’s roofline and purchase gutters that extend the full length of each side where you want to collect water. Install gutter brackets every 24 inches along the fascia board, ensuring a slight downward slope (about 1/4 inch per 10 feet) toward your planned downspout location.
Secure the gutters to the brackets using screws and seal all joints with gutter sealant to prevent leaks. Install downspout outlets at the lowest points of your gutters, then attach your downspouts using mounting brackets every 6 feet. Place these brackets securely against your shed’s wall.
For optimal water collection, position your rain barrel or storage container beneath the downspout. Consider installing a first-flush diverter to filter out initial roof debris, ensuring cleaner collected water. Add mesh screens at gutter openings to prevent leaves and debris from clogging the system.
Remember to check and clean your gutters seasonally, and inspect all brackets and seals annually to maintain peak performance.
Storage Tank Selection and Placement
Selecting the right storage tank starts with calculating your water needs and available space. For most homes, a 500-1000 gallon tank provides a good balance between capacity and practicality. Look for UV-resistant polyethylene tanks, which offer durability and prevent algae growth while keeping costs reasonable.
Position your tank on level ground, preferably on a concrete pad or compacted gravel base. The foundation should extend 6-12 inches beyond the tank’s edges for stability. Consider placing the tank on the north or east side of your property to minimize sun exposure and reduce evaporation.
Keep tanks close to downspouts but away from tree roots that could damage the foundation. Allow at least 2 feet of clearance around the tank for maintenance access. If space permits, installing multiple smaller tanks rather than one large one offers flexibility and easier maintenance.
For aesthetic integration, consider partially concealing tanks with attractive screening or incorporating them into your landscape design. Some homeowners have successfully used climbing plants or decorative fencing to create a more pleasing look while maintaining easy access.
Water-Smart Landscaping Around Your Shed
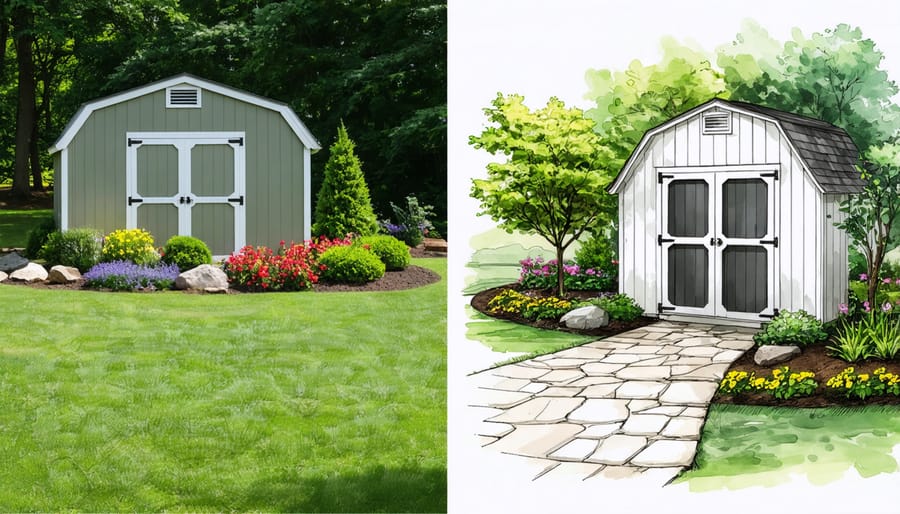
Natural Drainage Solutions
Natural drainage solutions work with your landscape’s existing contours to manage water flow effectively around your shed. By strategically grading the surrounding area, you can create gentle slopes that direct water away from your structure while maintaining a beautiful, natural appearance. Start by assessing your yard’s natural water patterns during rainfall to identify problem areas and potential drainage paths.
Consider incorporating swales – shallow, vegetated channels that follow the land’s natural contours. These subtle depressions, when lined with eco-friendly building materials like river rock or gravel, create attractive pathways for water to flow naturally. Native plants along these channels help absorb excess water while adding visual appeal to your yard.
French drains offer another effective solution, combining natural materials with smart design. These gravel-filled trenches, topped with permeable landscape fabric, channel water away from your shed while blending seamlessly with your garden design. For smaller spaces, rain gardens filled with water-loving plants can capture and filter runoff, creating a beautiful focal point while managing excess water.
Remember to maintain a slight grade away from your shed’s foundation, typically about one inch per foot, to ensure proper drainage and prevent water damage over time.
Plant Selection for Water Management
Choosing the right plants for your water management strategy can make a significant difference in controlling runoff and maximizing water absorption around your shed. Native plants are particularly effective as they’re already adapted to local rainfall patterns and typically require less maintenance.
Consider incorporating deep-rooted grasses like switchgrass or buffalo grass near your shed’s perimeter. These plants create natural channels for water to seep into the soil while preventing erosion. For areas with heavy water flow, sedges and rushes work wonderfully as they thrive in wet conditions and help slow down water movement.
Create a rain garden using moisture-loving perennials like black-eyed susans, coneflowers, and native ferns. Position these plants in slight depressions where water naturally collects. For steep slopes or areas prone to erosion, groundcovers like creeping juniper or pachysandra provide excellent soil stabilization while adding visual appeal.
Remember to group plants with similar water needs together. This practice, known as hydrozoning, ensures efficient water use and reduces maintenance requirements. Consider adding drought-resistant shrubs like lavender or rosemary in areas that receive less rainfall, creating a balanced and sustainable landscape that manages water naturally while enhancing your property’s appearance.
DIY Water Conservation Features
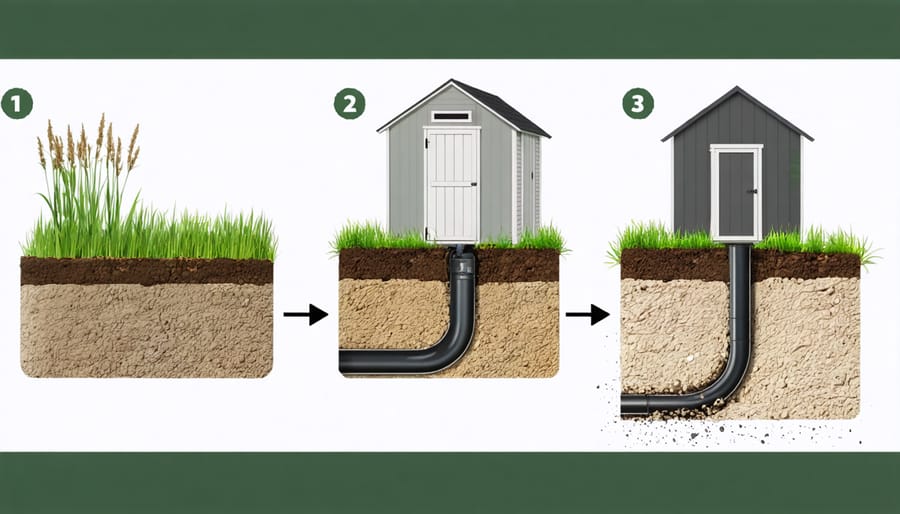
French Drain Installation
A French drain is a simple yet effective solution for managing excess water around your property. This underground drainage system uses gravity to redirect water away from problem areas, preventing flooding and foundation damage.
To install a French drain, start by planning your drain’s path, ensuring it slopes away from your home at a rate of about 1 inch per 8 feet. Mark your intended route and dig a trench approximately 18-24 inches deep and 12 inches wide. Line the trench with landscape fabric to prevent soil from clogging the system.
Next, add 2-3 inches of gravel at the bottom of the trench. Place a perforated drain pipe (4-6 inches in diameter) on top of the gravel layer, making sure the holes face downward for optimal drainage. The pipe should be wrapped in a filter sock to prevent sediment buildup.
Fill the remaining space around and above the pipe with more gravel, leaving about 2-3 inches at the top for soil. Fold the excess landscape fabric over the gravel before adding topsoil and grass seed or other ground cover.
For best results, ensure your French drain outlets to a safe discharge point, such as a drainage ditch or rain garden. Regular maintenance, including occasional cleaning and inspection of the outlet, will keep your system working efficiently for years to come.
Rain Garden Design
A rain garden is a beautiful and practical solution for managing stormwater runoff while creating an attractive landscape feature. To build one, start by selecting a natural depression in your yard or creating a shallow basin at least 10 feet from your home’s foundation. The ideal location should catch water from downspouts, driveways, or other impervious surfaces.
Begin by testing your soil drainage by digging a hole and filling it with water. If it drains within 24 hours, you’re good to go. Create a bowl-shaped depression that’s about 4-8 inches deep, with gently sloping sides. The garden should be about 20-30% the size of the drainage area it serves.
Layer the bottom with a mix of native soil, compost, and sand to improve drainage. Choose native plants that can handle both wet and dry conditions – these might include cardinal flower, swamp milkweed, or blue flag iris. Plant taller species in the center and shorter ones around the edges for a natural, layered look.
Add a 2-3 inch layer of mulch to retain moisture and prevent soil erosion. Consider incorporating decorative rocks or river stones to create attractive water channels and prevent soil washout during heavy rains. Maintain your rain garden by removing weeds and refreshing mulch annually, and you’ll have a sustainable, eye-catching feature that helps protect local water quality while providing habitat for beneficial insects and birds.
Maintenance and Monitoring
Regular maintenance is key to keeping your water management systems working efficiently year-round. Start by inspecting gutters and downspouts monthly, removing any leaves, twigs, or debris that could cause blockages. During autumn, you might need to check more frequently as falling leaves can quickly accumulate.
For rainwater collection systems, clean filters every three months and check tank water levels weekly. Inspect barrel connections and seals for any signs of wear or leakage, and ensure overflow mechanisms are functioning properly. If you notice any algae growth, clean the tanks using environmentally friendly cleaning solutions.
Monitor your soil moisture levels regularly using a simple moisture meter, especially around foundation areas. This helps you adjust watering schedules and identify potential drainage issues before they become problems. During rainy seasons, observe how water flows around your property and make note of any areas where water pools or causes erosion.
Keep detailed maintenance records, including dates of inspections, repairs, and system adjustments. This documentation helps track seasonal patterns and plan preventive maintenance. Set calendar reminders for routine tasks like cleaning filters and checking water quality.
Don’t forget to winterize your system before freezing temperatures arrive. Drain outdoor pipes, disconnect and store rain barrels indoors if possible, and insulate exposed plumbing to prevent frost damage. Regular maintenance not only extends the life of your water management systems but also ensures they remain effective at conserving water and protecting your property.
Implementing sustainable water management practices around your shed not only protects your investment but also contributes to environmental conservation. By incorporating rainwater harvesting systems, proper drainage solutions, and water-smart landscaping, you can significantly reduce water waste while maintaining a functional and attractive storage space. Remember that even small changes, like installing rain barrels or creating a simple French drain, can make a meaningful impact. Start with basic improvements and gradually expand your sustainable practices as you become more comfortable with these techniques. Your efforts will not only help preserve our precious water resources but also lead to lower utility bills and a more resilient property. Take the first step today by choosing one sustainable practice to implement – your wallet and the environment will thank you.