
Smart Outdoor Outlets Make Your Backyard Work Smarter (Not Harder)
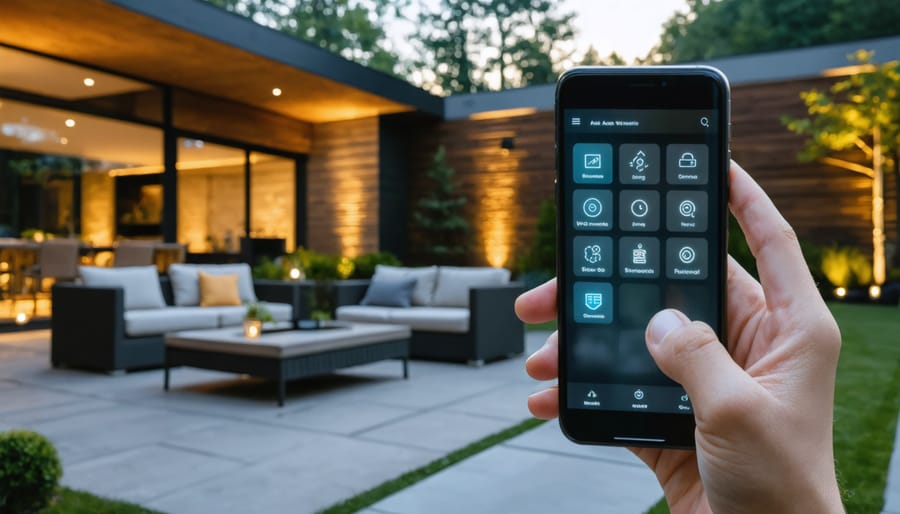
Transform your outdoor living space with smart outlets that add convenience, security, and automation to your backyard entertainment setup. Installing outdoor smart outlets lets you control holiday lights, landscape lighting, and outdoor appliances directly from your smartphone while ensuring weather-resistant protection for your electrical connections. With proper installation, these WiFi-enabled devices create a seamless bridge between your home automation system and outdoor electronics, enabling scheduled operations, voice control, and energy monitoring. This guide walks you through the essential steps to safely install outdoor smart outlets, from selecting the right weatherproof model to connecting it with your smart home ecosystem – all while maintaining compliance with electrical codes and safety standards.
Safety First: Preparation and Requirements
Required Tools and Materials
Before starting your outdoor smart outlet installation, gather these essential tools and materials:
Tools:
– Phillips head screwdriver
– Flathead screwdriver
– Wire strippers
– Voltage tester
– Electric drill with bits (if mounting to brick or concrete)
– Level
– Pencil for marking
– Safety glasses
– Work gloves
Materials:
– Outdoor-rated smart outlet (WiFi or Bluetooth enabled)
– Weather-resistant outlet cover
– Weatherproof electrical box (if replacing existing box)
– Waterproof silicone sealant
– Electrical tape
– Wire nuts
– Mounting screws and anchors
– Extra electrical wire (14 or 12 gauge, matching existing)
– Cable connectors
Optional but recommended:
– Multi-meter for testing connections
– Circuit map of your home
– Smartphone or tablet (for setup)
– Outdoor-rated extension cord (temporary power)
Remember to check your local building codes, as requirements may vary by region. Having these items ready before you begin will ensure a smooth installation process.

Weather Rating Considerations
When installing outdoor smart outlets, weather protection is crucial for safety and longevity. Look for outlets rated as “weather-resistant” with a minimum rating of NEMA Type 3R, which provides protection against rain, snow, and sleet. For areas with direct exposure to elements, opt for NEMA Type 4X outlets that offer additional protection against corrosion and windblown dust.
The outlet cover should have a “while-in-use” design that maintains weatherproof protection even when devices are plugged in. These covers typically feature a clear or tinted bubble that closes securely over plugged-in cords. Check that all gaskets and seals are intact and properly installed to prevent moisture infiltration.
Consider your climate when choosing placement. Install outlets under eaves or covered areas when possible, and ensure they’re positioned at least 12 inches above ground level to prevent water pooling. In regions with extreme weather, additional weatherproofing measures like silicone sealant around mounting plates may be necessary.
Step-by-Step Installation Process
Power Off and Safety Check
Before starting any electrical work, safety must be your top priority. Head to your home’s electrical panel and locate the circuit breaker that controls power to your outdoor outlet installation area. Switch it off firmly and verify the label matches the correct location. To double-check that power is truly off, use a non-contact voltage tester on the existing outlet or wires in your work area.
Even after turning off the breaker, always treat electrical wires as if they’re live. Place a piece of tape over the breaker switch and let others in your household know not to turn it back on while you’re working. It’s also smart to post a note on the panel as an extra precaution.
Keep your work area dry and well-lit, and avoid installing during wet weather. Have a partner nearby who can help if needed and knows where the main power shutoff is located. Remember to wear insulated gloves and use tools with rubber-coated handles for additional safety. These simple precautions will help ensure your smart outlet installation goes smoothly and safely.
Removing the Old Outlet
Before touching any wiring, turn off power to the circuit at your main electrical panel and verify the outlet is dead using a voltage tester. Remove the outdoor outlet cover plate by unscrewing the mounting screws. Take a photo of the existing wiring configuration to reference later – this will be incredibly helpful during installation.
Carefully unscrew the outlet from the electrical box, then gently pull it out to expose the wiring connections. You’ll typically see black (hot), white (neutral), and green or bare copper (ground) wires. Loosen the terminal screws or wire nuts connecting these wires to the old outlet. As you disconnect each wire, gently bend them away from the outlet to keep them separated and clearly visible.
Once all wires are disconnected, remove the old outlet completely. Take a moment to inspect the electrical box and wires for any signs of damage, water intrusion, or corrosion. If you notice any issues, it’s best to contact a licensed electrician before proceeding with the installation of your new smart outlet.
Installing the Smart Outlet
Before beginning the installation, ensure the power is completely turned off at the circuit breaker. Double-check with a voltage tester to confirm there’s no electricity flowing to the outlet box. Now, remove the old outlet cover and carefully unscrew the existing outlet from the electrical box.
Take note of how the existing wires are connected – you’ll typically see black (hot), white (neutral), and green or bare copper (ground) wires. Carefully disconnect these wires from the old outlet, making sure they remain intact and undamaged.
Your smart outlet will come with detailed manufacturer instructions, but the basic wiring process involves connecting the corresponding wires: black to black, white to white, and ground to ground. Use wire nuts to secure these connections, ensuring they’re tight and properly insulated. Some smart outlets may have additional wires for special features – refer to your product manual for specific guidance.
Gently tuck all wires back into the electrical box, making sure they’re not pinched or cramped. Position your smart outlet and secure it to the box using the provided screws. Before attaching the weatherproof cover, test the fit to ensure it will close properly around any plugged-in cords.
Install the weatherproof cover, making sure all gaskets are properly seated to maintain a watertight seal. Some smart outlets come with their own specialized covers; others may require a separate compatible cover rated for outdoor use. Ensure all screws are tight but not overtightened, as this could crack the cover.
Once everything is secured, restore power at the circuit breaker. Your smart outlet should show signs of power – typically an LED indicator light. Follow the manufacturer’s instructions to connect the outlet to your home’s WiFi network and complete the smart setup process through the corresponding app.
Test the outlet by plugging in a simple device like a lamp, and verify both manual and app controls are working correctly. Take a moment to customize your settings, such as schedules or power monitoring features, through the app.

Setting Up Your Smart Outlet
App Configuration
Once your outdoor smart outlet is physically installed, it’s time to connect it to your smartphone app. Start by downloading your outlet manufacturer’s recommended app from your device’s app store. Most major brands like TP-Link Kasa, Wyze, or SmartThings offer user-friendly apps that integrate seamlessly with their outdoor automation controls.
Open the app and create an account if you haven’t already. Make sure your phone is connected to your home’s 2.4GHz WiFi network, as most smart outlets don’t support 5GHz connections. Enable Bluetooth on your phone and press the outlet’s pairing button (usually indicated by a WiFi symbol) until the status light begins blinking.
In your app, select “Add Device” or a similar option, and follow the on-screen instructions to complete the pairing process. Once connected, you can customize your outlet’s settings, including creating schedules, setting timers, and enabling away modes. Consider naming your outlet based on its location or purpose (like “Patio Lights” or “Holiday Decorations”) to make it easier to identify in your app.
Remember to test the connection by turning the outlet on and off through the app before finalizing your setup.

Smart Home Integration
Once your outdoor smart outlet is installed, integrating it with your existing smart home ecosystem opens up a world of automation possibilities. Most modern smart outlets are compatible with popular platforms like Amazon Alexa, Google Home, and Apple HomeKit. Start by opening your smart home app and selecting “Add Device” or a similar option. Follow the app’s prompts to scan for new devices – your outlet should appear within a few moments.
To maximize functionality, consider grouping your outdoor outlet with other exterior devices like your smart outdoor lighting system. This allows you to create coordinated schedules and scenes. For example, you can set holiday lights and fountain pumps to turn on at sunset and off at bedtime.
Most smart outlets also integrate with IFTTT (If This Then That), enabling advanced automations. You might set up rules like turning off pool equipment when rain is detected or activating garden lights when motion is sensed. Remember to name your outlet something descriptive and location-specific, such as “Backyard East Outlet” or “Front Porch Power,” making it easier to identify when creating routines or using voice commands.
Installing outdoor smart outlets can transform your outdoor space into a more convenient and automated environment. By following the proper installation steps and safety guidelines we’ve discussed, you can enjoy the benefits of smart technology while maintaining a secure outdoor electrical system. Remember to regularly inspect your outdoor outlets for signs of wear or water damage, especially after severe weather conditions. Clean the outlet covers periodically to prevent debris buildup, and test the GFCI function monthly to ensure continued protection.
For optimal performance, keep your smart outlet’s app updated and maintain a strong Wi-Fi connection in your outdoor area. Consider setting up automated schedules for your outdoor lighting and devices to maximize energy efficiency. If you experience connectivity issues, check your network settings and ensure the outlet remains within your Wi-Fi range.
With proper installation and maintenance, your outdoor smart outlets will provide years of reliable service, allowing you to control your outdoor devices conveniently through your smartphone or voice commands. Stay proactive with maintenance, and don’t hesitate to contact a licensed electrician if you encounter any electrical issues that require professional attention.