
Smart Plant Watering That Won’t Drain Your Wallet
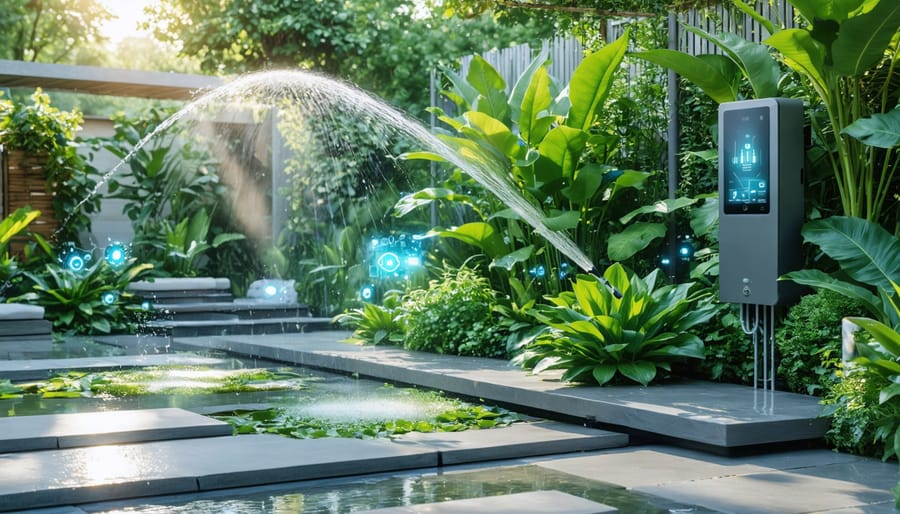
Transform your garden into a self-sustaining oasis with a smart irrigation system that saves time, water, and money. Modern outdoor plant irrigation has evolved far beyond basic sprinklers, offering homeowners sophisticated yet simple solutions for keeping plants healthy with minimal effort. Whether you’re managing a sprawling vegetable garden or maintaining pristine flower beds, automated irrigation systems deliver precise water amounts exactly when your plants need it most. From water-efficient drip lines to smart controllers that adjust based on weather patterns, today’s irrigation options combine cutting-edge technology with practical design to create the perfect balance of convenience and conservation. By implementing the right irrigation system, you’ll not only reduce your water bills and maintenance time but also create optimal growing conditions that help your plants thrive year-round.
Understanding Basic Irrigation Components
Essential Parts List
To build an effective outdoor irrigation system, you’ll need several key components that work together seamlessly. Start with a reliable water timer that connects to your outdoor faucet – this will be the brain of your system. Essential tubing comes in two main types: larger main lines (typically ½ inch) and smaller distribution tubes (¼ inch) for individual plants.
You’ll also need various connectors, including T-joints, elbows, and straight connectors to create your watering network. Don’t forget drip emitters, which deliver water directly to your plants, and stakes to hold tubing in place. Pressure regulators are crucial to ensure consistent water flow, while filters prevent debris from clogging your system.
Consider adding a backflow preventer to protect your home’s water supply, and grab some end caps to seal off unused tube endings. For convenience, include quick-connect fittings where you might need to disconnect parts for maintenance. Remember to pick up some hole punchers and goof plugs for making adjustments to your setup.
Budget-Friendly Alternatives
Creating an effective irrigation system doesn’t have to break the bank. Instead of expensive solenoid valves, consider using manual ball valves paired with mechanical timers, which can save you up to 70% on components. Replace costly drip emitters with modified plastic bottles or milk jugs – simply punch small holes in the bottom and bury them partially in the soil near your plants. For water distribution, garden soaker hoses work just as well as professional-grade drip lines at a fraction of the cost.
Save on controllers by using basic battery-operated timers instead of smart Wi-Fi systems. DIY pressure regulators can be made using simple pipe fittings from your local hardware store. Consider grouping plants with similar water needs together to maximize efficiency with fewer irrigation zones. Rain barrels are an excellent alternative to solely relying on municipal water, potentially reducing your water bills while being environmentally friendly.
Remember, starting small and expanding your system gradually helps spread out the cost while allowing you to learn what works best for your garden.
DIY Installation Steps
Planning Your Layout
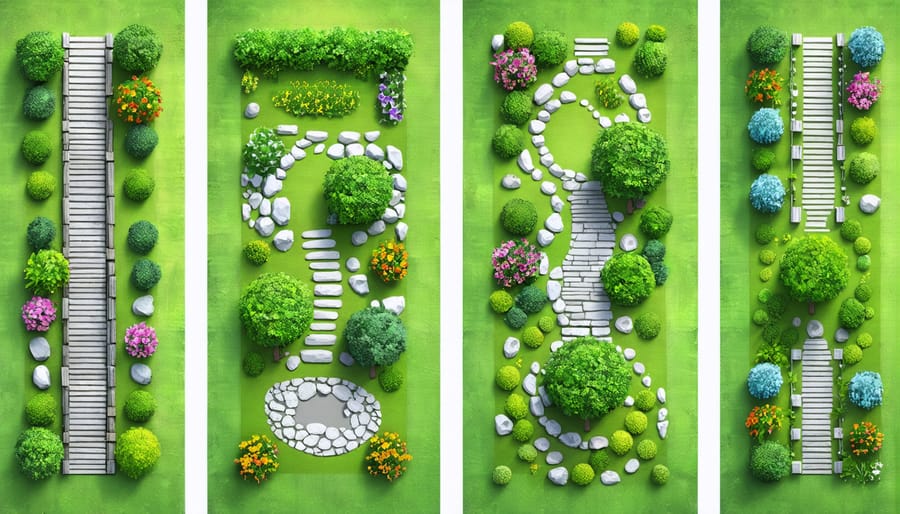
Before installing your irrigation system, take time to create a detailed map of your garden area. Start by measuring and sketching your garden space on graph paper, marking the locations of all plants, garden beds, and existing features. Note areas with different watering needs – vegetables might require more frequent watering than established perennials.
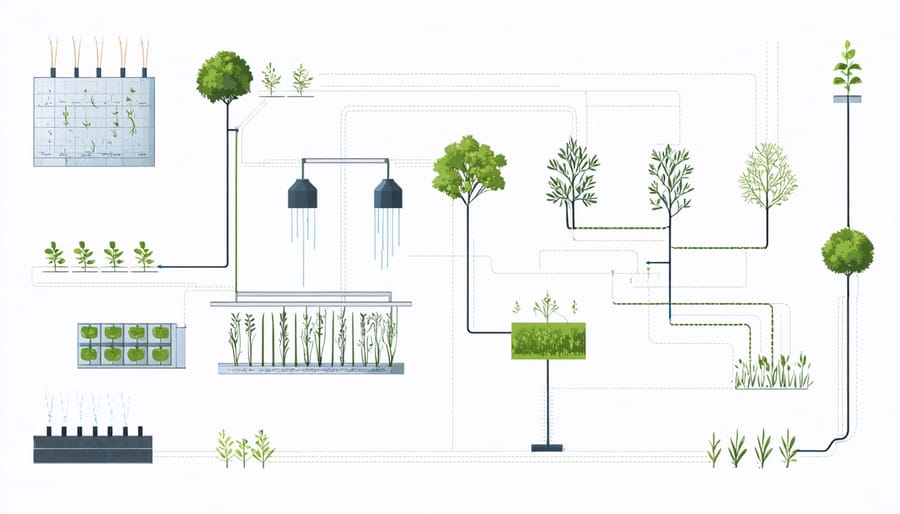
Identify your water source and mark its location on your map. This could be an outdoor faucet or a rain barrel setup. Plan the main water line route, ensuring it takes the most efficient path to reach all planting areas. Consider dividing your garden into irrigation zones based on plant water requirements and sun exposure.
When mapping your water routes, remember to account for slight slopes and terrain changes. Water naturally flows downhill, which can help maintain consistent pressure throughout your system. Mark spots where you’ll need connectors, splitters, or valves to control water flow to different areas.
Keep your paths straight when possible, using right angles for turns to make installation easier and reduce the need for additional fittings. Leave some slack in your measurements to account for curves around obstacles and future garden additions.
Installation Tips
Setting up your outdoor irrigation system correctly from the start will save you time and hassle down the road. Begin by mapping out your garden zones and measuring the distance between water sources and planting areas. This planning stage is crucial for determining how much tubing and how many connectors you’ll need.
When laying out your main water line, ensure it’s buried at least 6 inches deep to protect it from lawn mowers and garden tools. Install shut-off valves at key points to help manage water flow and make future repairs easier. For drip irrigation lines, use stakes every 4-5 feet to keep the tubing in place and prevent it from shifting when water pressure changes.
A common mistake is not installing a pressure regulator, which can lead to burst pipes and inefficient watering. Similarly, don’t skip the filter – even if you’re using municipal water, as it helps prevent clogging in your drip emitters and sprinklers.
Consider your garden’s slope when installing the system. Water naturally flows downhill, so place your drip lines across slopes rather than up and down them to ensure even water distribution. Install drain valves at the lowest points to prevent freezing damage during winter.
When connecting components, use high-quality waterproof tape or pipe thread sealant to prevent leaks. Double-check all connections before burying any lines. Test the system thoroughly by running it at different times of day to ensure proper coverage and identify any potential issues early on.
Remember to install a rain sensor to prevent overwatering during wet weather, and consider adding a smart controller for more efficient water management based on weather conditions and seasonal changes.
Water-Saving Features
Smart Timing Systems
Smart timing is the secret to a thriving garden that doesn’t waste water or energy. Modern irrigation timers have become surprisingly affordable, with basic models starting around $30. These timers can be programmed to water your plants at optimal times, typically early morning or late evening when evaporation is minimal.
For most gardens, setting your timer to water deeply 2-3 times per week is more effective than daily shallow watering. This encourages deeper root growth and creates more resilient plants. During hot summer months, you might need to adjust to more frequent watering, while spring and fall usually require less.
Many budget-friendly timers now offer rain delay features and moisture sensors, helping you avoid overwatering during wet weather. Some even connect to your smartphone, letting you adjust schedules on the go. For maximum efficiency, consider breaking your garden into zones based on plant water needs and sun exposure.
A simple rule of thumb: water less frequently but for longer duration – about 20-30 minutes per zone. This approach saves money while keeping your plants healthy and your water bills manageable.
Water Conservation Methods
Conserving water isn’t just good for the environment – it’s great for your wallet too! Start by installing a rainwater collection system to capture and reuse nature’s free resource. Using mulch around your plants helps retain moisture and reduces evaporation, while grouping plants with similar water needs ensures efficient distribution.
Consider implementing these smart watering practices:
– Water early morning or late evening to minimize evaporation
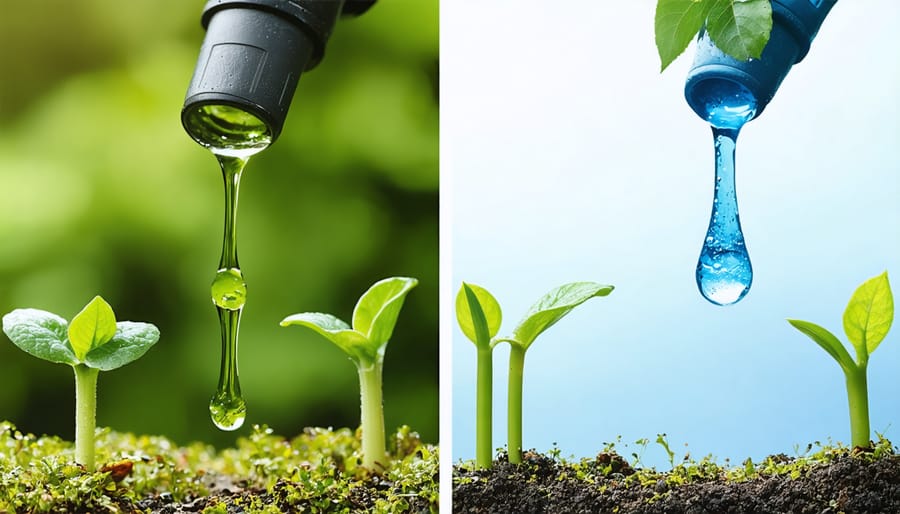
– Use drip irrigation instead of sprinklers
– Install moisture sensors to prevent overwatering
– Fix leaks promptly
– Adjust watering schedules based on weather conditions
For more sustainable practices, explore eco-friendly garden solutions like drought-resistant plants and smart controllers. These devices can automatically adjust watering based on local weather data and soil conditions. Remember to regularly maintain your system by cleaning filters, checking for clogs, and adjusting sprinkler heads to ensure water reaches its intended targets rather than sidewalks or driveways.
Maintenance and Troubleshooting
Seasonal Care
Your irrigation system requires different care as seasons change to maintain optimal performance. Following proper seasonal maintenance tips will extend your system’s lifespan and protect it from weather-related damage.
In spring, inspect all components for winter damage and clean filters thoroughly. Adjust watering schedules to accommodate increasing temperatures and plant growth. Check for leaks when reactivating the system after winter.
Summer demands regular monitoring of water pressure and timing adjustments to prevent evaporation. Water early morning or late evening to maximize absorption. Clean sprinkler heads monthly to prevent clogging from debris.
Fall preparation involves gradually reducing watering frequency as temperatures cool. Remove dead leaves from sprinklers and adjust coverage to accommodate dormant plants.
Before winter, completely drain the system to prevent freeze damage. Insulate exposed pipes and valves, and shut off the main water supply. Store removable components indoors until spring. Consider installing freeze sensors if your area experiences frequent frost.
Common Problems and Solutions
Even the best irrigation systems can encounter issues, but many common problems have simple solutions you can handle yourself. If your sprinklers aren’t rotating properly, try cleaning the heads with water to remove dirt and debris. For inconsistent water pressure, check for kinked hoses or partially closed valves, and ensure your system isn’t trying to water too many zones at once.
Leaking connections can often be fixed by tightening fittings or replacing worn-out washers. If certain areas aren’t getting enough water, adjust the spray patterns or consider adding additional sprinkler heads. Brown patches in your garden might indicate clogged emitters, which can usually be cleared with a fine needle or by flushing the system.
For timer issues, start by checking the batteries and programming. If zones aren’t activating, inspect the solenoid valves for debris or damage. During winter, remember to drain your system to prevent freeze damage. Most importantly, perform regular maintenance checks to catch problems early and ensure your irrigation system runs efficiently year-round.
Implementing a DIY irrigation system is a smart investment that pays dividends in both time and money. By automating your watering routine, you’ll save countless hours of manual watering while ensuring your plants receive consistent care. The initial setup costs are quickly offset by reduced water bills, as these systems deliver precise amounts of water exactly where needed. Many gardeners report cutting their water usage by up to 30% after installation, while enjoying healthier, more vibrant plants. Beyond the monetary benefits, you’ll gain peace of mind knowing your garden is well-tended even during vacation periods. With proper maintenance, your irrigation system can serve your garden faithfully for many years, making it a worthwhile investment for any garden enthusiast. The satisfaction of building and maintaining your own system adds an extra layer of reward to this practical garden solution.