
Smart UV Protection: Make Your Silage Tarp Last Twice as Long
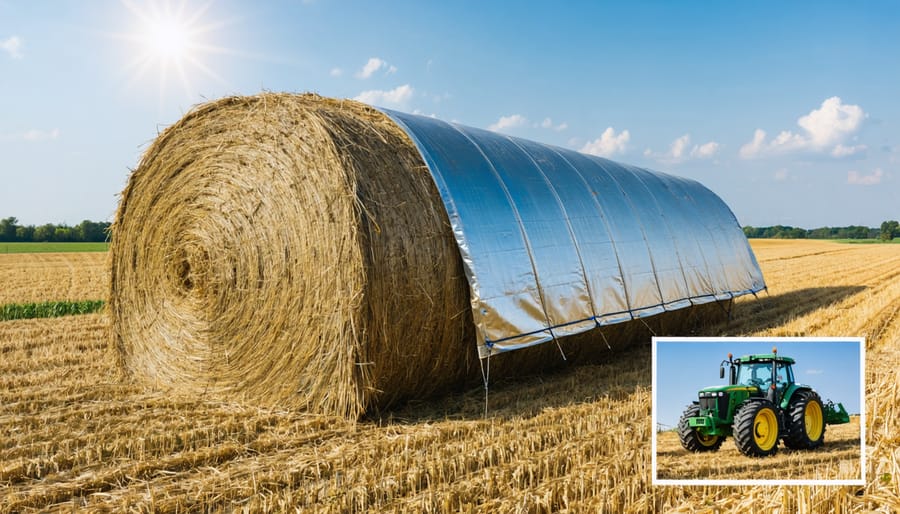
UV-treated silage tarps represent a critical investment in modern agricultural storage, offering superior protection against harsh weather conditions and harmful ultraviolet radiation. These specially engineered covers extend far beyond basic weather protection, incorporating advanced UV inhibitors that prevent material degradation and maintain structural integrity for years. Farmers and agricultural professionals increasingly rely on these high-performance tarps to preserve silage quality, reduce spoilage, and maximize feed value throughout extended storage periods. The latest generation of UV-treated silage tarps features enhanced durability, puncture resistance, and oxygen-barrier properties, making them an essential tool for efficient farm management. By combining robust UV protection with weather-resistant materials, these tarps ensure optimal fermentation conditions while protecting valuable feed stocks from environmental damage, ultimately contributing to improved livestock nutrition and operational efficiency.
Why UV Treatment Matters for Your Storage Space
The Hidden Cost of UV Damage
When left unprotected against harsh sunlight, untreated tarps can deteriorate rapidly, leading to unexpected costs and potential damage to your valuable materials. UV rays break down the molecular structure of standard tarps, causing them to become brittle, fade, and develop weak spots that compromise their effectiveness. This degradation isn’t just about the tarp itself – it can directly impact your stored silage quality and nutritional value. Implementing proper UV protection solutions is crucial for preventing these hidden expenses. Without adequate UV treatment, you might find yourself replacing tarps frequently, dealing with spoiled silage, or facing reduced feed quality. The initial investment in UV-treated silage tarps typically pays for itself many times over by extending the life of both the tarp and protecting the valuable materials beneath it.
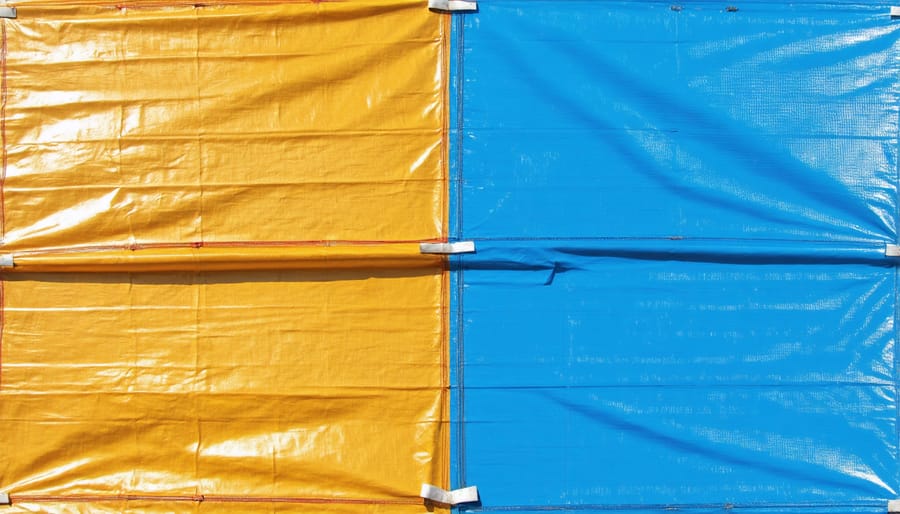
UV-Treated vs. Standard Tarps
UV-treated silage tarps offer significant advantages over their standard counterparts, particularly in durability and longevity. While standard tarps typically last 1-2 seasons, UV-treated options can remain effective for 3-5 years or more, making them a smart long-term investment. The UV treatment prevents degradation from sun exposure, helping the tarp maintain its strength and flexibility.
Though UV-treated tarps initially cost about 30-40% more than standard versions, their extended lifespan often results in better value over time. They’re less likely to crack, fade, or become brittle, which means fewer replacements and more consistent protection for your stored materials. Standard tarps may seem more budget-friendly at first, but they often require more frequent replacement and maintenance.
Additionally, UV-treated tarps maintain their effectiveness in extreme weather conditions, offering superior protection throughout the seasons. Their enhanced durability means less waste and more reliable performance for your storage needs.
Getting the Most from UV-Treated Silage Tarps
Choosing the Right UV Rating
Understanding UV ratings is crucial when selecting a silage tarp that will provide lasting protection for your storage needs. As part of creating weather-tough storage solutions, UV ratings typically range from UV2 to UV8, with higher numbers indicating better protection against sun damage.
For most residential applications, a UV4 rating offers adequate protection and typically lasts 2-3 years. If you’re in a region with intense sunlight or plan to use the tarp for extended periods, consider stepping up to a UV6 rating, which can provide 4-5 years of reliable service.
The highest UV8 rating is recommended for areas with extreme sun exposure or for applications requiring maximum longevity. While these tarps cost more initially, they can last up to 7 years, making them cost-effective in the long run.
When selecting your UV rating, consider:
– Your local climate and sun intensity
– How long you plan to use the tarp
– Your budget versus long-term value
– The value of items being protected
– Seasonal usage patterns
Remember that even the highest UV rating won’t help if the tarp isn’t properly sized and installed. Choose a rating that balances your protection needs with practical considerations, and always ensure proper installation for maximum effectiveness.
Installation Best Practices
Begin by clearing the installation area of any sharp objects or debris that could damage your UV treated silage tarp. Choose a calm day with minimal wind for easier handling. Unroll the tarp carefully, ensuring it’s centered over your intended coverage area with an extra 2-3 feet of material on all sides for proper securing.
Create anchor points every 3-4 feet along the perimeter using heavy-duty stakes or sand bags. Start securing from the center and work your way outward to prevent air pockets. In windy areas, consider using additional weights or cross-ropes for extra stability.
For optimal UV protection, ensure the treated side faces upward – it’s usually marked or has a slightly different texture. When overlapping multiple tarps, maintain a minimum 12-inch overlap and secure these areas with strong tape or specialized tarp clips.
Pay special attention to corners, as they’re prone to wind damage. Double-stake these areas and consider using corner protectors to prevent tearing. Create slight slopes in the tarp surface to prevent water pooling, which can lead to stretching and damage over time.
For long-term installations, check the tarp tension weekly and adjust as needed. During extreme weather conditions, add temporary additional securing points to prevent wind damage. Remember to document your installation pattern – it’ll make future replacements much easier.
Maintenance Tips for Long-Lasting Protection
Regular Inspection Points
To maintain your UV treated silage tarp’s effectiveness, establish a monthly inspection routine focusing on key areas. Start by checking all corners and edges for signs of wear or tearing, as these areas typically experience the most stress. Run your hands along the seams to detect any separation or weakness that might need attention.
Examine the tarp’s surface for any discoloration, which could indicate UV protection breakdown. Pay special attention to areas that receive the most sun exposure. Look for any punctures, holes, or small tears that might have developed, particularly after storms or high winds.
Every three months, inspect the tarp’s attachment points and ensure all grommets are secure and rust-free. Check that tie-downs remain tight and haven’t caused any strain on the tarp material. Clean the tarp surface gently with water to remove debris and prevent mold growth.
Document each inspection, noting any repairs made or areas of concern. This record-keeping helps track the tarp’s lifecycle and anticipate when replacement might be needed. If you spot any significant damage, address it promptly to prevent further deterioration.
Cleaning and Care Methods
To maintain your UV-treated silage tarp’s effectiveness and extend its lifespan, regular cleaning and proper care are essential. Start by gently sweeping off any loose debris, leaves, or dirt using a soft-bristled broom. For stubborn dirt, use a mild soap solution and a soft cloth or sponge to clean the surface, avoiding harsh chemicals that might damage the UV protective coating. Similar to other weatherproofing techniques, proper maintenance is key to longevity.
After cleaning, ensure the tarp is completely dry before storing or reusing it. When not in use, store your tarp in a cool, dry place away from direct sunlight to prevent unnecessary UV exposure. Regularly inspect for any tears, holes, or signs of wear, especially around the edges and grommets. Small repairs can be made using UV-resistant repair tape, but larger damages may require professional attention or replacement.
To prevent wrinkles and creases that could lead to weak points, fold your tarp carefully along existing fold lines when storing. Consider using a tarp storage bag to protect it from dust and debris during off-season storage.
Common Problems and Solutions
Even the best UV-treated silage tarps can encounter issues, but most problems have straightforward solutions. If you notice your tarp developing wrinkles or air pockets, immediately adjust the weighting system and ensure proper tension across all sides. For stubborn wrinkles, try repositioning the tarp on a warm day when the material is more pliable.
Tears and punctures are common concerns, especially in areas with sharp debris or frequent wildlife activity. Keep a UV-resistant repair tape handy for quick fixes, and consider installing protective barriers around the tarp’s perimeter. For larger tears, specialized patch kits can provide a more permanent solution.
Water pooling is another frequent issue that can compromise tarp effectiveness. Create a slight slope in your storage area before installation, and regularly check for proper drainage. If pools form, use a soft brush to gently push water toward the edges, being careful not to damage the tarp surface.
Some users report edges lifting during strong winds. Combat this by adding extra weight along the perimeter and ensuring your anchor points are secure. Consider installing wind breaks if your storage area is particularly exposed.
Discoloration or early signs of UV damage might appear despite treatment. While some color change is normal, excessive fading could indicate improper installation or a need for additional UV protection. Position your tarp to minimize direct sunlight exposure during peak hours, and inspect regularly for signs of deterioration.
Mold growth can occur in humid conditions. Ensure adequate ventilation beneath the tarp and address any moisture issues promptly. A gentle cleaning with a recommended solution can help prevent mold without compromising the UV protection.
UV treated silage tarps represent a smart investment for anyone serious about protecting their valuable storage items and agricultural materials. Throughout this guide, we’ve explored how these specially designed tarps offer superior protection against harmful UV rays while maintaining durability and effectiveness over extended periods. The key takeaway is that proper selection, installation, and maintenance of UV treated silage tarps can significantly extend their lifespan and enhance their protective capabilities.
For best results, remember to choose a tarp with appropriate UV resistance ratings for your climate, ensure proper installation with secure anchoring, and perform regular inspections for damage or wear. Regular cleaning and proper storage when not in use will help maximize your tarp’s longevity. While the initial cost might be higher than standard tarps, the long-term benefits in terms of protection and durability make UV treated silage tarps a cost-effective choice for both homeowners and agricultural applications.
Consider investing in quality accessories and maintenance tools to complement your tarp system, and don’t hesitate to seek professional advice for specific applications or challenging installation scenarios. With proper care and attention, your UV treated silage tarp will provide reliable protection for years to come.