Transform Your Backyard Into a Professional Workspace: A Backyard Office Shed Done Right

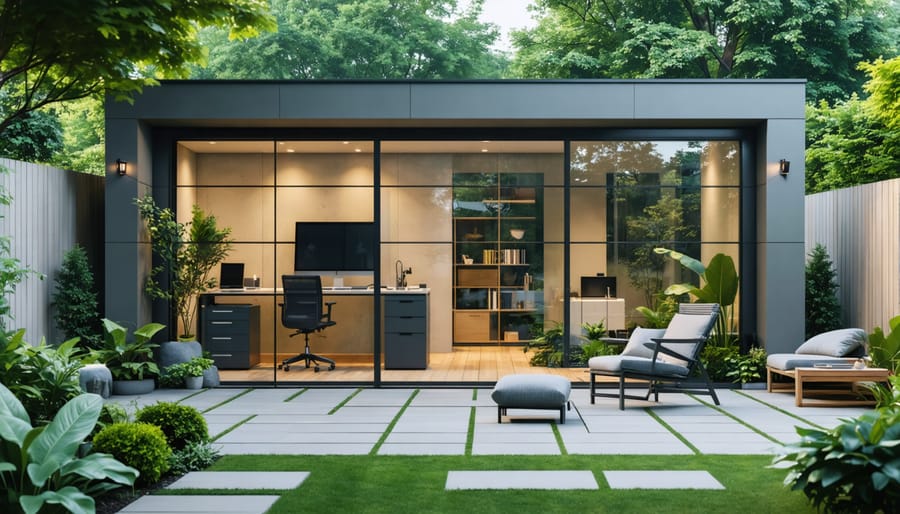
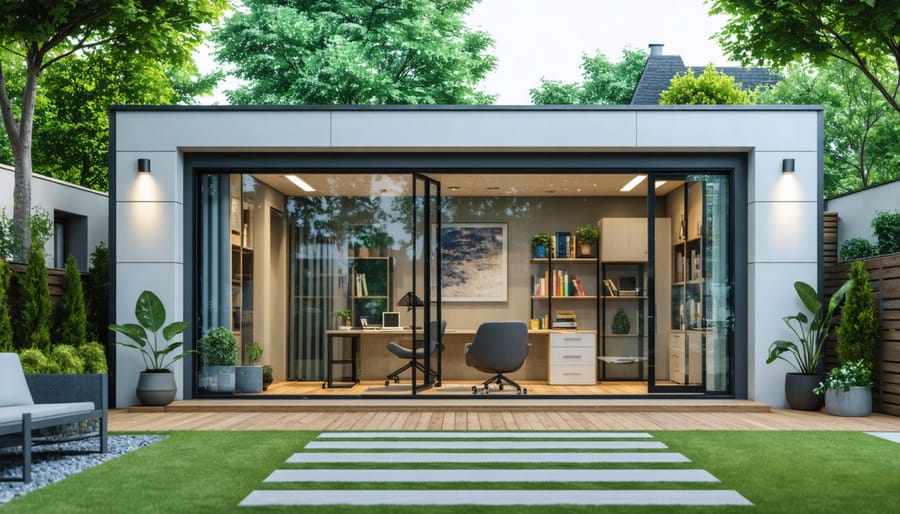
Transform your backyard into a professional home office shed by first securing local building permits and confirming zoning regulations for auxiliary structures. Design your workspace with strategic window placement to maximize natural light while maintaining privacy, incorporating proper insulation for year-round comfort and sound dampening. Position the shed to take advantage of existing trees for shade while ensuring adequate distance from property lines and underground utilities. Factor in essential infrastructure needs early – plan for electrical conduits, internet connectivity, and climate control systems that will transform a basic structure into a fully functional remote workspace.
Consider modern prefabricated options that combine quick installation with professional aesthetics, or design a custom build that perfectly matches your home’s architecture. A well-executed office shed not only creates a dedicated workspace but also increases property value while solving the increasingly common challenge of separating work life from home life. Foundation choices matter significantly – opt for a concrete slab or elevated platform depending on your terrain and local climate conditions.
Planning Your Backyard Office Space

Location and Zoning Requirements
Before breaking ground on your backyard office shed, it’s crucial to understand local zoning laws and placement requirements. Start by checking your property’s setback regulations, which dictate how far structures must be from property lines, existing buildings, and utilities. Most municipalities require a minimum distance of 5-10 feet from property lines and your main house.
Contact your local planning department to verify permit requirements, as regulations vary by location. Some areas may restrict shed height (typically 12-15 feet maximum) or total square footage. You’ll also need to ensure your planned location allows for proper site preparation and doesn’t interfere with utility lines or drainage patterns.
Consider factors like natural lighting, accessibility, and privacy when choosing your shed’s location. Position the structure to maximize daylight while avoiding direct afternoon sun that could lead to overheating. Also, ensure there’s adequate space for a pathway and that the office shed won’t block important sight lines or create issues with neighbors.
Size and Budget Planning
When planning your backyard office shed, getting the size and budget right is crucial for both functionality and financial peace of mind. Most home office sheds range from 80 to 200 square feet, with 120 square feet (10′ x 12′) being a popular sweet spot that balances comfort with cost-effectiveness.
To determine your ideal size, consider your workspace needs: a desk, chair, and storage usually require at least 70 square feet, while adding a small seating area or meeting space might push you toward 150 square feet. Don’t forget to account for electrical equipment, filing cabinets, and room to move around comfortably.
Budget-wise, expect to invest between $6,000 to $30,000 for a complete office shed project. Basic prefab kits start around $6,000, while custom-built solutions with premium finishes can reach $30,000 or more. Here’s a general breakdown of costs:
– Foundation and site prep: $1,000-$3,000
– Basic structure and materials: $4,000-$15,000
– Electrical work: $1,000-$3,000
– Insulation and interior finishing: $2,000-$5,000
– Furniture and equipment: $1,000-$4,000
Remember to factor in additional costs like permits, heating/cooling solutions, and internet connectivity. It’s wise to add a 10-15% buffer to your budget for unexpected expenses. Many homeowners find that spreading the project over several months helps manage costs while ensuring quality isn’t compromised.
Essential Design Elements
Insulation and Climate Control
Proper insulation and climate control are crucial for creating a comfortable year-round workspace in your backyard office shed. Start with high-quality insulation in the walls, floor, and ceiling – we recommend using R-13 to R-19 rated materials for walls and R-30 for the ceiling. Spray foam insulation offers excellent coverage and prevents air leaks, while fiberglass batts provide a cost-effective alternative.
For temperature management, consider installing a ductless mini-split system, which offers both heating and cooling capabilities without requiring extensive ductwork. These systems are particularly effective for creating eco-friendly workspace solutions as they’re energy-efficient and provide zoned climate control.
Don’t overlook the importance of proper ventilation. Install at least one operable window and consider adding a small exhaust fan to maintain fresh air circulation. Weather stripping around doors and windows prevents drafts and helps maintain consistent temperatures.
For additional temperature regulation, consider installing reflective window film and using thermal curtains. In warmer climates, adding a radiant barrier in the roof can significantly reduce heat gain. During construction, ensure all gaps and seams are properly sealed with weatherproof caulk or foam sealant.
These climate control measures not only ensure comfort but also protect your office equipment from temperature extremes and humidity, making your backyard office functional throughout all seasons.
Windows and Natural Light
Natural light is a game-changer when it comes to creating a productive workspace in your backyard office shed. Strategic window placement not only enhances the aesthetics but also significantly impacts your work environment. When installing windows in your shed, consider positioning them to maximize daylight while minimizing glare on your computer screen.
The ideal setup typically includes windows on at least two walls, creating cross-ventilation and ensuring consistent natural light throughout the day. East-facing windows welcome energizing morning light, while north-facing windows provide steady, indirect illumination that’s perfect for focused work. If possible, incorporate a larger window or glass door on the wall facing your main house – this creates an open feel and maintains a connection with your home.
To prevent overheating and manage light levels, consider installing windows with UV-protective coating and adding adjustable blinds or curtains. Double-pane windows offer better insulation and sound reduction, making your office more comfortable year-round. For enhanced productivity, position your desk perpendicular to the windows rather than directly facing them to reduce screen glare while still benefiting from natural light.
Remember to account for privacy needs when planning window placement, especially if your shed faces neighboring properties. Well-placed clerestory windows can provide both privacy and abundant natural light while adding architectural interest to your office space.

Power and Connectivity
A reliable power supply and strong internet connection are essential for a productive office shed. Start by hiring a licensed electrician to install a dedicated circuit from your main house to the shed. They’ll ensure proper wiring that meets local codes and can handle your office equipment load. Most home office setups require at least a 20-amp circuit to power computers, printers, lighting, and climate control systems.
For internet connectivity, you have several options. Running an ethernet cable from your house provides the most stable connection, though you’ll need to bury it in a conduit for protection. A mesh WiFi system with an outdoor access point can extend your home’s wireless network to the shed. For maximum reliability, consider installing both ethernet and WiFi as backups.
Don’t forget about proper outlet placement. Plan for outlets on each wall, including floor outlets if you’re considering a floating desk setup. Include USB ports for convenient device charging, and consider surge protection for your electronics. Install exterior outlets for maintenance tools or outdoor lighting.
For lighting, combine natural light from windows with LED fixtures on dimmer switches. Add task lighting at your desk area and ambient lighting for video calls. Remember to include exterior lighting for safe access during early mornings or evening work sessions.
Construction Basics
Foundation Options
A solid foundation is crucial for your backyard office shed, ensuring stability and longevity. Let’s explore the most practical options for your project.
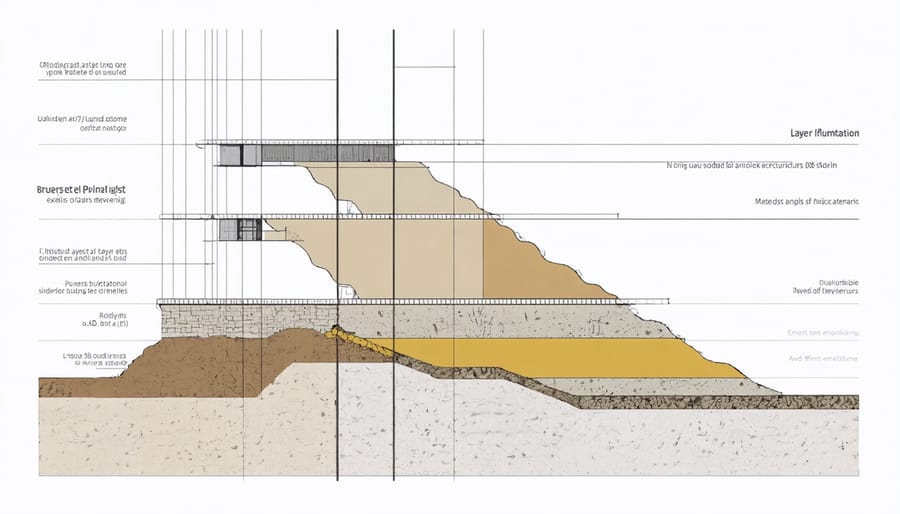
Concrete slab foundations are popular for office sheds, providing a sturdy, level base that keeps moisture at bay. While slightly more expensive upfront, they offer excellent durability and require minimal maintenance. For a typical office shed, a 4-inch thick slab with proper reinforcement will suffice.
Gravel pad foundations offer a cost-effective alternative that still provides good drainage. Start with excavation, add landscape fabric to prevent weed growth, then layer and compact 4-6 inches of gravel. This option works well in areas with good natural drainage but may require periodic releveling.
Pier foundations use concrete blocks or precast footings placed at strategic points, supporting a wooden floor frame. This elevated design allows for excellent airflow underneath and works great on sloped terrain. It’s also ideal if you need to run electrical cables or other utilities beneath your office.
For smaller office sheds, concrete deck blocks can be a perfect solution. They’re affordable, don’t require deep digging, and can be adjusted if the ground shifts slightly. Place them on compacted gravel for better stability.
Whichever foundation type you choose, ensure proper site preparation by removing vegetation, leveling the ground, and establishing good drainage patterns around the shed. Consider your local climate, soil type, and building codes when making your decision. Remember, investing time and effort in your foundation will pay dividends in your office shed’s longevity and functionality.

Wall and Roof Assembly
With your wall frame securely in place, it’s time to bring your office shed to life by adding the walls and roof. Start by installing exterior-grade plywood or oriented strand board (OSB) sheets to the outer walls. Work from bottom to top, ensuring each sheet is level and properly aligned. Secure the sheets with 8d nails or 2-inch screws every 6-8 inches along the edges and every 12 inches in the field.
For better insulation and moisture protection, wrap the exterior walls with a weather-resistant barrier before adding your chosen siding. Popular siding options include vinyl, fiber cement, or traditional wood – each offering different benefits in terms of durability and aesthetics.
Moving to the roof, begin by installing your roof trusses. Space them 16-24 inches apart, depending on your local building codes and expected snow loads. Secure each truss with hurricane ties for added stability. Cover the trusses with OSB or plywood sheathing, making sure to leave a 1/8-inch gap between panels for expansion.
Next, roll out roofing felt as an underlayment, overlapping each row by at least 2 inches. Start from the bottom edge and work your way up. Install drip edge along the eaves and rakes to direct water away from the walls. Finally, add your chosen roofing material – architectural shingles are popular for their durability and professional appearance.
Don’t forget to add soffit vents under the eaves and a ridge vent at the peak to ensure proper attic ventilation. This will help regulate temperature and prevent moisture buildup in your office space.
For the interior walls, install proper insulation between the studs before covering with drywall. This crucial step will help maintain comfortable temperatures year-round and reduce energy costs. Use 1/2-inch drywall sheets, securing them with drywall screws every 16 inches.
Weatherproofing
Protecting your office shed from the elements is crucial for ensuring its longevity and maintaining a comfortable workspace year-round. Start by applying a high-quality exterior waterproof sealant to all wooden surfaces, paying special attention to joints and seams where moisture might penetrate. Choose a sealant that offers UV protection to prevent sun damage and wood deterioration.
Install proper roof flashing around any vents, pipes, or skylights to prevent water from seeping in through these potential weak points. Make sure your roofing material extends beyond the walls with sufficient overhang to direct rainwater away from the structure. Consider adding gutters and downspouts to manage water runoff effectively.
For ground-level protection, create a slight gradient around your shed’s foundation to ensure water flows away from the building. Installing a vapor barrier beneath your flooring will prevent moisture from rising through the ground and affecting your interior space.
Don’t forget about ventilation – proper airflow is essential for preventing moisture buildup and maintaining a healthy indoor environment. Install vents in the eaves and consider adding a small exhaust fan to regulate humidity levels, especially if you’re planning to use electronic equipment in your office space.
Weather stripping around doors and windows will prevent drafts and keep your heating and cooling costs down. Use high-quality caulk to seal any gaps or cracks where air might leak in. For added protection, consider installing storm doors and windows if you’re in an area with severe weather conditions.
Remember to inspect your weatherproofing measures seasonally and address any issues promptly to prevent small problems from becoming major repairs.
Interior Finishing Touches
Flooring and Wall Finishes
For your office shed’s interior, start with durable, easy-to-maintain flooring that can handle daily foot traffic. Luxury vinyl planks offer an excellent balance of affordability and durability while mimicking the look of hardwood. Alternatively, laminate flooring provides similar benefits with enhanced scratch resistance. For a more premium feel, engineered hardwood can create a sophisticated atmosphere, though it requires more maintenance.
When it comes to walls, consider moisture-resistant drywall to protect against humidity. Paint the walls with light, neutral colors to create an inviting workspace – eggshell white, soft gray, or pale blue work particularly well. For added style and functionality, consider installing one accent wall with shiplap or beadboard paneling.
Don’t forget about insulation before finishing the walls. Proper insulation helps maintain comfortable temperatures and reduces noise transmission. Install a vapor barrier before adding your chosen wall finish to prevent moisture problems. For a professional touch, use corner beading on all drywall corners and apply at least two coats of primer before your final paint color.
Storage and Organization
Effective storage solutions are crucial for maintaining a productive home office environment. Start by mapping out your storage needs before installing any fixtures. Consider incorporating built-in shelving units along the walls to maximize vertical space while keeping your workspace clear. Custom-fit cabinets under your desk can provide additional storage without compromising leg room.
To organize your office space, install adjustable shelving systems that can adapt as your storage needs change. Wall-mounted organizers and pegboards are excellent for keeping frequently used items within arm’s reach while saving valuable desk space. Don’t forget to include cable management solutions – run wiring through dedicated channels or conduits to keep them organized and out of sight.
Make use of corners by installing corner shelves or creating a storage nook for larger items like printers or file cabinets. Consider adding a small closet area for coats and supplies, complete with hooks and upper shelving. Remember to leave some room for growth – your storage needs may expand as your home office evolves.

Building your own office shed is an exciting journey that can transform your work-life balance and add value to your property. Throughout this guide, we’ve covered everything from initial planning and obtaining permits to selecting materials and finishing touches that make your workspace truly yours. Remember that careful planning is the foundation of success – take time to consider your specific needs, budget, and local regulations before breaking ground.
Whether you’re a remote worker seeking quiet focus, an entrepreneur building your empire, or simply need a dedicated space away from household distractions, an office shed can be the perfect solution. The key is to approach the project systematically, following proper construction techniques and ensuring adequate insulation, lighting, and connectivity for a comfortable year-round workspace.
Don’t feel overwhelmed by the scope of the project. Break it down into manageable steps, and don’t hesitate to seek professional help for complex aspects like electrical work or foundation laying. Many homeowners find that building an office shed is not only achievable but deeply rewarding.
Now that you have the knowledge and insights needed, it’s time to take action. Start by sketching your design, researching local building codes, and gathering your materials. With dedication and attention to detail, you’ll soon have a professional workspace steps away from your back door, perfectly tailored to your needs and style preferences.

