
Transform Your Dark Shed with Smart Interior Lighting That Works

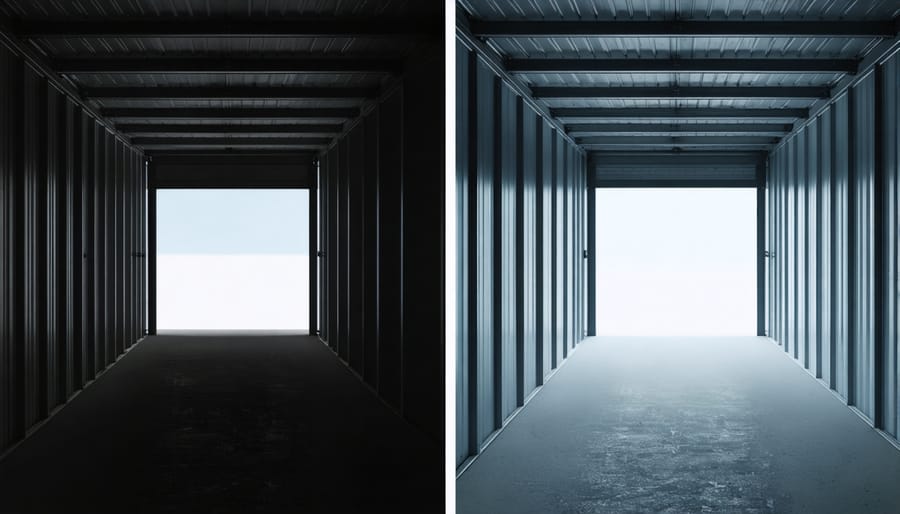
Transform your shed from a dark, frustrating workspace into a well-lit, functional sanctuary with the right interior lighting setup. Proper shed lighting isn’t just about brightness—it’s about creating a safe, efficient space where you can easily locate tools, work on projects, and maximize storage potential. Whether you’re upgrading an existing shed or planning a new installation, choosing the right lighting solution combines practical functionality with energy efficiency. From battery-operated LED fixtures to hardwired systems, modern shed lighting options offer unprecedented flexibility for every budget and need. This guide walks you through essential lighting choices, installation considerations, and smart power solutions to illuminate your shed space effectively.
This introduction:
– Immediately addresses the core problem
– Emphasizes both practical and safety benefits
– Hints at multiple solution options
– Sets up the article’s structure
– Maintains an informative yet approachable tone
– Appeals to both DIY enthusiasts and general homeowners
– Creates urgency while remaining helpful
Essential Lighting Options for Your Shed
Hardwired Lighting Solutions
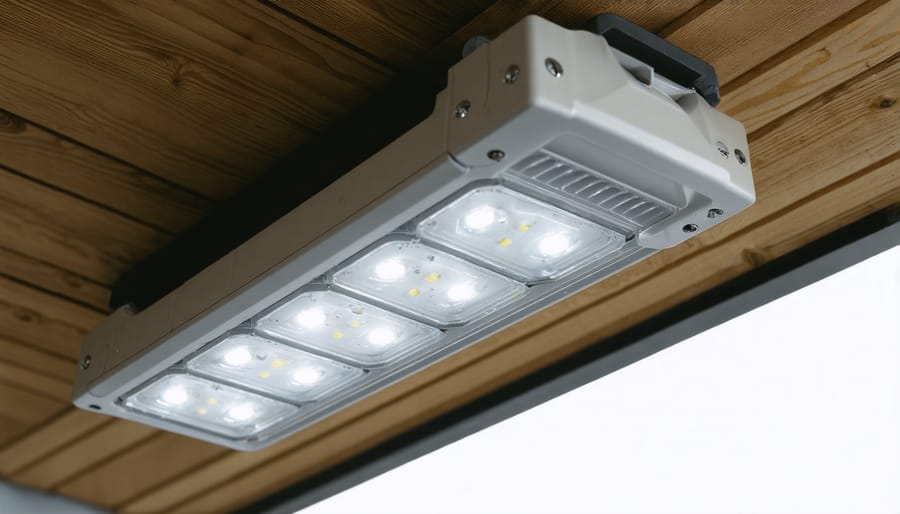
For a permanent lighting solution, hardwired fixtures offer reliability and a professional finish to your shed’s interior. Before starting any electrical wiring installation, consult a licensed electrician to ensure compliance with local building codes and safety standards.
Popular hardwired options include ceiling-mounted LED panels, which provide broad, even illumination, and adjustable track lighting that lets you direct light to specific work areas. Consider installing a combination of general overhead lighting and task-specific fixtures for maximum functionality.
When planning your layout, factor in the placement of switches near entry points and consider installing multiple switches for larger sheds. Motion sensors can be integrated for convenience and energy savings. Remember to weatherproof all electrical components and use proper junction boxes to protect against moisture and dust.
For optimal results, choose fixtures rated for outdoor or semi-outdoor use, even if your shed is well-sealed. LED fixtures are particularly ideal due to their energy efficiency and long lifespan, making them a cost-effective choice for permanent installation.
Battery-Powered and Solar Alternatives
For sheds without direct electrical access, battery-powered and solar options offer convenient and eco-friendly lighting solutions. Battery-operated LED lights, particularly those with motion sensors, provide reliable illumination without complex installation. These fixtures typically run on AA or D batteries and can last several months with regular use.
Modern solar-powered lighting solutions have become increasingly popular, offering sustainable illumination with minimal maintenance. These systems typically include a small solar panel mounted on the shed’s exterior, connected to interior lights through a simple cable. Many solar kits come with built-in batteries that store energy during daylight hours, ensuring reliable lighting even after sunset.
Consider combination units that feature both battery backup and solar charging capabilities. These hybrid solutions provide the best of both worlds, especially during periods of limited sunlight. For maximum efficiency, position solar panels where they receive direct sunlight and opt for LED bulbs, which consume less energy while providing bright, consistent illumination.
Strategic Placement for Maximum Visibility
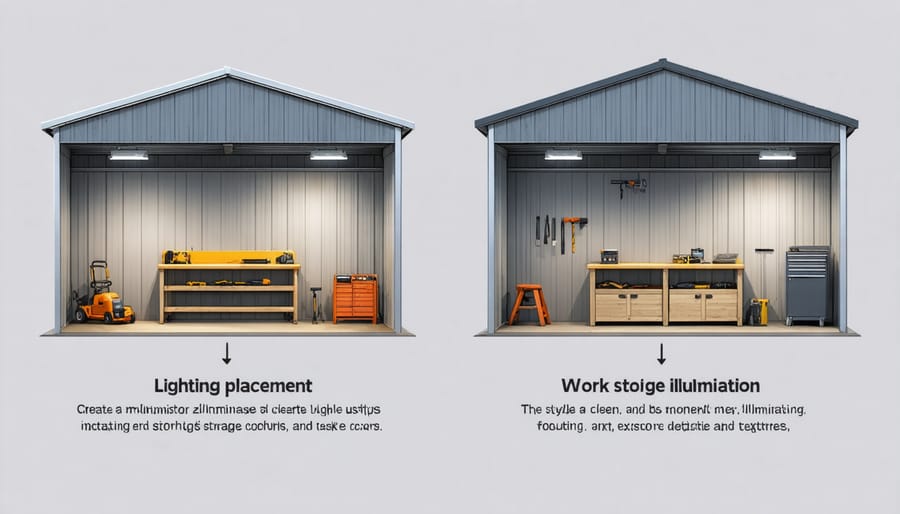
Task Lighting for Workspaces
When it comes to workspace lighting in your shed, task lighting is essential for safety and precision. Position adjustable LED work lights directly above your workbench, ideally 24-36 inches from the surface. Look for lights that provide between 300-500 lumens per square foot of work area for optimal visibility.
Clamp-on task lights are particularly versatile, allowing you to direct light exactly where you need it. Consider installing under-cabinet LED strips beneath overhead shelving to eliminate shadows on your work surface. For detailed tasks like woodworking or repairs, a swing-arm lamp with a magnifying feature can be invaluable.
Remember to position your task lighting to prevent glare and shadows that could interfere with your work. Left-handed people should place task lights on the right side of their workspace, and right-handed people should position them on the left to avoid working in their own shadow.
For maximum flexibility, choose lights with different brightness settings and color temperatures. Cool white light (4000-5000K) is ideal for detailed work, while warmer tones are better for general tasks.
Storage Area Illumination
Proper storage area illumination is crucial for keeping your shed organized and accessible. Start by installing LED strip lights along shelf edges to create even illumination across all storage levels. These strips are energy-efficient and cast minimal shadows, making it easier to identify items on your shelves. For deeper storage zones, consider adding battery-operated puck lights with motion sensors underneath each shelf – they’ll automatically illuminate when you reach for items.
To maximize visibility in corners and between shelves, position adjustable clip-on lights that can be redirected as needed. These are particularly useful for illuminating labeled bins and storage containers. For tool organization areas, install under-cabinet lighting strips to clearly show your equipment’s outlines and prevent accidents when reaching for sharp tools.
Don’t forget about color temperature – opt for cool white lights (4000-5000K) in storage areas to improve visibility and make reading labels easier. For frequently accessed zones, installing occupancy sensors can help save energy while ensuring you never fumble in the dark. Remember to position lights slightly forward on shelves to prevent shadowing from items stored above.
Safety and Installation Considerations
Electrical Safety Guidelines
Safety should always be your top priority when installing lighting in your shed. Following proper shed electrical safety guidelines can prevent accidents and ensure your installation meets local building codes. Start by ensuring all electrical components are rated for outdoor use and properly weatherproofed. Use GFCI (Ground Fault Circuit Interrupter) outlets to protect against electric shock in damp conditions.
Never attempt complex electrical work without proper certification – hire a licensed electrician for tasks involving new wiring or circuit installation. When working with existing electrical systems, always turn off power at the main breaker before beginning any installation or maintenance work.
Keep all wiring properly secured and protected from physical damage. Use appropriate cable protection methods, such as conduit, where wires might be exposed to wear or weather. Maintain adequate clearance between electrical components and stored items, especially flammable materials.
Regular maintenance is crucial for safety. Check for signs of wear, loose connections, or damage to wiring insulation. Replace any damaged components immediately. Keep your shed’s interior dry and well-ventilated to prevent moisture-related electrical hazards.
Consider installing surge protection to safeguard your lighting system during storms. Finally, keep a functional fire extinguisher rated for electrical fires easily accessible in your shed, and ensure family members know its location and proper use.
Weather Protection Tips
Protecting your shed’s lighting fixtures from moisture and weather damage is crucial for longevity and safety. Start by selecting fixtures with appropriate IP (Ingress Protection) ratings – look for ratings of at least IP44 for basic moisture resistance, or IP65 for comprehensive weather protection. These ratings ensure your lights can withstand humidity and occasional water exposure.
Install weather stripping around fixture mounting points and use silicone caulk to seal any gaps where wires enter the shed. This creates a reliable barrier against moisture infiltration. For added protection, consider installing small awnings or covers above exterior-mounted fixtures to deflect rainwater.
When running electrical cables, always use weatherproof conduit and ensure all junction boxes are properly sealed. Position fixtures away from areas where water might collect or drip, and maintain proper ventilation to prevent condensation buildup.
Regular maintenance is key – inspect your fixtures seasonally for signs of water damage or corrosion. Clean fixtures with a dry cloth to remove dust and debris that can trap moisture. If you notice condensation inside any fixtures, check seals and replace them if necessary.
For battery-operated lights, use moisture-resistant battery compartments or sealed units. Store backup batteries in a waterproof container to prevent degradation. Remember to check weather seals after replacing batteries or performing maintenance to ensure continued protection against the elements.
Energy-Efficient Lighting Tips
Making your shed lighting energy-efficient not only helps the environment but also keeps your utility bills in check. LED bulbs are your best friend here – they use up to 75% less energy than traditional incandescent bulbs and can last up to 25 times longer. While they might cost more upfront, they’ll save you money in the long run through reduced energy consumption and fewer replacements.
Consider motion sensors for areas you don’t use frequently. These smart devices ensure lights only operate when needed, preventing unnecessary energy waste when you forget to flip the switch. Timer switches are another excellent option, especially if you follow a regular schedule for shed access.
Natural light can be your most cost-effective solution during daylight hours. If possible, install a small window or skylight to reduce your reliance on artificial lighting. For maximum efficiency, position your workbench or frequently accessed storage areas near these natural light sources.
Choose the right brightness for different areas of your shed. You don’t need the same intensity everywhere – task lighting for workbenches might require brighter output, while general ambient lighting can be softer. Look for LED bulbs with appropriate lumens rather than focusing on wattage.
To maximize light efficiency, paint your shed’s interior walls in light colors. White or light gray walls reflect more light, making your space feel brighter without requiring additional fixtures. Consider using reflective surfaces or mirrors strategically to bounce light into darker corners.
Remember to keep your lighting fixtures clean – dust and debris can reduce light output by up to 30%. Regular maintenance ensures your energy-efficient choices perform at their best, providing maximum illumination for minimum power consumption.
Proper lighting in your shed transforms it from a basic storage space into a functional workspace you’ll love using. By carefully considering your lighting needs, power options, and preferred fixtures, you can create the perfect illuminated environment. Whether you choose battery-operated lights for simplicity, solar-powered solutions for sustainability, or hardwired options for reliability, ensure your choice aligns with your usage patterns and local regulations. Remember to prioritize safety by using weather-rated fixtures and following proper installation guidelines. With strategic placement of lights and the right combination of task and ambient lighting, your shed can become a well-lit, organized space that serves your needs year-round. Don’t forget to regularly maintain your lighting system and keep spare bulbs or batteries on hand to ensure consistent illumination whenever you need it.