
Transform Your Shed with a Seasonal Roof Makeover That Lasts
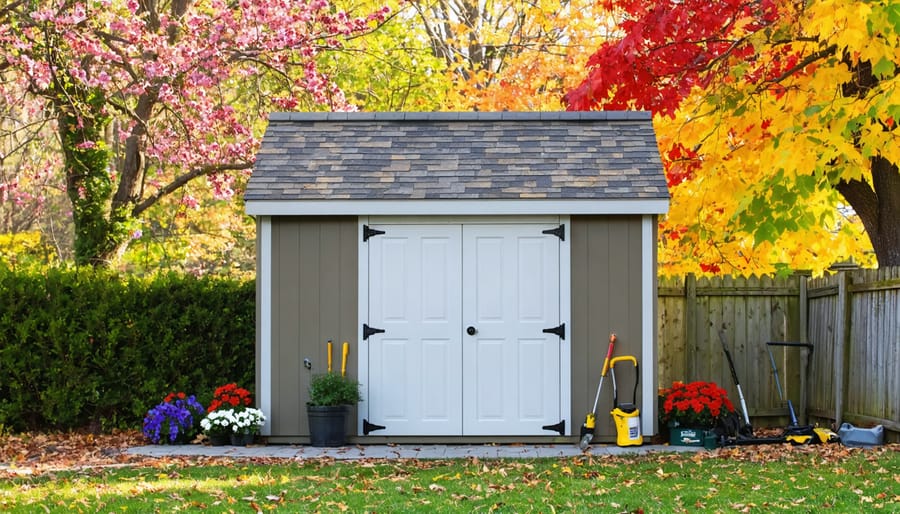
Transform your aging shed roof into a backyard masterpiece with a professional-grade re-roofing project that protects your investment and enhances curb appeal. Start by thoroughly inspecting the existing structure for water damage, rotting support beams, and compromised decking – catching these issues early prevents costly repairs down the line. Choose weather-resistant materials like architectural shingles or metal roofing that match your climate conditions and complement your home’s aesthetic. Remove old roofing materials completely, rather than laying new ones over existing shingles, to ensure proper installation and maximize roof lifespan. Plan your re-roofing project during dry weather conditions, ideally in late spring or early fall, when temperatures are moderate and materials can properly seal. Consider upgrading your roof ventilation system during the process to prevent moisture buildup and extend the life of your new roof materials.\n\n\n
Planning Your Seasonal Shed Roof Renovation
\n\n
Best Seasons for Roof Replacement
\n\nLate spring through early fall is typically the sweet spot for replacing your shed’s roof. These seasons offer the most favorable conditions, with warm temperatures and generally lower rainfall that help ensure proper material settling and adhesion. Summer’s extended daylight hours give you more time to work, though you’ll want to avoid the intense midday heat which can make materials like asphalt shingles too pliable to handle.\n\nSpring and fall are particularly ideal because moderate temperatures make working conditions comfortable and allow roofing materials to set properly. However, spring can bring unexpected rain showers, so keep an eye on the forecast and have tarps ready. Fall offers stable weather patterns and cooler temperatures, perfect for both workers and materials.\n\nAvoid winter re-roofing if possible, as cold temperatures can make materials brittle and difficult to work with. Snow and ice also create hazardous working conditions and can prevent proper sealing of roofing components. If you must work during winter, choose a mild day and start later in the morning when temperatures have risen.\n\n
Weather-Smart Material Selection
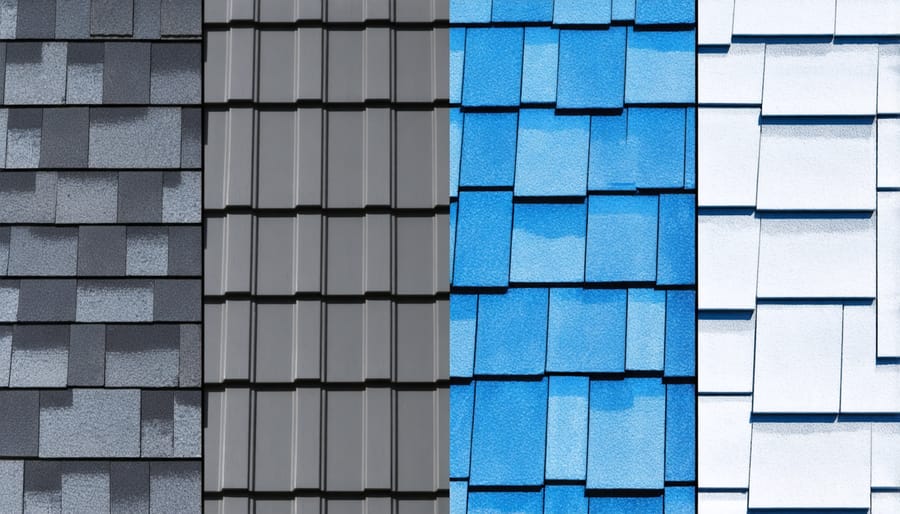
\n\nSelecting the right roofing material for your shed requires careful consideration of your local weather patterns. In areas with heavy rainfall, materials like metal or asphalt shingles offer excellent water resistance and durability. For regions experiencing intense sun exposure, light-colored materials with UV-resistant properties help reflect heat and prevent premature aging.\n\nIf you live in an area with frequent storms, impact-resistant materials like steel or reinforced shingles provide better protection. Snow-prone regions benefit from sturdy materials like metal roofing, which allows snow to slide off easily and supports heavier loads. For coastal areas, choose corrosion-resistant options like aluminum or specially treated materials that withstand salt air.\n\nConsider exploring eco-friendly shed improvements like recycled rubber roofing or sustainably sourced wooden shingles. These options not only protect your shed but also reduce environmental impact. Remember that proper ventilation is crucial regardless of your material choice, as it prevents moisture buildup and extends roof life in any climate.\n\nAlways check local building codes and HOA regulations before finalizing your material selection, as some areas have specific requirements based on regional weather challenges.\n\n
 \n
\n\n\n\n
Step-by-Step Seasonal Re-Roofing Process
\n\n
Removing Old Roofing Materials
\n\nStart by gathering your safety equipment – you’ll need sturdy gloves, safety goggles, and a dust mask. Clear the area around your shed and lay down tarps to catch debris. Begin removing the old roofing materials from the peak downward, working in manageable sections. Use a roofing shovel or pry bar to carefully lift and remove old shingles, being mindful not to damage the underlying structure.\n\nPay special attention to any areas showing signs of rot or water damage, as these will need extra care during removal. Remove all roofing nails as you go – either pull them out or hammer them flat. Don’t forget to check for and remove any ridge caps or flashing around vents or joins.\n\nOnce the old materials are removed, thoroughly inspect the roof deck for any soft spots, holes, or rotted wood that might need replacement. Clean the surface thoroughly, removing any loose debris or old roofing felt. If you discover any structural issues during this process, address them before moving forward with the new roofing installation.\n\nRemember to dispose of old roofing materials properly according to local regulations. Many areas have specific requirements for construction waste disposal.\n\n
 \n
\n\n\n
Weather-Proofing Your Shed
\n\nProtecting your shed from moisture is crucial for extending the life of your new roof and the entire structure. Start by installing a high-quality underlayment beneath your roofing material – this acts as your first defense against water infiltration. Make sure to properly overlap each layer, working from the bottom up, to create a seamless water barrier.\n\nPay special attention to potential weak points where water could enter. Install proper flashing around any roof penetrations, such as vents or chimneys, and ensure all seams are properly sealed. Consider adding drip edges along the eaves and rakes to direct water away from the shed’s walls and foundation.\n\nVentilation plays a key role in moisture control. Install ridge vents or soffit vents to promote proper airflow, which helps prevent condensation buildup under your roof. This is especially important in humid climates or if you store moisture-sensitive items in your shed.\n\nDon’t forget about ground-level moisture protection. Ensure proper drainage around your shed by grading the soil away from the foundation and considering the installation of gutters to direct rainwater away from the structure.\n\n
Installing New Roofing Materials
\n\nNow that your prep work is complete, it’s time to install the new roofing materials. Start by laying down your roofing felt, beginning at the bottom edge of the roof and working your way up. Overlap each row by about 2 inches and secure with roofing nails every 6-8 inches.\n\nFor shingle installation, begin at the bottom edge again, ensuring you have a starter strip in place. Each subsequent row should overlap the one below it, with shingles staggered to prevent water from seeping through. Nail each shingle with 4-6 roofing nails, positioned about 5/8 inch above the cutout slots.\n\nIn warmer months, let shingles warm slightly in the sun to make them more pliable and easier to work with. During colder seasons, store materials in a heated space before installation and work during the warmest part of the day. Be extra careful with nail placement in cold weather, as shingles are more brittle and prone to cracking.\n\nFor metal roofing, start with the edge trim, then lay your panels with a 1-inch overlap on the sides. Secure with weatherproof screws every 24 inches along the panel edges and in the middle. Remember to install rubber washers with each screw to prevent leaks.\n\nPro tip: Work from one end to the other, keeping your lines straight. A chalk line can be invaluable for maintaining proper alignment. For added protection in areas with heavy rainfall or snow, consider installing a drip edge along the roof’s perimeter.\n\nAs you work, regularly check your progress from the ground to ensure everything looks even and properly aligned. Take extra care around any vents or protrusions, using appropriate flashing and sealant to prevent water infiltration. Remember, a well-installed roof should last 15-20 years, so attention to detail now will pay off in the long run.\n\n\n
Seasonal Maintenance Tips
\n\n
Seasonal Inspection Checklist
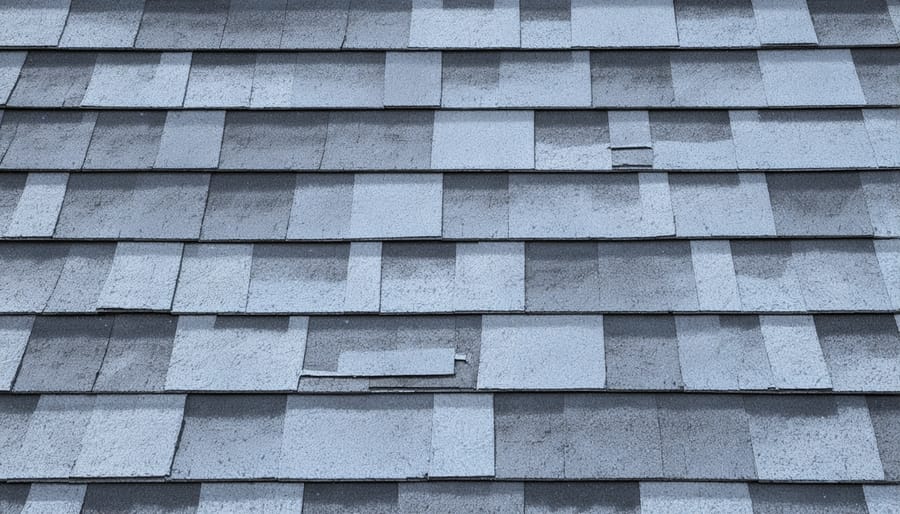
\n\nRegular seasonal inspections can help you catch roofing issues before they become major problems. In spring, check for winter damage like loose shingles or water stains, and clear any debris that accumulated during winter storms. Look for signs of mold or mildew, which often develop in damp spring conditions.\n\nSummer inspections should focus on sun damage and ventilation. Check for warped or curling shingles, and ensure your shed’s roof vents aren’t blocked. This is also the perfect time to trim back any overhanging branches that could damage your roof during storms.\n\nFall maintenance is crucial for winter preparation. Clean gutters and downspouts, remove fallen leaves, and check for gaps or loose materials that could let in winter moisture. Pay special attention to flashing around vents and edges.\n\nDuring winter, monitor snow accumulation and watch for ice dam formation. After heavy snowfall, use a roof rake to carefully remove excess snow, but avoid scraping the roofing material. Look for signs of sagging, which could indicate structural stress from snow weight.\n\nRemember to document any issues you find during these seasonal checks – this will help you track problems and plan your re-roofing project effectively.\n\n
 \n
\n\n\n
Preventive Care Strategies
\n\nRegular maintenance is your best defense against premature roof deterioration. Start by inspecting your shed roof at least twice a year, ideally in spring and fall. Look for loose or damaged shingles, signs of water damage, and check that ventilation points remain unobstructed. Clear away leaves, branches, and debris regularly, as these can trap moisture and accelerate wear.\n\nWhen you modernize your storage shed, consider installing gutter guards to prevent debris accumulation. Apply a roof sealant every few years to protect against water damage, and trim overhanging branches that could scrape against the roof during storms.\n\nKeep an eye on the interior ceiling for water stains or dampness – these are early warning signs of potential leaks. Address any issues promptly to prevent more extensive damage. During winter, use a roof rake to remove heavy snow accumulation, which can strain your shed’s structure. By following these preventive measures, you can significantly extend your shed roof’s lifespan and avoid costly repairs down the line.\n\n\nRe-roofing your shed is a valuable investment that protects your storage space and belongings from the elements. By following the steps outlined in this guide, you can successfully complete this project while ensuring durability and weather resistance. Remember to carefully assess your shed’s condition, choose appropriate materials, and plan around suitable weather conditions for the best results.\n\nDon’t forget to prioritize safety throughout the process by using proper protective equipment and following recommended installation techniques. Regular maintenance after completion will extend the life of your new roof and help you identify any potential issues early on.\n\nWhether you’re a seasoned DIY enthusiast or tackling your first roofing project, taking the time to properly re-roof your shed will save you money and headaches in the long run. If you feel uncertain about any aspect of the project, don’t hesitate to consult with roofing professionals or experienced DIYers for additional guidance.\n\nNow that you have all the information needed, it’s time to gather your materials and get started on giving your shed the protection it deserves. With proper planning and execution, you’ll have a weatherproof shed roof that will last for years to come.