
Transform Your Thirsty Lawn Into a Beautiful, Water-Wise Haven
Transform your traditional lawn into a vibrant, low-maintenance oasis by replacing water-hungry grass with native groundcovers, ornamental grasses, and drought-resistant perennials. These water-wise landscaping alternatives slash maintenance time by 70% while creating a more resilient, eco-friendly yard that thrives in your local climate.
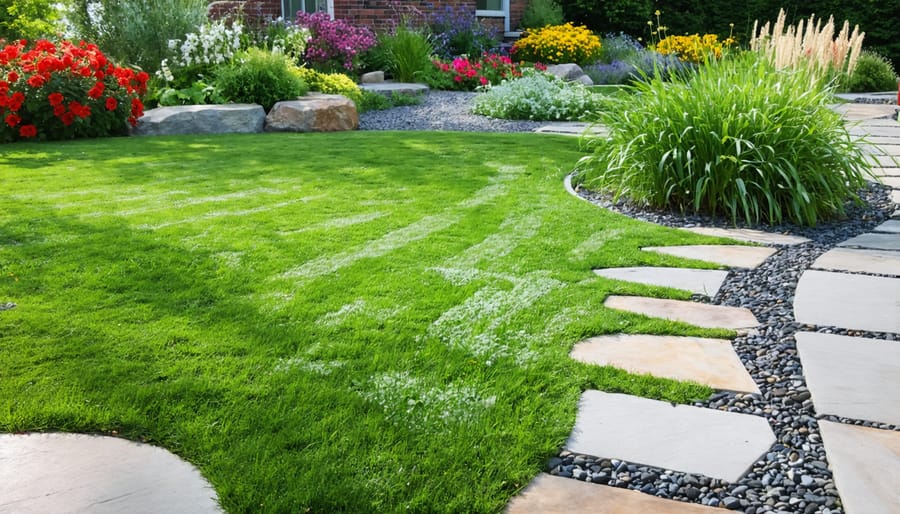
Install permeable hardscaping elements like gravel paths, natural stone patios, or recycled brick walkways to reduce water runoff and create functional outdoor living spaces that require zero mowing or chemical treatments. Combine these elements with native plant islands to create dynamic landscape zones that support local wildlife and naturally resist pests and diseases.
Convert high-traffic areas to clover, microclover, or other hardy ground covers that withstand foot traffic while enriching soil health through natural nitrogen fixation. These alternatives stay naturally short, require minimal mowing, and create a lush carpet that outcompetes weeds while providing essential habitat for beneficial insects.
Design your lawn alternative with strategic plant groupings that maximize visual impact while minimizing resource consumption. Layer different heights, textures, and seasonal interest to create an ever-changing landscape that delivers year-round beauty with a fraction of the environmental impact of traditional turf grass.

Native Groundcovers: The Secret to a Low-Maintenance Yard
Climate-Matched Plants for Your Region
Selecting the right plants for your climate is crucial for creating a sustainable lawn alternative that thrives with minimal maintenance. Start by researching native plants for your region, as these species are naturally adapted to local weather patterns and soil conditions.
For hot, dry climates, consider drought-resistant options like sedum, creeping thyme, or buffalo grass. These plants create beautiful ground coverage while requiring minimal watering. In humid regions, choose moisture-loving alternatives such as moss, wild ginger, or Pennsylvania sedge, which flourish in shadier spots and help prevent soil erosion.
Cold-climate gardeners can rely on hardy options like bearberry, prairie smoke, or creeping juniper that withstand freezing temperatures while maintaining year-round interest. For temperate zones, mix different groundcovers like dwarf mondo grass, creeping phlox, and white clover to create a diverse, resilient landscape.
Consider your yard’s specific conditions when selecting plants. Note sunny and shady areas, soil type, and natural drainage patterns. Group plants with similar water needs together to create efficient watering zones. Remember that while some initial planning is required, choosing climate-appropriate plants will result in a beautiful, low-maintenance yard that naturally resists local pests and diseases.
Installation and First-Year Care Tips
Success with sustainable lawn alternatives starts with proper site preparation. Begin by testing your soil pH and amending it as needed – most alternatives thrive in soil with a pH between 6.0 and 7.0. Remove existing grass and weeds thoroughly, including the root systems, to prevent unwanted regrowth.
Timing matters significantly. Plant your alternatives in early spring or fall when temperatures are moderate and rainfall is more frequent. This gives roots time to establish before extreme weather conditions arrive. Water deeply but infrequently during the first few weeks to encourage deep root growth.
For the first year, focus on weed prevention and proper irrigation. Monitor your new groundcover weekly and remove any weeds immediately before they can establish. Create clear boundaries between different planting areas using edging materials to prevent unwanted spread.
Most alternatives require minimal maintenance after the establishment period, but the first growing season is critical. Apply a layer of organic mulch around new plantings to retain moisture and suppress weeds. Avoid fertilizing during the first few months unless specifically recommended for your chosen variety.
Watch for signs of stress such as yellowing leaves or wilting, which might indicate watering issues. Adjust irrigation as needed, especially during periods of drought or excessive heat. Remember that even drought-tolerant options need consistent moisture until established.
By year two, your sustainable alternative should be well-established and requiring significantly less care than a traditional lawn. Maintain good airflow between plants by trimming as needed and continue monitoring for any invasive species that might try to take hold.
Microclover: Your Lawn’s New Best Friend
Benefits and Growing Requirements
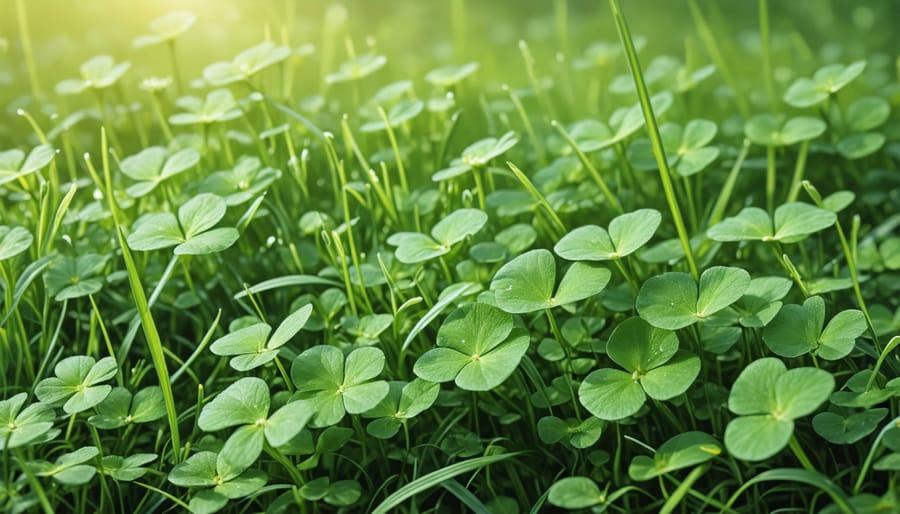
Microclover offers numerous advantages as a sustainable lawn alternative, making it an increasingly popular choice among eco-conscious homeowners. This hardy ground cover naturally fixes nitrogen in the soil, reducing the need for chemical fertilizers while keeping your yard lush and green. Unlike traditional grass, microclover stays green during drought conditions and requires significantly less water, complementing other eco-friendly landscaping elements like water features in your yard.
Growing requirements for microclover are surprisingly simple. It thrives in both full sun and partial shade, adapting well to various soil conditions. While it prefers well-draining soil, microclover isn’t particularly fussy about soil quality. Mowing is optional and typically needed only 2-3 times per season, compared to weekly mowing for traditional lawns.
To establish microclover, spring or early fall planting works best. Seeds should be scattered evenly and lightly covered with soil. Initial watering is important for establishment, but once rooted, microclover requires minimal irrigation. This hardy plant typically stays green year-round in moderate climates and naturally outcompetes most weeds, reducing the need for herbicides and making yard maintenance practically effortless.
Mixing with Traditional Grass
Integrating microclover into your existing lawn is a straightforward process that can enhance your yard’s sustainability while maintaining its traditional appearance. Start by mowing your existing grass as short as possible, ideally to about 2 inches in height. Next, rake the area thoroughly to remove thatch and create small gaps in the turf where microclover seeds can reach the soil.
For the best results, overseed your lawn in early spring or fall when temperatures are mild and rainfall is more frequent. Mix microclover seeds with sand at a ratio of 1:10 for even distribution. Spread the mixture evenly across your lawn using a seed spreader, aiming for about 1-2 pounds of microclover seed per 1,000 square feet of lawn area.
Keep the soil consistently moist for the first two weeks after seeding to ensure proper germination. During this establishment period, reduce foot traffic on the lawn. The microclover will gradually integrate with your existing grass over the next few months, creating a more resilient and drought-resistant lawn.
Remember that microclover grows best in areas that receive at least partial sun and may take several seasons to fully establish throughout your lawn.
Beautiful, Beneficial Rain Gardens
Planning Your Rain Garden
Planning a rain garden starts with selecting the right location – typically a natural depression or an area where rainwater already collects. Your ideal spot should be at least 10 feet from your home’s foundation and capture runoff from downspouts or paved surfaces. The garden’s size should be roughly 20-30% of the drainage area it serves.
When designing your rain garden, think in layers. The deepest center area will hold the most water and should feature moisture-loving plants that can handle periodic flooding. The middle zone works well with plants that tolerate occasional standing water, while the outermost edge can host drought-resistant species for visual interest during dry spells.
Choose native plants whenever possible – they’re already adapted to your local climate and provide essential habitat for pollinators. Consider a mix of perennials, grasses, and small shrubs to create year-round interest. Popular choices include swamp milkweed, blue flag iris, and cardinal flower for wet areas, while butterfly weed and black-eyed susans work well in drier zones.
The soil composition is crucial for success. A mixture of 50-60% sand, 20-30% topsoil, and 20-30% compost will ensure proper drainage while supporting healthy plant growth. Add a 2-3 inch layer of mulch to help retain moisture and prevent weed growth.
Construction and Maintenance
Creating a rain garden starts with selecting the right location – ideally a natural depression or an area where rainwater naturally collects. Begin by conducting a soil test to ensure proper drainage, then excavate the area to a depth of 4-6 inches, creating gently sloping sides.
Layer the bottom with a mix of native soil, compost, and sand to promote drainage while supporting plant growth. Choose native plants that can handle both wet and dry conditions, arranging them in zones based on moisture levels – with water-loving species in the center and drought-tolerant plants along the edges.
Maintenance is surprisingly simple once established. During the first growing season, water your plants regularly to help establish strong root systems. After that, your rain garden will largely care for itself, requiring only occasional weeding and mulch replacement.
Monitor the garden’s performance during rainfall events, ensuring water properly infiltrates within 24-48 hours. Remove any debris that might block water flow and trim plants as needed to maintain their shape and prevent overcrowding.
In winter, leave plant stalks standing to provide wildlife habitat and winter interest. Come spring, cut back dead growth and add a fresh layer of mulch to suppress weeds and retain moisture. With proper planning and minimal upkeep, your rain garden will serve as both an attractive landscape feature and an effective stormwater management solution.
Smart Hardscaping Solutions
Permeable Materials Guide
When considering sustainable lawn alternatives, permeable materials offer an excellent solution that combines functionality with environmental benefits. These materials allow water to filter through naturally, reducing runoff and helping replenish groundwater supplies.
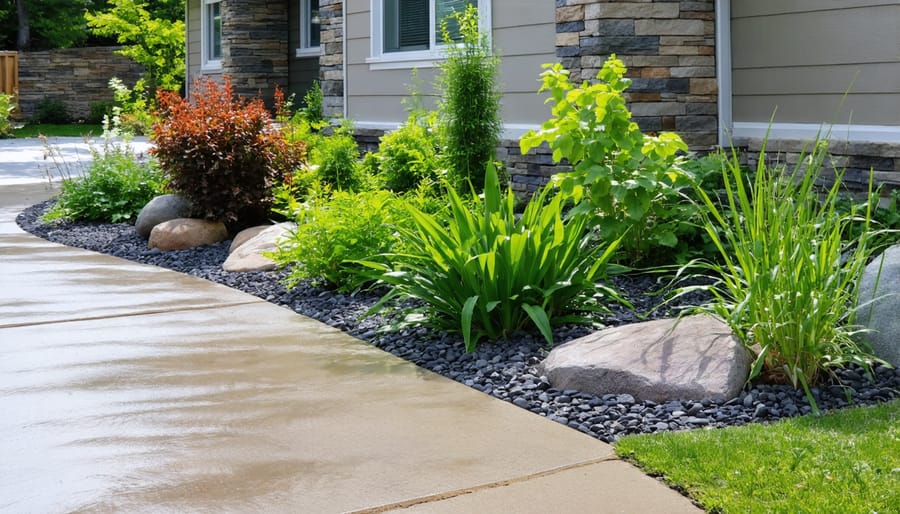
Gravel and crushed stone are popular choices, offering a classic look while providing excellent drainage. These materials come in various sizes and colors, allowing you to create unique patterns or maintain a natural aesthetic. For a more structured appearance, permeable pavers provide the look of traditional hardscaping while featuring special gaps that allow water penetration.
Decomposed granite offers another versatile option, creating a firm surface that’s ideal for pathways and seating areas while maintaining permeability. When properly installed with stabilizers, it remains sturdy even during heavy rainfall.
For areas that see frequent foot traffic, pervious concrete presents a durable solution. Unlike traditional concrete, this specialized material contains larger particles that create void spaces, allowing water to seep through while maintaining structural integrity.
Living ground covers between stepping stones offer a hybrid approach, combining permeable hardscaping with green elements. Options like creeping thyme or moss between pavers create an attractive, eco-friendly surface that requires minimal maintenance.
When installing any permeable material, proper base preparation is crucial. A well-constructed base layer of crushed stone helps ensure optimal drainage and prevents settling over time. Consider your climate, usage patterns, and maintenance preferences when selecting the best permeable material for your space.
Design Ideas and Installation Tips
When planning your sustainable lawn transformation, start with a comprehensive site analysis. Consider your yard’s sunlight patterns, drainage, and existing features to determine the best placement for hardscape elements. For high-traffic areas, permeable pavers offer an eco-friendly solution that allows water infiltration while providing a stable surface. Install them with a proper base of crushed stone to ensure longevity and drainage.
Create defined pathways using materials like recycled brick, natural stone, or gravel. These not only reduce maintenance needs but also add visual interest to your landscape. For seating areas, consider incorporating circular patterns or curved designs that complement natural elements and create inviting spaces for outdoor living.
Integrate rain gardens into lower areas of your yard to manage water runoff naturally. These can feature native plants and decorative stones, serving both practical and aesthetic purposes. When installing retaining walls, opt for materials like reclaimed wood or locally sourced stone to minimize environmental impact.
Consider vertical elements like green walls or climbing trellises to maximize space and add dimension. These features can provide privacy while supporting beneficial insects and wildlife. For borders and transitions between different landscape elements, use weathered steel edging or recycled plastic lumber for a clean, modern look that’s both durable and eco-friendly.
Remember to maintain proper grading away from your home’s foundation and include adequate drainage solutions in your design. This ensures your sustainable landscape not only looks beautiful but also functions effectively for years to come.
As we’ve explored throughout this guide, sustainable lawn alternatives offer a compelling solution for modern homeowners seeking to create beautiful, low-maintenance outdoor spaces. By embracing these eco-friendly options, you’re not just reducing water consumption and maintenance costs – you’re contributing to a healthier environment while creating a unique and vibrant landscape that stands out in your neighborhood.
Whether you choose to install a wildflower meadow, create a rock garden, or opt for native groundcover, each alternative brings its own set of benefits to your property. The reduction in mowing time, water bills, and chemical use translates to real savings, while the increased biodiversity and improved soil health contribute to a more resilient ecosystem in your backyard.
Ready to start your own eco-friendly yard transformation? Begin with a small section of your lawn and gradually expand as you become more comfortable with your chosen alternative. Remember that every square foot of traditional lawn you replace with a sustainable option makes a positive impact on both your local environment and the planet as a whole.
Take the first step today by selecting the alternative that best suits your lifestyle, climate, and aesthetic preferences. Your future self – and the environment – will thank you for making this thoughtful change to your outdoor space.