
Weather-Proof 3D Prints: Make Durable Outdoor Storage Solutions That Last
Transform your outdoor 3D printing projects with specialized filaments engineered to withstand nature’s harshest elements. ASA, PETG, and UV-resistant PLA offer superior durability for weather-resistant storage solutions and outdoor installations. These materials resist warping, fading, and degradation while maintaining structural integrity through extreme temperatures and moisture exposure.\n\nModern outdoor filaments combine industrial-grade polymers with UV stabilizers, creating prints that last years instead of months. Whether crafting garden accessories, outdoor storage components, or decorative elements, these materials deliver professional-quality results without the complexity of traditional manufacturing processes.\n\nChoose between ASA’s excellent UV resistance and mechanical strength, PETG’s water resistance and flexibility, or specialized outdoor PLA blends for easier printing with moderate durability. Each option offers unique advantages for specific outdoor applications, allowing makers to match material properties with project requirements while maintaining dimensional accuracy and surface finish quality.\n\nTesting shows these advanced filaments maintain their properties for 3-5 years of outdoor exposure, making them ideal for permanent installations and functional outdoor pieces. Their enhanced layer adhesion and resistance to environmental stressors ensure your prints remain stable and attractive throughout their service life.\n\n\n
 \n
\n\n\n
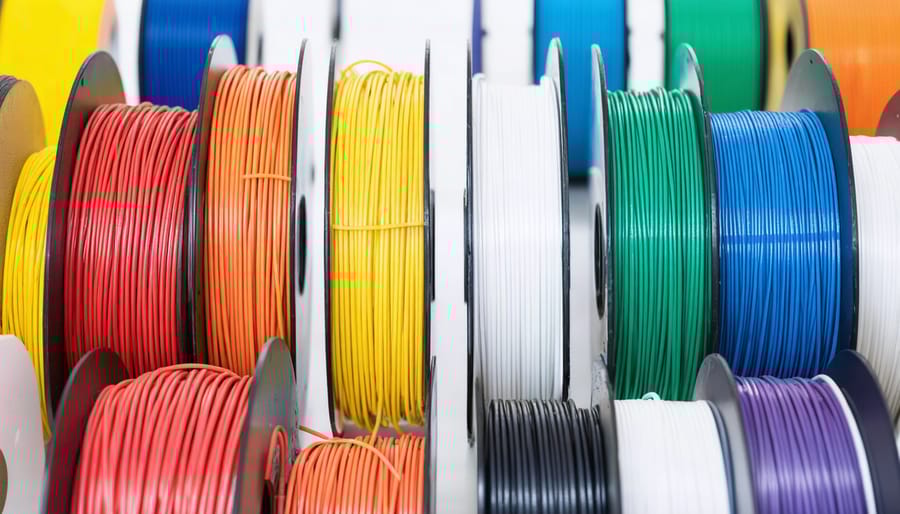
Best Filaments for Outdoor Storage Projects
\n\n
ASA: The Sun-Resistant Champion
\n\nASA (Acrylonitrile Styrene Acrylate) stands out as the go-to choice for outdoor 3D printing projects, thanks to its exceptional UV resistance and weather-fighting capabilities. Unlike standard materials that can fade or become brittle in sunlight, ASA maintains its color and structural integrity even after months of outdoor exposure.\n\nWhat makes ASA particularly special is its ability to withstand harsh weather conditions while offering excellent printability. The material produces smooth, matte finishes that look great in outdoor settings, from garden decorations to functional storage solutions. Many DIY enthusiasts have reported their ASA prints lasting multiple seasons without noticeable degradation.\n\nWhen working with ASA, you’ll appreciate its low warping tendency and dimensional stability, though it’s worth noting that proper ventilation is essential during printing due to its fumes. The material’s impact resistance is comparable to ABS, making it perfect for outdoor fixtures that might face occasional bumps or knocks.\n\nFor the best results, consider using ASA for projects like outdoor storage boxes, garden tool holders, or decorative elements that need to maintain their appearance through changing seasons.\n\n
PETG: The Waterproof Wonder
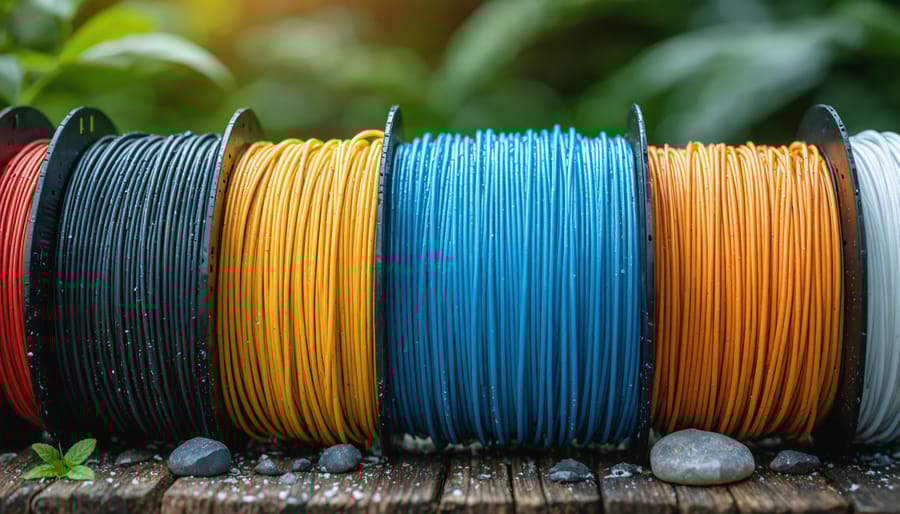
\n\nWhen it comes to waterproof filaments, PETG stands out as a fantastic choice for outdoor projects. This durable material naturally resists water absorption, making it ideal for items that need to withstand rain, snow, and high humidity. Unlike some other filaments, PETG won’t warp or degrade when exposed to moisture, maintaining its structural integrity over time.\n\nWhat makes PETG particularly special is its combination of strength and flexibility. It’s less brittle than PLA but easier to print than ABS, striking the perfect balance for outdoor applications. The material’s excellent layer adhesion creates watertight prints, perfect for containers, garden tools, and outdoor fixtures.\n\nMany makers appreciate PETG’s transparency and glossy finish, which adds a professional look to outdoor projects. It handles temperature fluctuations well, with a heat resistance up to 80°C (176°F), meaning your prints won’t deform during hot summer days.\n\nFor best results with PETG, print in a controlled environment and consider using a heated bed. While it’s slightly more expensive than basic filaments, its durability and weather resistance make it a cost-effective choice for long-lasting outdoor prints.\n\n
Nylon: For Heavy-Duty Applications
\n\nNylon stands out as a champion among outdoor 3D printing materials, thanks to its exceptional durability and resistance to harsh weather conditions. This versatile filament can handle heavy loads, intense UV exposure, and temperature fluctuations without breaking down. Its natural flexibility helps prevent cracking and splitting, while its water-resistant properties make it perfect for outdoor storage solutions and garden accessories. Many DIY enthusiasts praise nylon for its ability to maintain structural integrity even after months of outdoor exposure. When printing with nylon, you’ll appreciate its strong layer adhesion and impact resistance – perfect for creating outdoor tool holders, mounting brackets, and decorative elements that need to withstand the elements. Just remember to store unused nylon filament in a sealed container with desiccant, as it tends to absorb moisture from the air.\n\n\n
Essential Print Settings for Outdoor Durability
\n\n
Temperature and Layer Height
\n\nGetting the temperature and layer height settings right is crucial for outdoor-worthy prints. For most outdoor filaments, aim for a nozzle temperature between 230°C and 250°C, which helps ensure proper layer adhesion and overall strength. The bed temperature should typically be set between 80°C and 100°C to prevent warping and promote better first-layer adhesion.\n\nLayer height plays a significant role in print durability. While it might be tempting to use thicker layers for faster printing, stick to a layer height between 0.1mm and 0.2mm for optimal strength. Thinner layers create stronger bonds between each level, resulting in more weather-resistant prints.\n\nFor maximum durability, adjust your print speed to the slower side – around 40-50mm/s. This allows each layer to cool properly and bond effectively with the previous one. Enable cooling fans at 50-70% capacity to prevent overheating while maintaining good layer adhesion.\n\nRemember to increase your wall thickness to at least 2-3 perimeters and use 25-30% infill density for structural integrity. These settings might increase print time, but they’re essential for creating outdoor-worthy pieces that can withstand the elements.\n\n
Infill and Shell Settings
\n\nTo create waterproof prints for outdoor use, you’ll want to focus on both infill and shell settings. Start with a higher infill percentage, typically between 50-100%, to ensure your prints can withstand environmental stresses. A 75% infill often provides the perfect balance between strength and material usage for outdoor applications.\n\nFor the outer shell, aim for at least 3-4 perimeter walls to create a robust barrier against moisture. Increasing wall thickness helps prevent water infiltration and adds structural integrity to your prints. When setting layer height, stick to 0.2mm or lower for better layer adhesion and reduced risk of water seepage between layers.\n\nEnable “vase mode” or “spiral printing” for single-wall containers to create seamless, watertight vessels. If you’re printing multiple parts that need to fit together, consider adding a slight tolerance (0.2-0.3mm) to account for material expansion in varying temperatures.\n\nTop and bottom layers are crucial for waterproofing – use at least 4-5 layers for each. This creates a solid barrier against moisture while maintaining structural integrity. Remember to adjust your print speed slightly slower than usual, around 40-50mm/s, to ensure proper layer bonding and reduce the risk of water penetration points.\n\n\n
Post-Processing for Weather Protection
\n\n
 \n
\n\n\n
Protective Coatings
\n\nTo ensure your outdoor 3D prints last longer, applying protective coatings is essential for creating moisture-resistant storage solutions. A clear epoxy coating provides excellent UV protection while maintaining the original color of your prints. For maximum durability, polyurethane sealants create a robust barrier against rain and humidity, though they may slightly yellow over time.\n\nSpray-on acrylic sealers are perfect for quick application and offer good protection for less-exposed items. For prints that need extra weather resistance, marine-grade clear coats provide superior protection against harsh elements. These specialized coatings are particularly effective for outdoor storage accessories and organizational items.\n\nBefore applying any coating, make sure to clean the print surface thoroughly and allow it to dry completely. Most protective finishes require multiple thin layers rather than one thick coat for optimal results. For best adhesion, lightly sand between coats and apply in a dust-free environment. Remember to reapply protective coatings annually or as needed to maintain their effectiveness.\n\n
Surface Treatment Techniques
\n\nTo ensure your outdoor 3D printed projects last longer and look better, proper surface treatment is essential. Start by sanding your printed piece with progressively finer grits, beginning at 120-grit and working up to 400-grit for a smooth finish. For extra protection, apply a UV-resistant clear coat specifically designed for plastics, which creates a protective barrier against sun damage and moisture.\n\nMany makers have found success with automotive primers and paints, as these are specifically formulated to withstand outdoor conditions. Apply thin, even coats and allow proper drying time between layers. For maximum durability, consider using epoxy coating, which not only seals the surface but also adds significant strength to the printed part.\n\nIf you’re aiming for a more natural look, textured spray paints can help hide layer lines while providing additional protection. For areas that will face heavy wear, consider applying a rubberized coating to the bottom surfaces. Remember to clean your printed piece thoroughly with isopropyl alcohol before applying any treatments, as this removes oils and ensures better adhesion of your chosen finish.\n\n\n
Popular Outdoor Storage Projects
\n\n
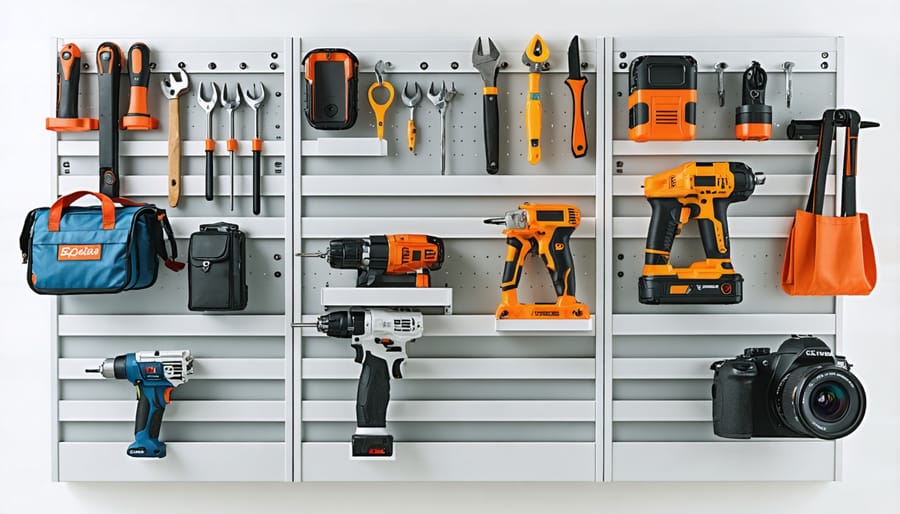
Tool Holders and Organizers
\n\nTransform your outdoor space with custom-designed tool holders and organizers that keep your gardening essentials neatly arranged and easily accessible. Using outdoor-rated 3D printer filament, you can create durable storage solutions that withstand the elements while adding a personal touch to your garden shed or workspace.\n\nPopular designs include wall-mounted tool racks with specialized slots for different handle sizes, ensuring your rakes, shovels, and hoes stay upright and organized. Print modular hanging systems that can be customized to fit your specific tools and space requirements. Small bins and containers with drainage holes work perfectly for storing garden twine, plant markers, and smaller hand tools.\n\nConsider printing weather-resistant hooks and brackets that can support heavier items like watering cans and potted plants. Tool holder designs with built-in water channels help prevent moisture accumulation, while reinforced mounting points ensure your storage solutions stay securely in place.\n\nFor maximum durability, print these organizers with UV-resistant filament using increased wall thickness and infill density. Many gardeners have found success with honeycomb-style organizers that maximize storage capacity while maintaining structural integrity. Remember to position your printed organizers away from direct sunlight and intense heat to extend their lifespan.\n\n
 \n
\n\n\n
Weather-Resistant Boxes
\n\nWhen it comes to creating outdoor storage solutions with 3D printed materials, designing weatherproof storage designs is essential for protecting your belongings from the elements. The key to success lies in incorporating clever features like overlapping lids, rubber gaskets, and water-channeling grooves into your prints.\n\nConsider adding a slight slope to flat surfaces to prevent water pooling, and design interlocking mechanisms that create tight seals. Double-wall construction with honeycomb infill provides excellent insulation while maintaining structural integrity. Including drainage holes at strategic points helps prevent moisture buildup inside the container.\n\nFor extra protection, print small channels around the lid’s edge to direct water away from the seal. Using snap-fit or threaded closures with silicone O-rings creates a reliable waterproof barrier. Remember to include reinforced corners and support ribs to prevent warping and maintain shape under varying weather conditions.\n\nTest your designs with small prototypes before committing to larger prints, and consider adding UV-resistant coating for extended outdoor durability. These thoughtful design elements ensure your 3D printed storage boxes remain functional and protective throughout the seasons.\n\n
Mounting Systems
\n\nWhen storing your outdoor 3D printer filament, proper mounting systems are essential for maintaining material quality and easy access. Wall-mounted solutions offer an excellent way to keep your filament organized while maximizing space efficiency. Consider installing durable outdoor shelving with adjustable brackets that can accommodate various spool sizes.\n\nFor optimal protection, choose mounting systems with enclosed designs that shield filament from direct sunlight and moisture. Clear acrylic or UV-resistant plastic containers mounted on wall brackets provide visibility while safeguarding your materials. Install these units at eye level for convenient access and include silica gel packets to absorb any residual moisture.\n\nMany makers prefer modular mounting systems that can grow with their collection. Look for options with interlocking components that allow for expansion as needed. Weather-resistant mounting rails with adjustable hooks work well for temporary storage, while permanent cabinet solutions offer better long-term protection.\n\nRemember to position your mounting system away from windows and heat sources, preferably in a temperature-controlled area of your workspace. This helps maintain consistent material properties and extends the life of your outdoor filament collection.\n\n\nAs we’ve explored throughout this guide, outdoor 3D printer filament opens up a world of possibilities for creating weather-resistant projects and storage solutions. By choosing the right materials like ASA, PETG, or specialized outdoor filaments, you can craft durable items that stand up to sun, rain, and temperature fluctuations. Remember to properly store your filament in airtight containers with desiccant packets to maintain optimal printing conditions and extend its shelf life.\n\nStarting your outdoor printing journey doesn’t have to be overwhelming. Begin with simple projects like garden stakes or plant labels to get comfortable with these materials’ unique properties. As your confidence grows, progress to more complex items such as outdoor storage boxes, rain gauge holders, or customized mailbox accessories.\n\nDon’t forget the essential printing tips we’ve covered: using enclosures to maintain consistent temperatures, adjusting your print settings for optimal layer adhesion, and applying appropriate post-processing techniques to enhance weather resistance. With proper preparation and attention to detail, your outdoor 3D printed creations can provide years of reliable service.\n\nWhether you’re a homeowner looking to enhance your outdoor space or a DIY enthusiast eager to tackle new challenges, outdoor 3D printing offers endless opportunities for creative and functional projects. Take that first step today – your backyard is waiting for your innovative touch!