
Secure Your Shed Roof: Simple DIY Upgrades That Actually Work
Transform your shed into a weatherproof, long-lasting storage solution with a properly constructed DIY roof. Choosing the right roofing materials and following correct installation techniques not only protects your valuable belongings but can save you hundreds in professional installation costs. Whether you’re building a new shed or replacing an aging roof, mastering the basics of shed roofing empowers you to create a durable structure that stands up to years of harsh weather.\n\nStart with a solid foundation by calculating your roof pitch, selecting appropriate materials, and gathering essential tools. Modern shed roofing options range from traditional asphalt shingles to metal panels, each offering unique benefits for different climates and budgets. The key to success lies in careful planning, proper material selection, and attention to crucial details like underlayment installation and proper ventilation.\n\nReady to tackle your shed roofing project? Let’s explore the step-by-step process to ensure your DIY roof installation delivers professional-quality results that protect your investment for years to come.\n\n\n
Why Your Shed Roof Needs Security Attention
\n\n
Common Entry Points Through Roofs
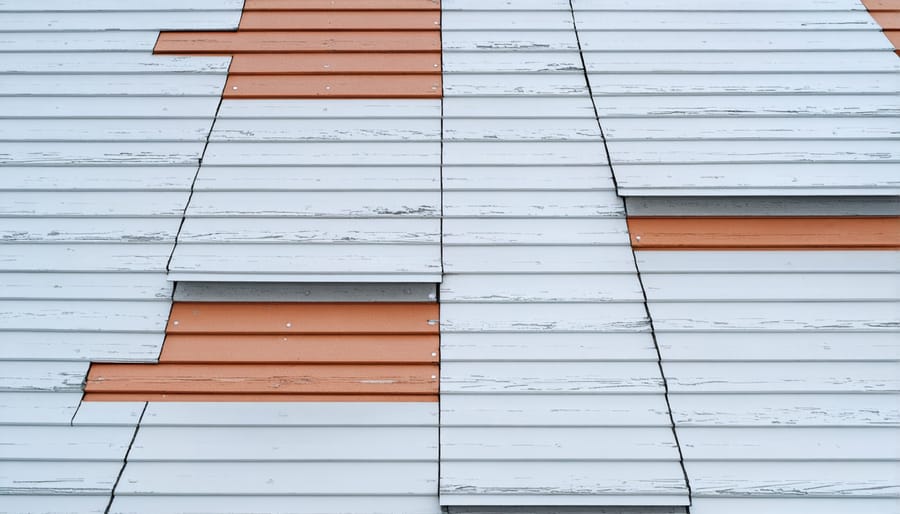
\n\nWhen securing your shed, the roof often presents vulnerable entry points that thieves commonly exploit. Regular seasonal roof maintenance is crucial for identifying these weak spots before they become security risks. Pay special attention to areas where roofing materials meet walls, as these joints can deteriorate over time. Skylights and vents are particularly vulnerable, offering easy access if not properly secured. Gaps between roof panels or damaged shingles can also provide entry opportunities, especially in older sheds. Check for loose fasteners and aging sealants around roof fixtures, as these are common points where intruders might attempt entry. Remember that tree branches hanging over your shed roof can serve as natural ladders, so regular trimming is essential for maintaining security.\n\n
 \n
\n\n\n
Risk Assessment Checklist
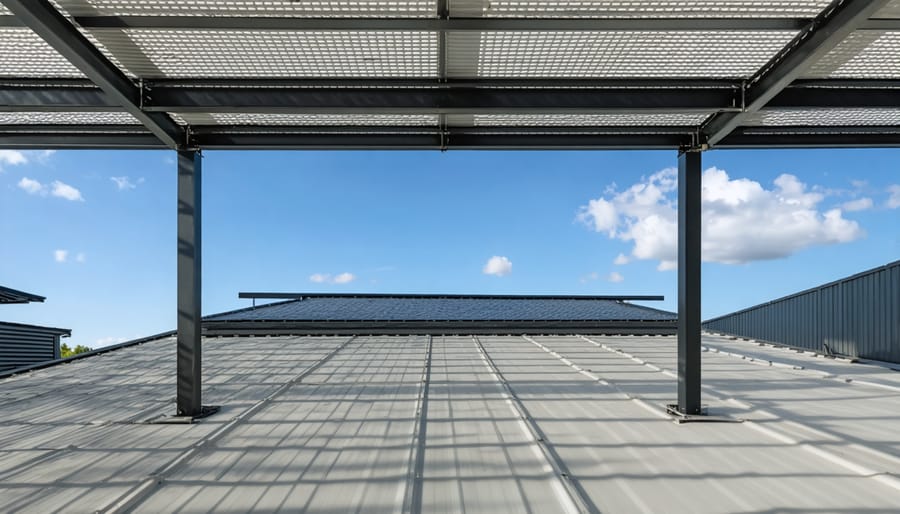
\n\nBefore starting your shed roofing project, carefully inspect these critical areas to ensure a successful installation. Check the supporting beams and rafters for any signs of rot, splitting, or pest damage. Examine existing shingles or roofing material for curling, missing pieces, or water damage spots. Look for sagging areas in the roof line, which could indicate structural weakness. Assess the guttering system and ensure proper drainage paths exist. Pay special attention to roof joints and flashing points where leaks commonly occur. Verify that your shed’s foundation is level and stable, as this affects roof alignment. Finally, inspect the ventilation setup, as proper airflow prevents moisture buildup and extends roof life. Document any issues you find to create a focused repair plan.\n\n\n
Essential DIY Roof Security Measures
\n\n
Reinforcing Roof Joints
\n\nReinforcing your shed’s roof joints is a crucial step to weatherproof your shed and ensure its longevity. Start by inspecting all connecting points where rafters meet the walls and ridge beam. Apply construction adhesive to these joints, then secure them with galvanized hurricane ties or framing angles.\n\nFor each rafter-to-wall connection:\n1. Clean the joint area thoroughly\n2. Apply a thick bead of construction adhesive\n3. Position the hurricane tie flush against both surfaces\n4. Secure with 1½-inch galvanized nails in every pre-drilled hole\n5. Repeat on both sides of each rafter\n\nAt the ridge beam:\n1. Install collar ties every 4 feet to prevent spreading\n2. Secure with 3-inch deck screws through pre-drilled holes\n3. Add metal plates at each rafter-to-ridge connection\n\nDon’t forget the gable ends:\n1. Install diagonal bracing from peak to bottom corners\n2. Use 2×4 lumber cut at 45-degree angles\n3. Secure with lag screws at each end\n\nFor extra protection, add rafter ties across the bottom of opposing rafters. This creates a triangle of strength that helps prevent roof sag and wall separation during heavy snow loads or high winds.\n\nRemember to check these reinforcements annually, especially before winter weather arrives.\n\n
Installing Security Mesh
\n\nInstalling security mesh beneath your shed’s roofing materials adds an extra layer of protection against break-ins and prevents unwanted access through the roof. Start by measuring the entire roof area, adding an extra 6 inches on each side to ensure complete coverage. Choose a galvanized steel mesh with openings no larger than ½ inch – this provides optimal security while still allowing proper ventilation.\n\nBefore laying the mesh, ensure your roof frame is sturdy and free from damage. Begin at one corner of the roof, securing the mesh to the rafters using galvanized staples every 6-8 inches. Work your way across the roof, pulling the mesh taut as you go to prevent sagging. Where pieces need to overlap, ensure at least a 3-inch overlap and secure both layers firmly.\n\nPay special attention to edges and corners, as these are potential weak points. Fold the mesh down at the edges and secure it to the fascia board for complete protection. For areas around vents or skylights, cut the mesh carefully and create a collar that wraps around the opening, securing it thoroughly.\n\nPro tip: Use rust-resistant fasteners and consider adding rubber washers to prevent water penetration at attachment points. This small detail can significantly extend the life of your security installation and maintain your roof’s weatherproofing integrity.\n\nRemember to check the mesh annually for any signs of damage or loose sections, especially after severe weather events.\n\n
 \n
\n\n\n
Motion-Activated Lighting Solutions
\n\nInstalling motion-activated lighting around your shed’s roof area adds both security and convenience to your storage space. Start by identifying strategic mounting points – typically the corners and above entry points work best. Choose LED security lights rated for outdoor use, preferably with adjustable heads for better coverage.\n\nBefore installation, turn off power at the main breaker. Mount a weatherproof junction box at each light location, ensuring it’s properly sealed against moisture. Run weatherproof electrical cable through conduit along the roof line, keeping it discreet but accessible for future maintenance. When connecting wires, use waterproof wire nuts and seal all connections carefully.\n\nPosition the motion sensors to cover approach paths while avoiding false triggers from trees or bushes. Most sensors work best when mounted 6-10 feet high and angled slightly downward. Test the coverage area during installation by adjusting both the sensor’s range and the light heads’ direction.\n\nFor added functionality, consider lights with adjustable settings for sensitivity and duration. Many modern units offer smartphone connectivity, allowing you to monitor and control your shed’s lighting remotely. Remember to weatherproof all connections and regularly check for any signs of wear or water damage.\n\nPro tip: Install a manual override switch inside your shed for times when you need continuous lighting during extended outdoor projects.\n\n\n
Advanced Security Features
\n\n
Alarm System Integration
\n\nProtecting your shed investment with smart security features starts at the top. Installing roof sensors is a straightforward DIY project that adds an extra layer of protection to your storage space. Begin by mounting magnetic contact sensors along the roof’s edge, particularly near potential entry points. These sensors connect to your main alarm system and trigger when someone attempts to lift or tamper with the roofing materials.\n\nFor comprehensive coverage, consider adding motion sensors in the upper corners of your shed’s interior, angled slightly downward to detect movement near the roof. Wireless sensors are ideal for DIY installation, requiring minimal wiring and offering flexible placement options. Most modern systems can send alerts directly to your smartphone when triggered.\n\nRemember to weatherproof all outdoor components with silicone sealant and protective covers. Position the control panel near the main entrance for easy access, and test the system regularly to ensure all sensors maintain proper communication with the base unit. This integration not only protects your belongings but can also help reduce insurance premiums.\n\n
 \n
\n\n\n
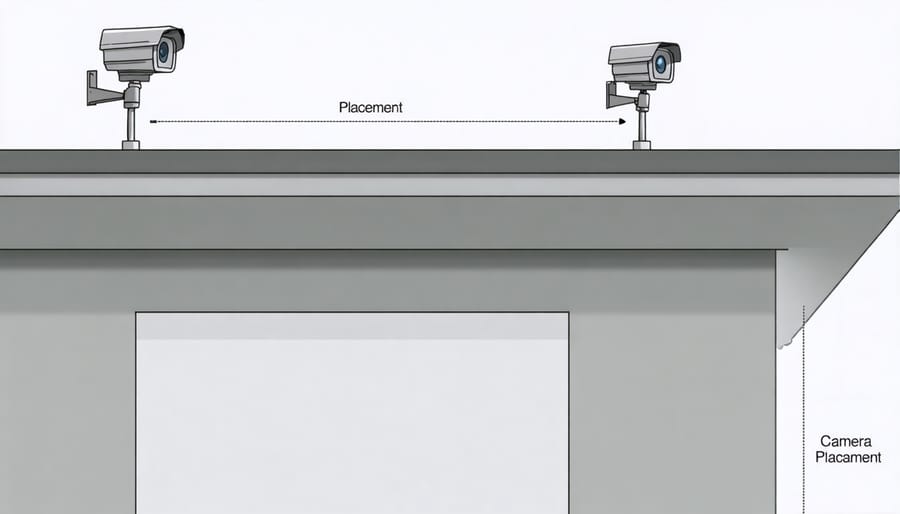
Camera Placement Strategies
\n\nStrategic camera placement is essential for monitoring your shed’s roof access points effectively. Position one camera at the front corner of your shed, angled upward to capture anyone approaching the roof from the ground. A second camera mounted on your house or a nearby structure should provide a bird’s-eye view of the entire shed roof surface.\n\nFor complete coverage, consider installing motion-activated cameras at both ends of the shed. These should be mounted slightly above roof height for the best viewing angle. Position them to overlap their coverage areas, eliminating blind spots where intruders might hide.\n\nWeather-resistant cameras with night vision capabilities are worth the investment, as they’ll maintain surveillance regardless of conditions. Mount them under small protective eaves or use weather shields to extend their lifespan. Aim to place cameras at least 8-10 feet high to prevent tampering while maintaining a clear view of the roof.\n\nRemember to angle cameras slightly downward to reduce glare from the sun and ensure proper motion detection. Test your camera positioning during different times of day to confirm optimal coverage.\n\n\nBuilding a secure and durable roof for your shed is a rewarding DIY project that protects your valuable belongings while adding value to your property. By following the steps outlined in this guide, you can create a weatherproof, long-lasting structure that stands the test of time. Remember to prioritize safety during construction, use quality materials, and take accurate measurements before beginning your project.\n\nDon’t let the scope of the project intimidate you – with proper planning and the right tools, even novice DIYers can successfully complete a shed roofing project. Start by gathering your materials and reviewing local building codes. Consider tackling this project during dry weather conditions for the best results.\n\nWhether you’ve chosen asphalt shingles, metal roofing, or another material, the key to success lies in careful preparation and attention to detail. Take your time with each step, especially during the installation of underlayment and flashing, as these elements are crucial for preventing leaks.\n\nReady to get started? Begin by assessing your current shed roof or planning your new build. The sooner you begin, the sooner you’ll have a secure, weatherproof space for your storage needs.
Looking for a storage sheds?
Browse our full range of storage sheds from authorized dealer brands. Free shipping to the continental US.