
Make Your Shed Comfortable Year-Round with Plywood Thermal Barriers
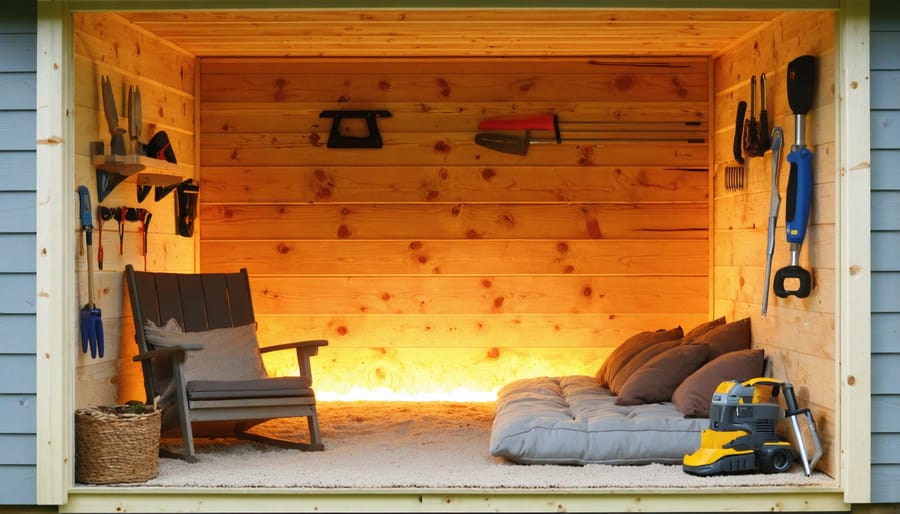
Transform your shed into a comfortable, climate-controlled space using plywood thermal barriers – a cost-effective solution that combines structural support with essential insulation properties. Modern plywood installations, when properly layered with insulating materials, can reduce heat transfer by up to 75% while maintaining the structural integrity of your storage space. Recent studies from building science experts demonstrate that a well-installed plywood thermal barrier system can significantly decrease energy costs and protect stored items from extreme temperature fluctuations. Whether you’re building a new shed or upgrading an existing structure, understanding the science behind plywood thermal barriers will help you create a more efficient and durable storage solution that works year-round. This guide explores proven techniques for maximizing plywood’s natural insulating properties while avoiding common installation pitfalls that could compromise your shed’s thermal performance.
Why Plywood Makes an Excellent Thermal Barrier
Cost-Effective Temperature Control
When comparing the cost of shed insulation options, plywood stands out as a budget-friendly choice that delivers excellent value. While specialized insulation materials can be expensive, plywood offers a cost-effective solution that serves multiple purposes. A standard 4×8 sheet of plywood typically costs between $20-40, making it significantly more affordable than dedicated insulation panels that can run upwards of $100 for the same coverage area.
What makes plywood particularly economical is its dual functionality – it acts as both a structural element and a thermal barrier. This means you won’t need to purchase separate materials for walls and insulation. Additionally, plywood’s durability ensures you won’t have to replace it frequently, providing long-term cost savings. For DIY enthusiasts working with a modest budget, plywood’s accessibility at local hardware stores and straightforward installation process further reduces overall project expenses.
Durability and Longevity
When properly installed and maintained, plywood thermal barriers can last for decades, making them an excellent long-term investment for your shed. The dense, layered construction of plywood helps it resist warping and deterioration, even when exposed to temperature fluctuations. Most quality plywood barriers maintain their insulating properties for 15-20 years or more.
To maximize durability, choose moisture-resistant or marine-grade plywood, especially in areas with high humidity. Regular inspections for signs of water damage or pest infestation can help catch potential issues early. Many homeowners report their plywood barriers performing effectively even after 25 years, particularly when sealed properly and ventilated well.
The material’s natural resistance to impact and physical stress means it won’t compress or lose its insulating properties over time like some foam alternatives. This resilience makes plywood an especially practical choice for storage areas where items might occasionally bump against the walls.
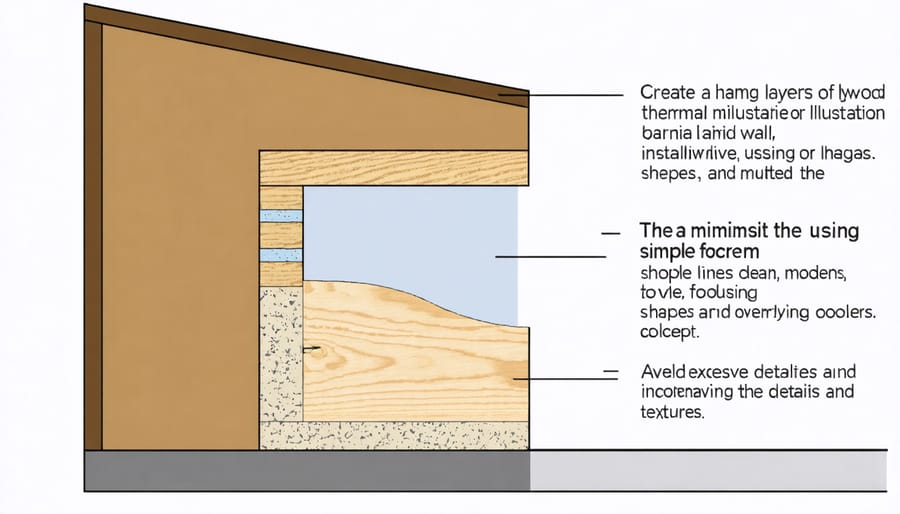
Installing Plywood Thermal Barriers
Preparation and Materials
Before starting your plywood thermal barrier project, gather these essential materials:
• 1/2-inch or 3/4-inch plywood sheets
• Reflective foil insulation
• Construction adhesive
• Screws (1-5/8 inch recommended)
• Caulk and caulk gun
• Measuring tape
• Circular saw or table saw
• Drill with screwdriver bits
• Safety gear (goggles, gloves, dust mask)
• Level
• Pencil and straight edge
Start by measuring your wall dimensions carefully, accounting for windows, doors, and other openings. Clean all surfaces thoroughly and repair any damage to existing walls. Check for moisture issues or leaks and address them before installation.
Pre-cut your plywood sheets according to your measurements, leaving a 1/4-inch gap around the edges for expansion. If using reflective foil insulation, cut pieces to match your plywood dimensions. Ensure your work area is well-ventilated and you have adequate lighting. Having a helper on hand will make the installation process much smoother, especially when handling large plywood sheets.
Installation Process
Installing a plywood thermal barrier is a straightforward process that you can complete over a weekend. Before beginning, gather your materials: plywood sheets, insulation material, vapor barrier, screws, and basic tools like a drill, measuring tape, and utility knife.
Start by cleaning the interior walls of your shed and checking for any damage or moisture issues. Repair these before proceeding. Next, install a vapor barrier against the walls, overlapping seams by at least 6 inches and securing it with staples.
Cut your insulation to fit between the wall studs, wearing protective gear like gloves and a dust mask. Press the insulation firmly into place, ensuring there are no gaps or compressed areas that could reduce its effectiveness.
Measure and cut your plywood sheets to fit your walls. Remember to account for any windows, doors, or electrical outlets. When cutting, always measure twice to avoid waste. For best results, use ½-inch or ¾-inch plywood, depending on your climate needs.
Secure the plywood to the wall studs using appropriate screws, spacing them every 12 inches along the edges and 16 inches in the field. Start from one corner and work your way across, checking for level as you go. Use a stud finder to ensure proper attachment.
For seams between plywood sheets, ensure they align with wall studs. Apply weatherproof tape over the seams to create a continuous thermal barrier. Finally, seal any gaps around windows, doors, or utilities with appropriate caulking.
Consider adding trim pieces around edges and corners for a finished look. This not only improves appearance but also helps secure the edges of your thermal barrier installation.
Maximizing Thermal Barrier Effectiveness
Sealing and Weatherproofing
Proper sealing and weatherproofing are crucial steps to prevent moisture damage and maintain your plywood thermal barrier’s effectiveness. Start by applying a high-quality silicone caulk around all joints, corners, and potential entry points for air and moisture. Pay special attention to areas where different materials meet, such as where plywood panels connect or where they meet the floor and ceiling.
For external plywood surfaces, use a water-resistant sealant or exterior-grade paint to create an additional protective barrier. This not only helps protect against moisture but also extends the life of your plywood. Consider applying weatherstripping around doors and windows to minimize air leaks and improve overall insulation performance.
Don’t forget to check and maintain these seals annually, especially before winter. Look for any gaps or cracks that may have developed over time, and address them promptly. A well-sealed plywood thermal barrier can significantly improve your shed’s energy efficiency and protect your stored items from temperature fluctuations and moisture-related issues.
Maintenance Tips
Regular inspections and maintenance are crucial for keeping your plywood thermal barrier performing at its best. Start by checking for any signs of moisture every three months, particularly after heavy rains or snowfall. Ensure proper ventilation is maintained to prevent condensation buildup, which can compromise the plywood’s insulating properties.
Clean the plywood surfaces annually using a soft brush to remove dust and debris. Look for any gaps that may have developed between panels and seal them promptly with appropriate weatherstripping or caulk. If you notice any warping or discoloration, address these issues immediately to prevent further damage.
Check the effectiveness of your vapor barrier regularly and replace it if you spot any tears or degradation. Keep an eye on the exterior seals around windows and doors, as these are common areas where thermal efficiency can be lost. Remember to inspect the roof-wall joints where the plywood meets other materials, as these connection points are particularly vulnerable to air leaks.
By following these simple maintenance steps, you’ll extend the life of your plywood thermal barrier and maintain its insulating properties for years to come.
Implementing a plywood thermal barrier in your shed is a smart investment that pays dividends in comfort, energy efficiency, and storage protection. By choosing this practical solution, you’re not just creating a more comfortable space – you’re also protecting your valuable belongings from temperature extremes and moisture damage. The combination of plywood’s natural insulating properties with proper installation techniques creates an effective barrier that works year-round.
Many homeowners who have installed plywood thermal barriers report significant improvements in their shed’s usability and durability. The relatively low cost, coupled with straightforward installation and minimal maintenance requirements, makes it an attractive option for both DIY enthusiasts and practical homeowners alike.
Don’t wait for extreme weather to remind you of the importance of proper shed insulation. Take action now to create a more stable environment for your stored items. With the right tools, materials, and attention to detail, you can transform your basic storage shed into a well-insulated, functional space that serves your needs throughout every season.
Looking for a storage sheds?
Browse our full range of storage sheds from authorized dealer brands. Free shipping to the continental US.