
Transform Your Noisy Shed Into a Peaceful Workspace (DIY Soundproofing That Actually Works)
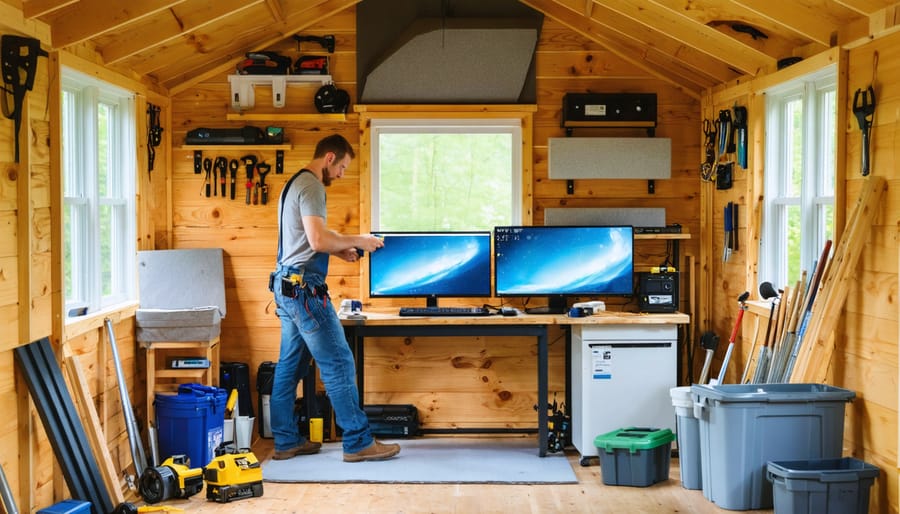
Transform any room into a soundproof sanctuary without breaking the bank using proven DIY techniques that rival professional installations. Whether you’re creating a professional home office space or a music practice room, strategic layering of sound-absorbing materials delivers impressive results. Install mass-loaded vinyl barriers between wall studs, seal air gaps with acoustic caulk, and add dense foam panels to walls for immediate noise reduction. Double up on drywall using Green Glue compound, implement weatherstripping around doors and windows, and create floating floors with rubber underlayment to block both airborne and impact noise. These cost-effective solutions target the three main paths of sound transmission – direct, flanking, and impact – while using readily available materials from local hardware stores. Most importantly, these DIY methods can reduce noise levels by up to 70% when properly implemented, making your space significantly quieter without requiring professional installation or specialized tools.
Start With the Basics: Sealing Air Gaps
Door and Window Treatment
Doors and windows are notorious sound leaks in any structure, but with proper treatment, you can significantly reduce noise transfer. Start by applying high-quality weatherstripping around all door and window frames – this serves a dual purpose of weatherproofing your shed while blocking sound transmission. For doors, install door sweeps at the bottom to seal the gap between the door and threshold. Self-adhesive foam tape is an affordable option that’s easy to install around window frames and door jambs.
Consider adding a second layer of protection by installing acoustic door seals, which use flexible rubber or silicone to create an airtight seal when the door closes. For windows, thermal curtains or cellular shades can provide an additional sound barrier while maintaining a clean appearance. If you’re dealing with particularly troublesome noise, consider installing door gaskets, which compress when the door closes to create an excellent acoustic seal.
Remember to check and maintain these seals regularly, as they can wear down over time and lose their effectiveness.

Wall Joint Solutions
Proper sealing of wall joints and corners is crucial for effective soundproofing, as these areas often allow unwanted noise to slip through. Start by thoroughly inspecting all wall joints, corners, and seams for gaps. Apply acoustic caulk generously along these areas, ensuring complete coverage. This specialized caulk remains flexible after drying, preventing cracks from forming due to building movement or temperature changes.
For larger gaps, especially where walls meet the floor or ceiling, use foam gaskets or rubber strips before applying the acoustic caulk. This double-barrier approach significantly reduces sound transmission. In corners, consider installing corner sound baffles or acoustic foam corner pieces for enhanced sound absorption.
Don’t forget to address electrical outlets and switch boxes, as these are common weak points in wall soundproofing. Use outlet gaskets and putty pads to seal these openings. For the best results, apply weatherstripping tape around door frames and window frames where they meet the walls. This creates an airtight seal that blocks both sound and drafts, improving your shed’s overall acoustic performance.
Wall Soundproofing: The Mass Layer Method
Budget-Friendly Materials
Creating an effective soundproof space doesn’t have to break the bank. Mass loaded vinyl (MLV) is one of the most cost-effective materials available, typically costing between $1.50 to $3 per square foot. This dense, flexible material can be easily installed behind drywall or directly onto existing walls, offering excellent sound-blocking properties at a fraction of the cost of professional solutions.
Recycled denim insulation has emerged as another budget-friendly option, often available for around $1 per square foot. Not only is it environmentally friendly, but it also provides superior sound absorption compared to traditional fiberglass insulation. The dense fibers effectively trap sound waves while being safe to handle without protective gear.
Moving blankets offer a versatile and affordable solution, usually costing $20-30 per blanket. These can be hung on walls or used as temporary sound barriers when needed. For gaps and cracks, acoustic caulk is an inexpensive yet effective option, typically under $10 per tube.
Weather stripping and door sweeps are budget-friendly solutions for sealing air gaps, with most options available for under $15. Consider using egg cartons or foam panels as temporary sound diffusers while saving up for more permanent solutions. Remember, combining several affordable materials often yields better results than investing in a single expensive solution.
Installation Tips
Before starting your soundproofing project, gather all necessary materials and tools. Begin by thoroughly cleaning the surfaces you’ll be working with to ensure proper adhesion of materials. When installing acoustic panels or mass-loaded vinyl, always work from top to bottom and maintain consistent spacing between materials.
For wall installations, use a stud finder to locate and mark wall studs – this ensures secure mounting points for heavier materials. When applying interior finishing techniques, start with the largest surfaces first and work your way to smaller areas.
If installing weatherstripping around doors and windows, ensure surfaces are completely dry and free from debris. Apply adhesive-backed materials in one continuous strip, avoiding stretching that could compromise effectiveness. For foam panels, use appropriate adhesive and apply firm, even pressure for 30-60 seconds to ensure proper bonding.
When working with multiple layers of soundproofing materials, stagger the seams to prevent sound leaks. If cutting materials to size, always measure twice and cut once, using sharp tools for clean edges. For ceiling installations, work with a partner to ensure safe and accurate placement.
Remember to seal all gaps and joints with acoustic caulk, paying special attention to corners and areas where different materials meet. Allow all adhesives and sealants to cure completely before testing or using the space.
Ceiling and Floor Solutions
Suspended Ceiling Options
Creating a suspended ceiling is an effective DIY approach to soundproofing your shed from above. Start by installing a framework of metal channels or wooden battens approximately 6-8 inches below your existing ceiling. This gap allows for both insulation material and essential ventilation solutions. Fill the space with sound-absorbing insulation like mineral wool or acoustic foam panels.
For the visible ceiling surface, you have several budget-friendly options. Standard acoustic tiles offer good sound absorption and are easy to install in a grid system. Alternatively, use mass-loaded vinyl panels covered with fabric for a modern look. For a more rustic appearance, consider installing tongue-and-groove wooden panels with a layer of soundproofing material above them.
Remember to seal any gaps between panels and around the edges with acoustic caulk. This prevents sound from leaking through small openings. If you’re working with a limited budget, even basic foam ceiling tiles can make a noticeable difference in reducing noise transfer while maintaining an attractive finish.
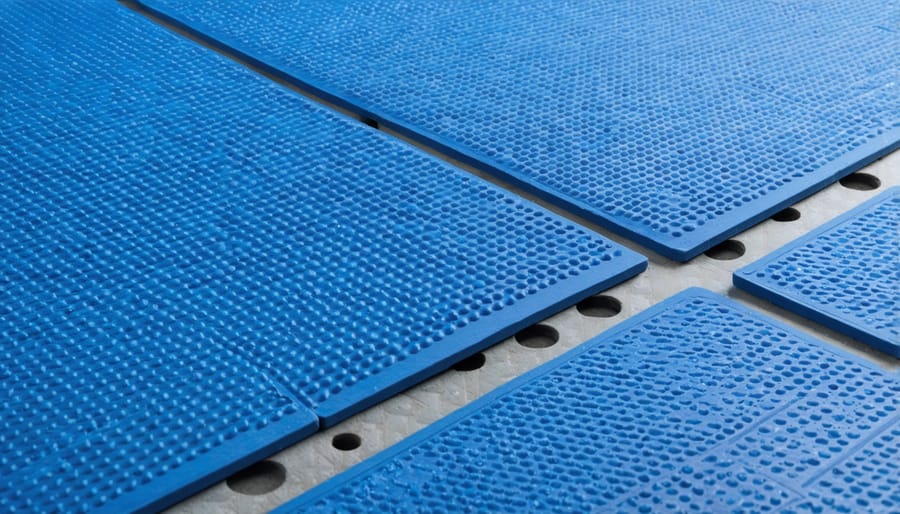
Floor Isolation Techniques
Floor vibrations can be a significant source of noise, but there are several effective DIY solutions to minimize sound transmission. Start by laying a thick rubber underlayment across your entire floor surface. This creates a crucial barrier that absorbs impact noise and vibrations. For enhanced results, consider installing interlocking rubber mats, which are both durable and easy to install.
Mass-loaded vinyl (MLV) is another excellent option that can be placed beneath your flooring material. At just 1/8 inch thick, MLV provides impressive sound dampening properties while taking up minimal space. For maximum effectiveness, combine MLV with a layer of cork underlayment.
If you’re working with a wooden floor, consider adding a layer of Green Glue compound between two sheets of plywood. This creates a sandwich effect that converts sound energy into heat. Remember to seal any gaps around the edges of your floor with acoustic caulk to prevent sound from escaping through these spaces.
For areas with heavy equipment, floating floor tiles can provide additional isolation. These specialized tiles create an air gap between the subfloor and surface, significantly reducing impact noise and vibrations.
Creating a soundproof space doesn’t have to break the bank or require professional help. By focusing on key areas like walls, windows, doors, and gaps, you can significantly reduce noise transmission using affordable materials and simple DIY techniques. Remember to start with sealing air gaps and cracks, as these are often the biggest culprits in sound leakage. Mass-loaded vinyl, acoustic foam panels, and weatherstripping are your best friends in this journey, offering excellent sound dampening properties at reasonable prices.
For the most effective results, combine multiple soundproofing methods and always address all potential sound entry points. While some solutions may require a bigger investment of time and money, even basic improvements like adding dense curtains and door sweeps can make a noticeable difference. With proper planning and execution, you can create a quieter, more peaceful space that meets your needs while staying within your budget.