
Build Your Shed Walls Right: Professional Framing Made Simple
Master the art of shed wall framing with precise measurements, proper lumber selection, and strategic assembly techniques to create rock-solid shed walls that stand the test of time. A well-designed framing diagram serves as your blueprint for success, ensuring structural integrity while simplifying the building process. Standard wall framing follows a 16-inch on-center layout, incorporating essential components like top plates, bottom plates, and sturdy studs positioned at load-bearing points. Whether you’re constructing a compact garden shed or a larger workshop, understanding your framing diagram eliminates guesswork, reduces material waste, and guarantees professional-quality results. This comprehensive guide breaks down every aspect of shed wall framing, from basic terminology to advanced assembly techniques, helping you build with confidence and precision.
Essential Components of Shed Wall Framing
Top and Bottom Plates
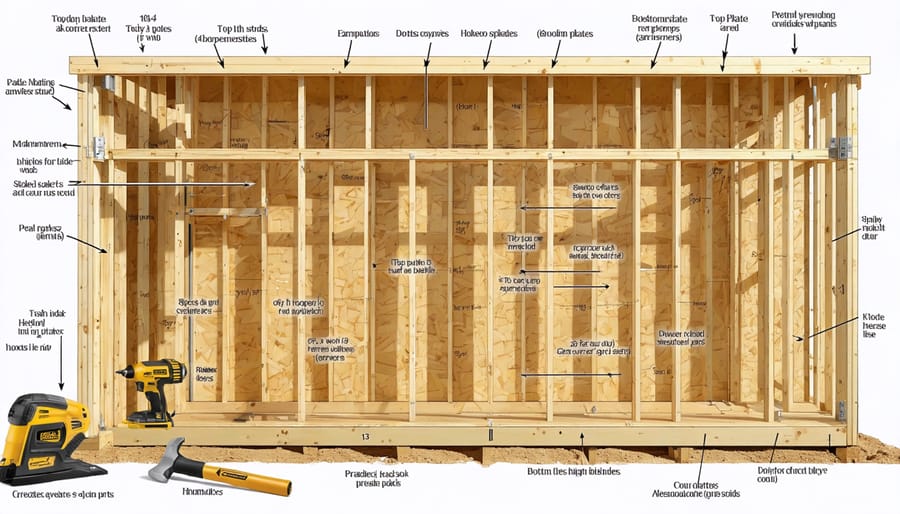
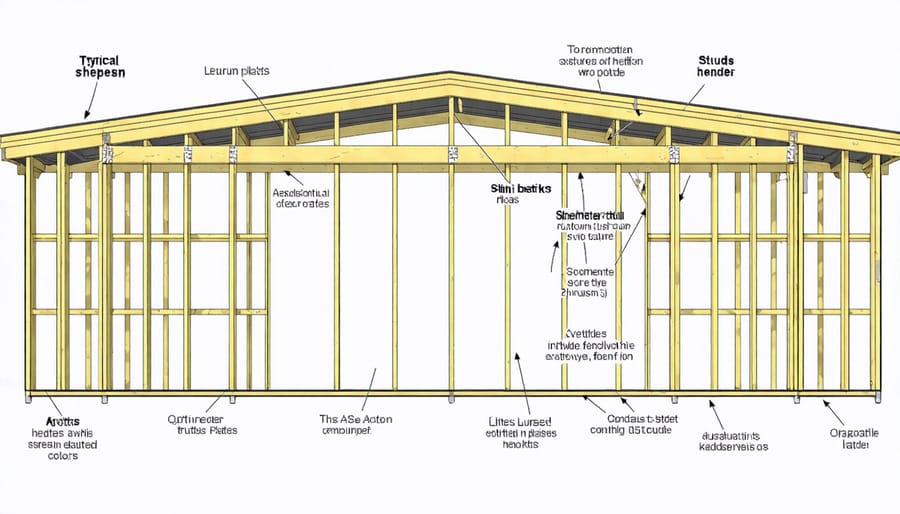
The top and bottom plates serve as crucial horizontal members that anchor your shed’s wall frame. The bottom plate sits directly on your proper foundation, while the top plate provides support for your roof structure. Both plates should be cut from pressure-treated 2×4 lumber to match your shed’s planned dimensions.
When installing the bottom plate, ensure it’s level and secured firmly to the foundation using appropriate anchors. The top plate requires double layering – two 2x4s stacked horizontally – with the joints staggered for added stability. This creates a solid connection point for your roof trusses or rafters.
Remember to pre-mark your stud locations on both plates using a measuring tape and pencil. Standard spacing is typically 16 inches on center, though some designs may call for 24-inch spacing. These marks will guide your stud placement and ensure your walls are properly aligned.
Wall Studs and Spacing
Wall studs are the vertical framing members that form the backbone of your shed walls. The standard spacing for wall studs is 16 inches on center (O.C.), meaning there’s 16 inches from the center of one stud to the center of the next. This spacing provides optimal support for wall sheathing and creates a sturdy structure that can withstand various weather conditions.
For a typical shed, use 2×4 lumber for wall studs, ensuring they’re straight and free from major defects. Place the first and last studs at the corners, then mark your 16-inch intervals along both the top and bottom plates. Remember to include additional studs on either side of windows and doors for proper framing support.
Pro tip: While 16-inch spacing is standard, you might occasionally need to adjust this slightly to accommodate wall sheathing, which typically comes in 4×8 foot sheets. This helps minimize waste and ensures proper material coverage.
Reading and Understanding Framing Diagrams
Common Symbols and Notations
When reading a shed wall framing diagram, you’ll encounter several standard symbols that help you understand the construction plan. Vertical lines with an “X” mark represent wall studs, typically spaced 16 or 24 inches apart. Double parallel lines indicate headers above doors and windows, while rectangles with diagonal lines show door and window openings.
Look for the letters “SP” or a thick bottom line to identify the sole plate (bottom plate), and “TP” or double lines at the top for the top plate. Small circles or dots often represent nail placements, while dashed lines show hidden elements or pieces that exist behind visible components.
Numbers in triangles indicate the height of specific elements, while arrows with measurements show critical dimensions. You might also see symbols like “⊥” to indicate perpendicular connections and “#” to represent blocking between studs.
Remember that most diagrams include a legend that explains specific symbols used in that particular plan. When in doubt, always refer to this legend for accurate interpretation of the markings.
Measurement Conventions
When reading a shed wall framing diagram, it’s essential to understand the standard measurements and symbols used. Typical wall framing diagrams use a scale of 1/4 inch or 1/2 inch per foot, allowing you to see the entire structure on a single page while maintaining accuracy. Most dimensions are shown in feet and inches, with common lumber sizes represented in their actual dimensions (for example, a 2×4 actually measures 1.5 x 3.5 inches).
Important elements like stud spacing are typically marked at 16 inches on center (O.C.), which means the distance from the center of one stud to the center of the next is 16 inches. Headers, sills, and top plates are usually highlighted with thicker lines or different colors for easy identification.
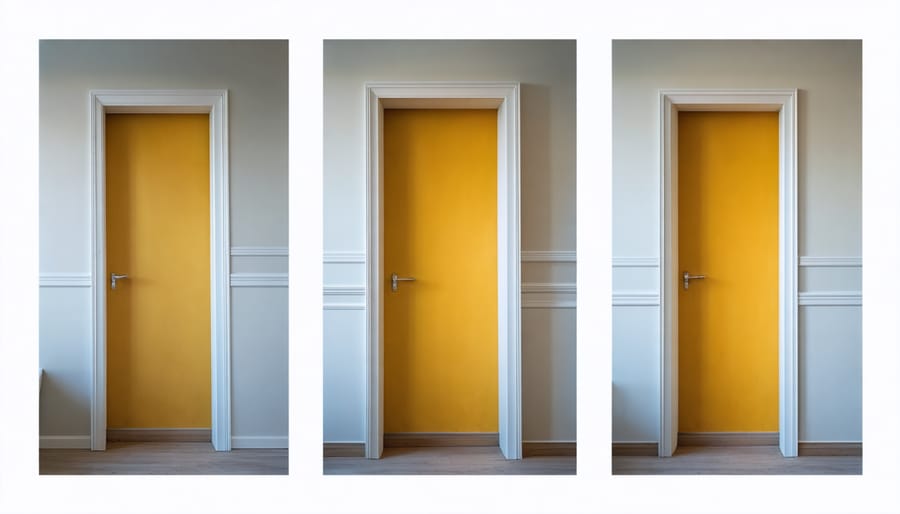
Pay special attention to symbols indicating door and window openings, as these require specific framing techniques. Double lines often represent doubled members like corner posts or jack studs, while dashed lines might show hidden elements or suggest alternative configurations. Remember that measurements should always be verified on-site before cutting any materials, as diagram scales can sometimes be misleading when printed.
Step-by-Step Wall Assembly Process
Layout and Marking
Begin by marking your top and bottom plates on a flat surface, ensuring they’re perfectly aligned. Measure and mark 16-inch intervals along both plates, starting from one end. These marks indicate your stud positions, creating the standard spacing that provides optimal structural support for your shed walls.
Using a carpenter’s square, draw clear lines across both plates at each mark. Double-check your measurements, as accuracy at this stage is crucial for a properly aligned wall frame. Don’t forget to mark locations for door and window openings if you’re planning on installing windows in your shed.
Add an “X” on the side of each line where the stud should be placed. This simple marking system helps prevent confusion during assembly and ensures studs are consistently positioned on the same side of the marks. For door and window openings, mark header locations and note required jack studs.
Pro tip: Use a different color marker or make distinct marks for regular studs versus framing members around openings. This visual differentiation can save time and reduce errors during the building phase. Remember to mark both the top and bottom plates identically to maintain proper alignment when assembling your wall frame.
Assembly and Square-Check
Start by laying out your bottom plate on a flat, level surface. Position your studs according to your diagram, typically 16 inches on center, and mark their locations on both the top and bottom plates. Pre-assemble the wall frame by nailing the studs to the plates, ensuring each stud is flush with your marks.
Before standing the wall, perform a crucial square check. Measure diagonally from corner to corner in both directions – these measurements should be equal if your frame is square. If they differ, adjust by pushing the appropriate corner until the measurements match. A difference of 1/8 inch or less is generally acceptable.
To fine-tune squareness, use the 3-4-5 method: measure 3 feet along one plate, 4 feet up a stud, and the diagonal between these points should be exactly 5 feet. If not, adjust accordingly. Remember to secure temporary bracing to hold the frame square while you work on other sections.
Double-check all your connections and ensure each stud is plumb using a level. Pay special attention to door and window rough openings – these need to be perfectly square for proper installation later. Once satisfied with the squareness, secure your wall frame to the base using appropriate fasteners and hurricane ties where required by local code.
Common Framing Mistakes to Avoid
When framing your shed walls, avoiding common mistakes can save you time, money, and frustration. One frequent error is incorrect stud spacing, where DIY builders either place studs too far apart or inconsistently. Always maintain 16-inch on-center spacing for optimal structural integrity and easier wall sheathing installation.
Another critical mistake is failing to properly align top and bottom plates. These plates should be perfectly parallel and level to ensure your walls stand straight. Use a level and measuring tape frequently during this process, and don’t rush through this fundamental step.
Many DIYers also forget to account for door and window openings during the initial framing stage. This oversight can lead to costly modifications later. Always plan these openings in advance and include proper headers and king studs in your framing design.
Inadequate nailing patterns are another common issue. Using too few nails or placing them incorrectly can compromise the structure’s stability. Each stud should be secured with at least two nails at both the top and bottom plates, and ensure they’re driven straight to maintain maximum holding power.
Corner framing errors can also cause problems. Some builders forget to include enough studs at corners to properly secure wall sheathing. Always use three studs or appropriate corner blocking to create solid corners that will support your shed’s structure.
Lastly, skipping the crucial step of checking for square corners can lead to alignment issues throughout the build. Use the 3-4-5 method to verify your corners are perfectly square before proceeding with wall sheathing installation.
Proper wall framing is the foundation of a sturdy, long-lasting shed that will serve you well for years to come. By following the framing diagrams and guidelines we’ve discussed, you’ll be well-equipped to tackle your shed-building project with confidence. Remember to always double-check your measurements, ensure your walls are plumb and square, and maintain consistent spacing between studs for optimal structural integrity.
Taking the time to carefully plan and execute your wall framing will pay dividends in the form of a more stable structure that’s easier to finish and maintain. Don’t rush through this crucial phase of construction – each properly placed stud and header contributes to the overall strength of your shed.
As you move forward with your project, keep safety in mind and don’t hesitate to consult local building codes or seek professional advice if you encounter any challenges. With careful attention to detail and the right approach to framing, you’ll create a reliable storage solution that enhances your property and meets your storage needs effectively.
Remember, a well-framed shed is an investment in your property that will provide value and functionality for years to come.