
Keep Your Generator Shed Cool and Safe: Essential Ventilation Solutions That Work
Protect your generator and ensure safe operation through proper ventilation techniques in your storage shed. A well-ventilated generator enclosure prevents dangerous carbon monoxide buildup, reduces operational temperatures, and extends equipment life. Installing exhaust fans, creating strategic airflow paths, and maintaining adequate clearance around your generator transforms a basic storage space into a safe, efficient power station. Whether you’re building a new generator shed or upgrading an existing structure, proper ventilation stands as the cornerstone of generator safety and performance. From calculating required air exchange rates to positioning intake and exhaust vents, this guide walks through essential steps to create an optimal environment for your backup power system.
Why Generator Shed Ventilation Matters
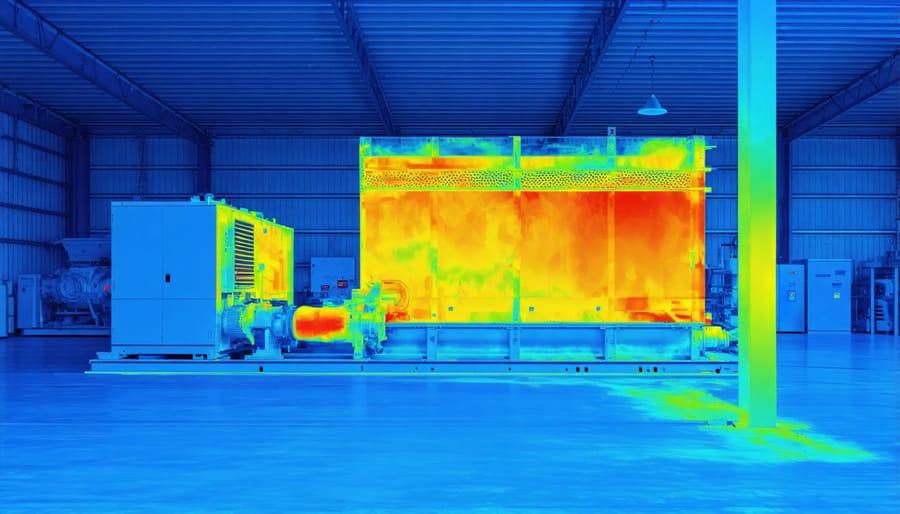
Heat Management
Effective heat management is crucial for your generator shed’s longevity and performance. Generators produce significant heat during operation, and proper ventilation is essential to prevent shed overheating. A well-ventilated space should maintain temperatures between 70-85°F (21-29°C) during generator operation.
Consider installing a combination of passive and active cooling solutions. Thermal-activated louvers can automatically open when temperatures rise, while electric fans can provide additional airflow when needed. Position your generator at least 18 inches away from walls to create proper air circulation paths.
Installing a temperature monitoring system can help you track heat levels and adjust ventilation accordingly. Remember that excessive heat not only affects your generator’s performance but can also damage surrounding equipment and potentially create fire hazards. During summer months, additional measures like reflective roof coating or shade screens can help maintain optimal operating temperatures.
Exhaust Gas Safety
Proper exhaust gas management is crucial when operating a generator in a shed. Carbon monoxide, an odorless and deadly gas, poses the most significant risk to your safety. Always ensure your generator’s exhaust pipe extends outside the shed through a dedicated port or opening, and never operate a generator in an enclosed space without adequate ventilation.
Install a carbon monoxide detector in or near your generator shed as an extra safety measure. Position the detector at about head height, where it can effectively monitor air quality. Regular maintenance of both your generator and ventilation system helps prevent dangerous exhaust gas buildup.
Consider creating a maintenance checklist that includes checking exhaust pipe connections, inspecting seals, and testing your carbon monoxide detector monthly. Keep the area around your generator clear of debris and combustible materials, and never modify the exhaust system in ways that could redirect gases back into the shed.
If you ever detect exhaust fumes or your carbon monoxide alarm sounds, immediately shut off the generator and vacate the area until it’s properly ventilated.
Essential Ventilation Components
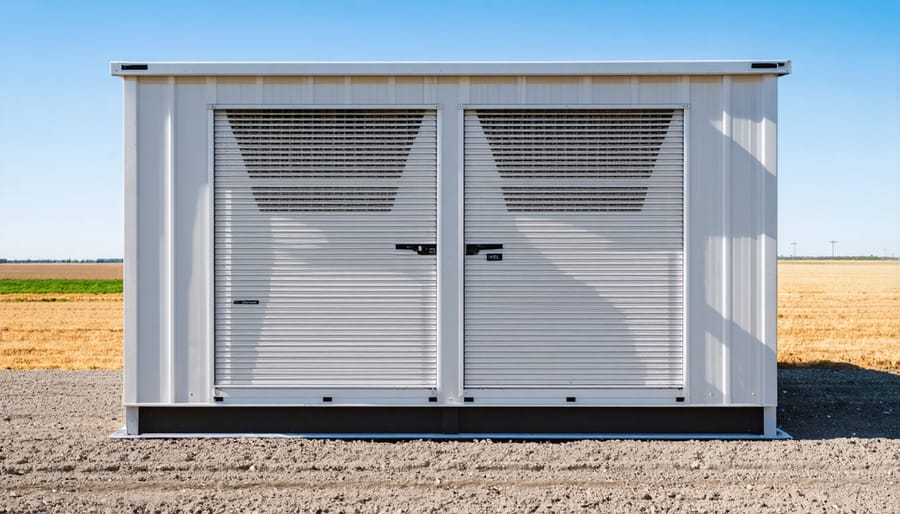
Air Intake Vents
Proper air intake vents are essential for keeping your generator running smoothly and safely. The most common types include louvered vents, which allow air flow while protecting against rain and debris, and gable vents, which work well when installed in pairs on opposite walls to create cross-ventilation.
For optimal performance, place intake vents low on your shed walls, ideally on the coolest side of the structure. This placement creates a natural flow as hot air rises, drawing in fresh air from below. A good rule of thumb is to install intake vents at least 3 feet away from your generator and within 12 inches of the floor.
Many homeowners opt for adjustable vents, which can be opened wider during operation and partially closed when the generator isn’t in use. Standard sizing typically ranges from 12×12 inches to 16×16 inches, though your specific needs will depend on your generator’s size and specifications.
Remember to consider your local climate when selecting vent types. In areas with heavy rainfall, hooded vents or those with weather shields provide extra protection while maintaining necessary airflow.
Exhaust Outlets
Proper exhaust outlet placement is crucial for safely venting your generator’s exhaust fumes. The exhaust pipe should always point outside the shed through a dedicated opening, positioned at least 18-24 inches away from any windows, doors, or air intake vents. For optimal safety, install the exhaust outlet on the downwind side of your shed to prevent fumes from circulating back inside.
Consider using a specialized through-wall exhaust vent with a weather hood or flapper to keep rain and pests out when the generator isn’t running. These vents should be sized appropriately for your generator’s exhaust pipe diameter, typically ranging from 2 to 4 inches. For added protection, install heat-resistant flashing around the exhaust outlet to prevent any potential fire hazards.
If your generator has a flexible exhaust pipe, secure it firmly to prevent sagging or disconnection during operation. Remember to position the exhaust outlet at a slight downward angle to prevent rainwater from entering the pipe and causing potential damage to your generator. Regular inspection of the exhaust outlet and surrounding seals will ensure continued safe operation of your generator system.
Additional Airflow Features
To enhance your generator shed’s ventilation, consider installing supplementary airflow features. An electric exhaust fan mounted on the wall opposite your intake vents creates powerful air circulation, especially beneficial during peak generator operation. Adjustable louvers offer excellent flexibility, allowing you to control airflow based on weather conditions and generator use.
For added convenience, automatic temperature-controlled fans can maintain optimal shed temperatures without constant monitoring. These smart ventilation solutions start automatically when temperatures rise above preset levels. Roof-mounted wind turbines provide passive ventilation and work well in combination with wall vents, particularly in areas with consistent breeze.
Remember to position any additional ventilation features away from your main exhaust port to prevent hot air recirculation. A combination of these supplementary options with your primary ventilation system ensures your generator stays cool and operates efficiently year-round.
Installation and Placement Tips
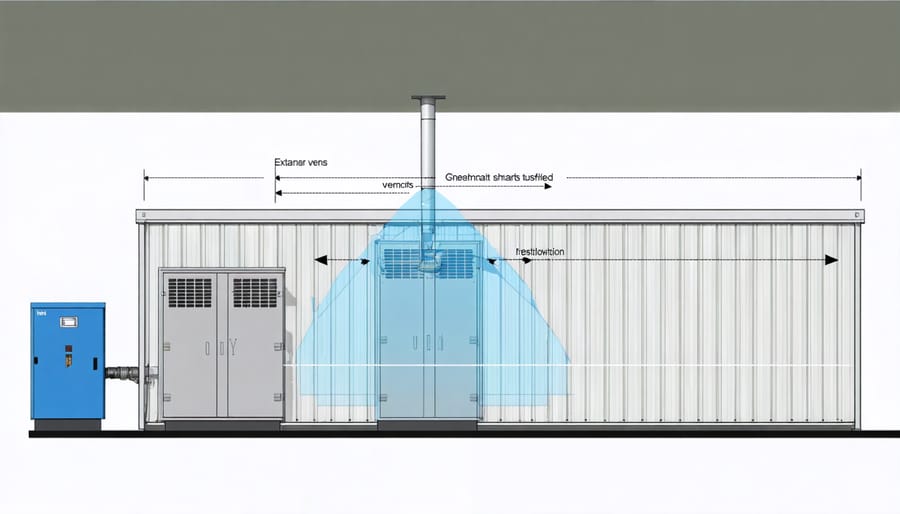
Optimal Vent Positioning
Proper vent positioning is crucial for maintaining optimal airflow in your generator shed. The most effective setup includes both intake and exhaust vents placed strategically to create a natural flow of air. Position your intake vents near the bottom of the shed on the coolest side, typically the north or east-facing wall. These lower vents allow fresh, cool air to enter naturally.
Install exhaust vents near the top of the opposite wall, preferably on the south or west-facing side. This high-low positioning creates a chimney effect, where hot air rises and exits through the upper vents while drawing in fresh air through the lower ones. For maximum efficiency, ensure your vents are at least 3 feet apart vertically.
When positioning vents, consider your generator’s location within the shed. Place intake vents near the generator’s air intake side and exhaust vents close to where the generator releases hot air. This alignment helps maintain proper airflow around the equipment.
A good rule of thumb is to install one square foot of ventilation area for every 3 feet of shed floor space. For larger sheds or generators, you might need multiple vent pairs. Remember to position vents away from corners where air can become stagnant, and avoid placing them where they might be blocked by nearby structures or vegetation.
Always ensure your vent placement complies with local building codes and manufacturer recommendations for your specific generator model.
Weather Protection Considerations
Protecting your generator shed’s ventilation system from weather elements is crucial for maintaining consistent airflow throughout the year. While ventilation is essential, you’ll need to balance it with proper weather protection to prevent rain, snow, and debris from entering your shed while still maintaining adequate airflow.
Consider installing weather-resistant louvers or vents with built-in rain shields. These specialized components allow air to flow freely while directing water away from the openings. For additional protection, position your vents at an angle or install weather hoods above them to prevent direct water infiltration.
In areas with heavy snowfall, ensure your vents are positioned high enough to avoid snow blockage. Installing climate control solutions can help manage temperature extremes while maintaining proper ventilation. Consider adding mesh screens to your vents to keep out leaves, insects, and small animals while allowing air to flow freely.
During severe weather conditions, having adjustable vents can be beneficial. These allow you to partially close the vents during storms while maintaining minimum required airflow for generator operation. Remember to regularly check and clean your ventilation system, removing any debris or buildup that could impair its effectiveness, especially after storms or during seasonal changes.
Maintenance and Safety Checks
Regular maintenance checks are essential for keeping your generator shed ventilation system working safely and efficiently. Start by inspecting all vents and fans monthly, removing any debris, dust, or cobwebs that could restrict airflow. Pay special attention to exhaust vents, as these are critical for preventing dangerous carbon monoxide buildup.
Clean or replace air filters every three months, or more frequently if you notice excessive dirt accumulation. Check that all moving parts, such as fan blades and louvers, operate smoothly without any unusual noises. Lubricate hinges and other mechanical components as needed to prevent rust and ensure proper function.
Test your carbon monoxide detectors monthly and replace batteries every six months. Verify that all warning signs and safety labels remain visible and legible. Inspect weather stripping and seals around vents for wear and tear, replacing them if they show signs of degradation.
During your safety checks, ensure that all electrical connections are secure and free from corrosion. Look for any signs of water damage or pest intrusion that could compromise the ventilation system’s effectiveness. If you notice any unusual odors, sounds, or decreased airflow, address these issues immediately.
Keep a maintenance log to track your inspections and any repairs made. This record will help you identify patterns and anticipate when components might need replacement. Remember, a well-maintained ventilation system not only extends your generator’s life but also ensures your safety during operation.
Proper ventilation in your generator shed isn’t just about following guidelines – it’s about protecting your investment and ensuring safe operation for years to come. By implementing adequate airflow solutions, you’re creating an environment that prevents dangerous fume buildup, regulates temperature, and extends your generator’s lifespan. Remember to regularly inspect your ventilation system, keeping vents clear of debris and ensuring all components are working as intended. Whether you’ve chosen natural ventilation methods, mechanical solutions, or a combination of both, maintaining proper airflow is crucial for your generator’s performance and your peace of mind. Taking the time to plan and install appropriate ventilation now will save you from potential headaches and hazards down the road, making your generator setup both safe and efficient.