
Make Your Storage Shed Theft-Proof: Essential Ground Anchoring Methods
Anchor your storage shed properly or risk thousands in damage from severe weather, theft, or structural failure. Professional contractors secure your storage shed using four essential methods: concrete anchors drilled directly into the foundation, heavy-duty auger stakes driven deep into solid ground, hurricane ties fastened to concrete footings, or L-brackets bolted through a concrete pad. Each anchoring solution offers distinct advantages based on your shed’s size, local weather patterns, and ground conditions. Beyond basic stability, proper anchoring protects your stored equipment from theft and maintains your insurance coverage requirements. Select the right anchoring method now to prevent costly repairs and ensure your shed stands strong for decades, regardless of what Mother Nature throws its way.\n\n\n
Why Ground Anchoring is Critical for Shed Security
\n\nGround anchoring isn’t just an optional add-on for your storage shed – it’s a fundamental security measure that protects your investment and belongings. When properly anchored, your shed becomes significantly more resistant to theft attempts, as criminals can’t simply lift and haul away the entire structure. This is particularly important for sheds housing valuable equipment like lawn mowers, power tools, or recreational gear.\n\nBeyond theft prevention, securing your shed to the ground helps protect against severe weather conditions. Strong winds can turn an unsecured shed into a dangerous projectile, potentially causing damage to your home, neighboring properties, or worse. Many homeowners have learned this lesson the hard way after witnessing their unanchored sheds tumble during storms.\n\nProper anchoring also ensures structural stability throughout the seasons. As the ground shifts with temperature changes and moisture levels, an anchored shed maintains its position and level stance. This stability prevents warping of the frame, keeps doors properly aligned, and extends the overall lifespan of your storage solution.\n\nConsider this: a quality storage shed is an investment in your property. Just as you wouldn’t leave your car unlocked or your house unsecured, protecting your shed through proper anchoring is essential for long-term peace of mind and protection of your stored items.\n\n\n
 \n
\n\n\n
Essential Tools and Materials
\n\n
Anchor Types and Their Uses
\n\nWhen it comes to anchoring your storage shed, you have several reliable options to choose from. Concrete anchors are the most robust solution, ideal for permanent installations. These sturdy fasteners are embedded into a concrete foundation or slab, providing exceptional stability even in severe weather conditions.\n\nAuger anchors, also known as ground screws, are perfect for sheds placed on soil or grass. These spiral-shaped anchors work like giant screws, boring deep into the ground to create a secure hold. They’re particularly effective in areas with sandy or loose soil, and they can be installed without the need for concrete work.\n\nL-brackets offer a versatile anchoring solution that works well for both wooden and metal sheds. These angular metal pieces attach to your shed’s base frame and can be secured to various surfaces, including concrete pads, wooden platforms, or ground-level foundations. They’re especially popular for smaller sheds and provide good protection against wind uplift.\n\nFor added security, consider using a combination of anchor types. For example, L-brackets along the perimeter with auger anchors at the corners can provide excellent stability while being relatively easy to install.\n\n
 \n
\n\n\n
Tool Checklist
\n\nFor concrete foundations:\n• Heavy-duty drill with masonry bits\n• Concrete anchor bolts (4-6 per shed)\n• Adjustable wrench\n• Hammer\n• Level\n• Measuring tape\n• Pencil or marker\n\nFor ground/soil installation:\n• Post hole digger or shovel\n• Earth auger (optional for easier digging)\n• Mallet or sledgehammer\n• Ground anchors or auger-style tie-downs\n• Level\n• Measuring tape\n• Work gloves\n\nAdditional tools for all installations:\n• Safety glasses\n• Socket set\n• Power drill with standard bits\n• Wood screws (if securing to wooden base)\n• Metal washers\n• Weather-resistant sealant\n\nPro tip: Consider renting larger tools like augers from your local hardware store if you don’t own them. Always check your shed’s manual for specific anchoring requirements, as some manufacturers recommend particular fastening systems.\n\n\n
Step-by-Step Anchoring Process
\n\n
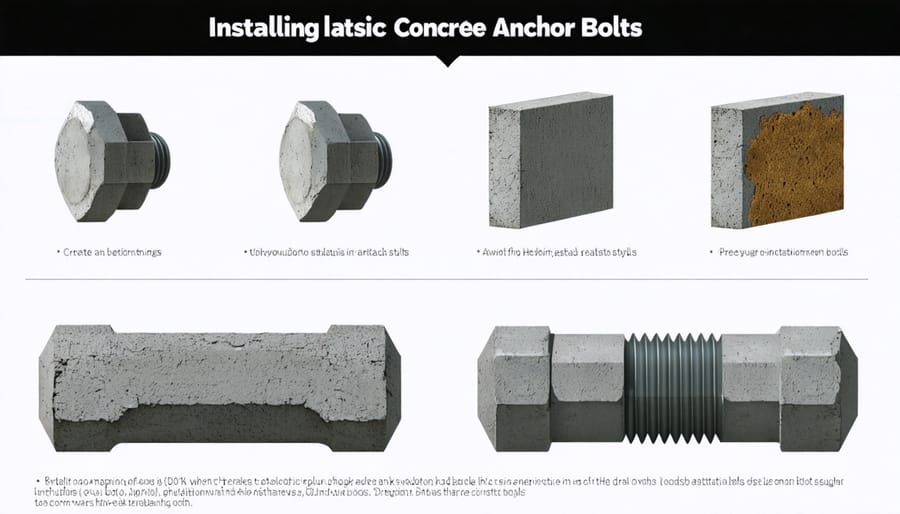
Concrete Foundation Method
\n\nA concrete foundation provides the most secure and permanent solution for anchoring your storage shed. Start by creating a level concrete pad that extends at least 4 inches beyond your shed’s dimensions on all sides. Once the concrete has fully cured (typically 7-10 days), mark the anchor points according to your shed’s base frame.\n\nUsing a hammer drill with a masonry bit, drill holes into the concrete at your marked locations. The holes should be slightly smaller than your concrete anchors to ensure a snug fit. Clean out any debris from the holes using compressed air or a shop vacuum.\n\nPosition your shed on the pad and align it with the pre-drilled holes. Insert concrete wedge anchors through the shed’s base frame and into the holes. Tighten the nuts on the anchors gradually, working in a diagonal pattern to ensure even pressure distribution. Don’t overtighten, as this could damage your shed’s frame.\n\nFor additional protection, apply a weather-resistant sealant around the anchor points to prevent water from seeping underneath. This method creates an extremely stable foundation that will keep your shed secure in severe weather conditions.\n\n
 \n
\n\n\n
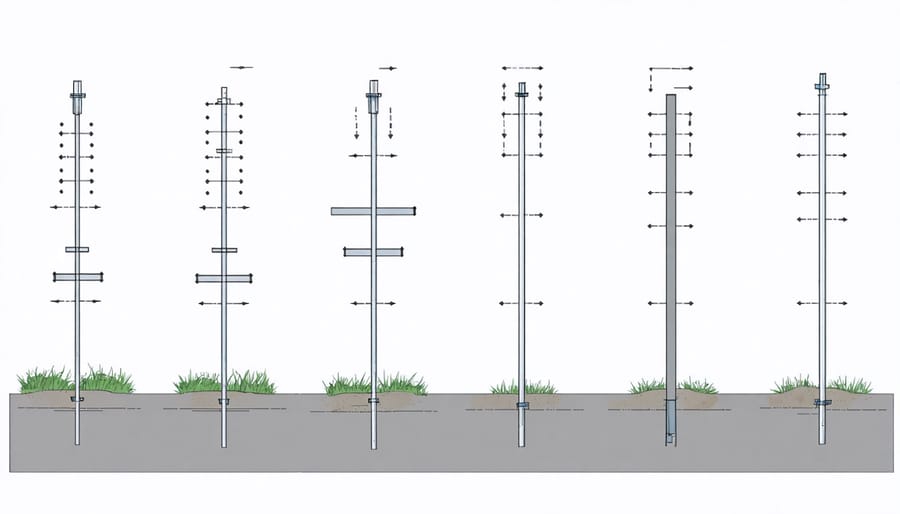
Ground Anchor Installation
\n\nGround anchor installation begins with marking your anchor points around the shed’s perimeter, typically one at each corner and additional points along the sides for larger sheds. Start by drilling pilot holes at a 45-degree angle into the soil using a power drill with an auger bit. These holes should be slightly smaller than your anchors to ensure a tight fit.\n\nInsert your auger-style ground anchors into the pilot holes, positioning them so the eye of the anchor will align with your shed’s base frame. Using a wrench or the provided drive rod, turn the anchors clockwise until they’re firmly embedded in the ground. You’ll feel increasing resistance as the anchor digs deeper.\n\nFor optimal stability, drive the anchors until only the eye remains visible above ground level. Attach heavy-duty straps or cables through the anchor eyes and secure them to your shed’s frame using appropriate hardware. Test each anchor point by pulling firmly on the straps – there should be minimal movement.\n\nPro tip: Install anchors during dry weather when soil is easier to work with, and consider using longer anchors in loose or sandy soil conditions.\n\n\n
Additional Security Measures
\n\nBeyond anchoring your shed, implementing comprehensive shed security measures will provide extra protection for your valuable items. Install motion-activated lights around the shed’s perimeter to deter potential intruders and make nighttime access safer. Consider adding a high-quality padlock or smart lock system to secure entry points, and reinforce door hinges with longer screws for added stability.\n\nWindow security films or metal grilles can prevent break-ins through glass panels, while a wireless security camera system allows you to monitor your shed remotely through your smartphone. Installing door sensors and alarm systems that connect to your home’s security network provides an additional layer of protection.\n\nFor enhanced privacy, consider strategic landscaping with thorny bushes around the shed or installing privacy screens. Adding reflective address numbers or markers helps emergency responders locate your shed quickly if needed. Remember to maintain clear sightlines from your house to the shed, ensuring you can easily spot any suspicious activity.\n\n\nSecuring your storage shed to the ground is a crucial step that protects your investment and ensures peace of mind. Whether you choose concrete anchors, ground anchors, or a combination of methods, proper installation will keep your shed stable and secure through various weather conditions. Remember to check local building codes, prepare your site thoroughly, and use high-quality materials for the best results. Regular maintenance checks of your anchoring system, especially after severe weather, will help maintain your shed’s stability over time. By following the steps and recommendations outlined in this guide, you’ll have a well-secured storage shed that stands strong for years to come. Don’t hesitate to consult professionals if you’re unsure about any part of the installation process – it’s better to invest in proper security now than face costly repairs later.