
Perfect LED Shop Lighting That Won’t Break Your Energy Bill
Revolutionize your workshop’s lighting setup with professional-grade LED solutions that slash energy costs while maximizing visibility and safety. Modern LED technology lets you transform workspace efficiency with LED lighting through strategic placement and intelligent controls. High-bay LED fixtures deliver powerful, shadow-free illumination for larger shop spaces, while adjustable task lighting ensures precision for detailed work. Choose between color temperatures of 4000K-5000K for optimal clarity and reduced eye strain during extended projects.
Today’s shop-ready LED systems offer game-changing features like motion sensors, dimming capabilities, and modular designs that adapt to your evolving needs. With lifespans exceeding 50,000 hours and energy savings up to 75% compared to traditional lighting, quality LED installations quickly pay for themselves through reduced maintenance and utility costs. Whether you’re upgrading an existing shop or planning a new build, proper LED lighting forms the foundation of a productive, safe, and energy-efficient workspace.
Understanding LED Shop Lighting Basics
Lumens, Color Temperature, and CRI Explained
Understanding lighting terms is essential for creating the perfect workshop environment. Let’s break down these key measurements in simple terms.
Lumens tell you how bright your light is – the higher the number, the brighter the light. For a workshop, you’ll typically want between 3,000 to 4,000 lumens per 100 square feet to ensure adequate visibility for detailed work.
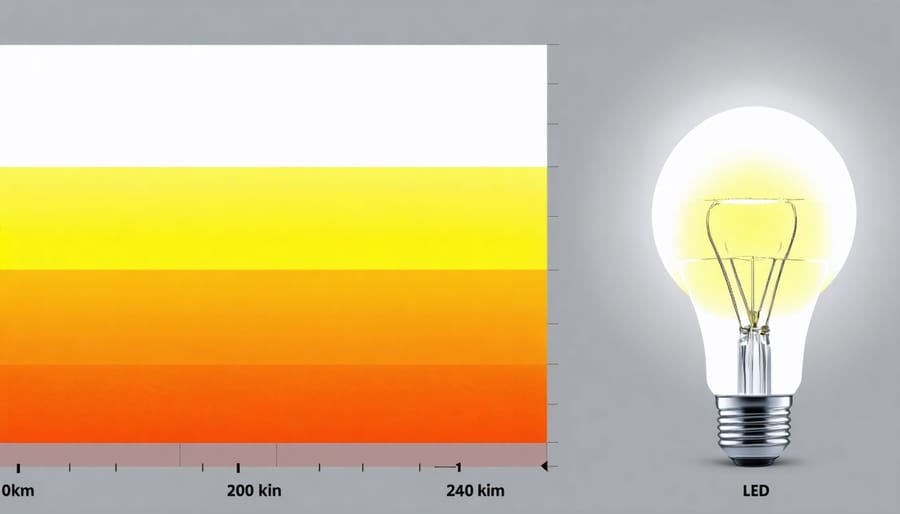
Color temperature, measured in Kelvin (K), determines whether light appears warm or cool. For workshops, stick to 4000K-5000K, which provides a clean, bright light that reduces eye strain and helps you see true colors. This “daylight” range is perfect for task lighting and detailed work.
The Color Rendering Index (CRI) measures how accurately lights show colors compared to natural sunlight, with 100 being perfect. For your shop, look for LEDs with a CRI of at least 80, though 90+ is ideal for tasks requiring color accuracy, like woodworking or painting.
Remember, these three factors work together to create your ideal workshop lighting. The right combination will help prevent eye fatigue and make your projects more enjoyable.
Energy Efficiency and Cost Benefits
Making the switch to LED lighting in your shop building can dramatically reduce energy costs with LED lighting, often paying for itself within the first year. Compared to traditional fluorescent tubes or incandescent bulbs, LED lights use up to 75% less energy while providing the same or better illumination. For a typical 500-square-foot shop space, replacing old fixtures with LEDs can save $100-200 annually on electricity bills.
Beyond immediate energy savings, LED lights offer exceptional longevity, lasting 25,000 to 50,000 hours compared to just 1,000 hours for traditional bulbs. This means fewer replacements and lower maintenance costs over time. Plus, LED lights start instantly at full brightness, even in cold temperatures, making them ideal for workshop environments.
While the upfront cost of LED fixtures might be higher, the long-term benefits make them a smart investment. Consider this: a single 100-watt equivalent LED bulb running 8 hours daily costs about $11 annually to operate, compared to $38 for an incandescent bulb. Multiply these savings across your entire shop, and the difference becomes substantial.
Top LED Lighting Solutions for Your Shop
High Bay LED Lights
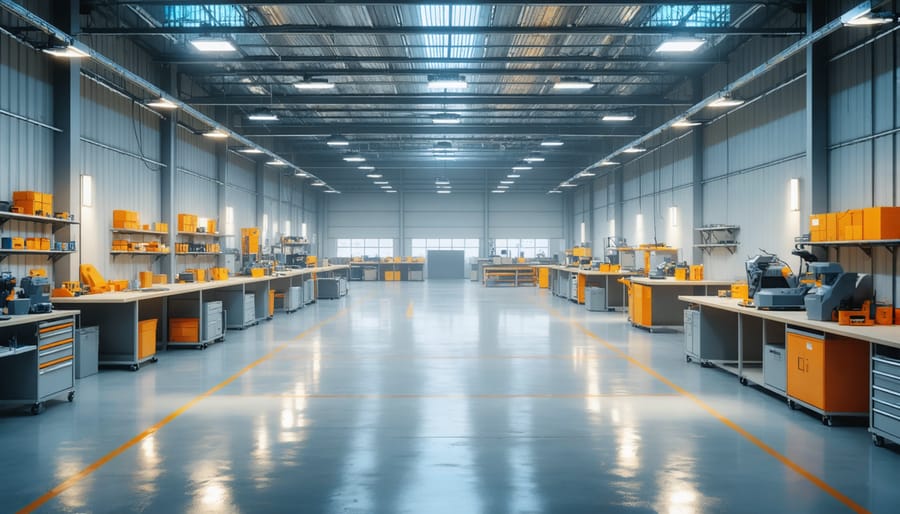
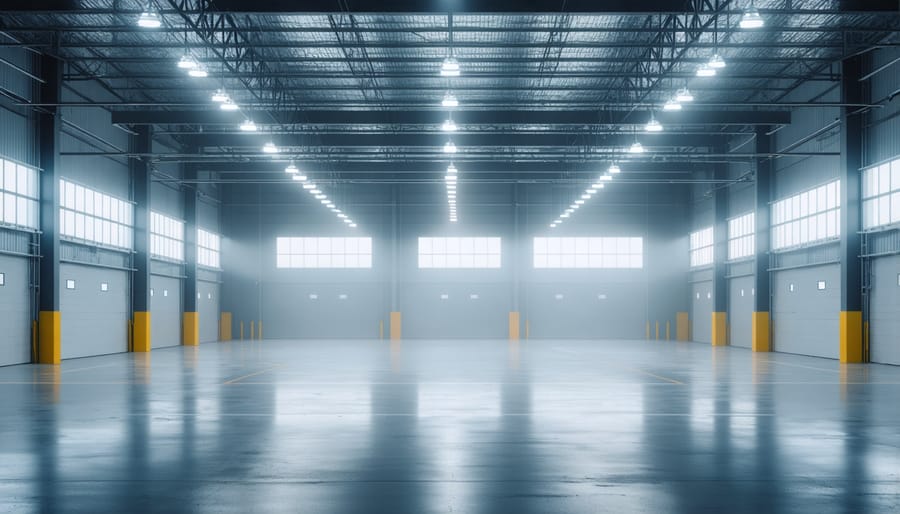
High bay LED lights are the powerhouse performers of shop lighting, designed specifically for spaces with high ceilings and large floor areas. These robust fixtures typically provide between 15,000 and 50,000 lumens, making them perfect for workshops where detailed work and safety are paramount.
What makes high bay LEDs particularly attractive for shop owners is their impressive coverage area. A single fixture can effectively illuminate up to 400 square feet of workspace, depending on mounting height and light output. Most shop owners find that positioning these lights at heights between 15 and 45 feet provides optimal coverage without creating harsh shadows or glare.
These fixtures come in two main styles: linear and UFO (round). Linear high bays work exceptionally well when arranged in rows, creating consistent lighting across your entire shop floor. UFO-style fixtures excel in areas where you need concentrated light, such as above workbenches or machinery.
When selecting high bay lights, consider the color temperature carefully. While 5000K-6500K delivers bright, daylight-like illumination perfect for detail work, some shop owners prefer the warmer 4000K option for a more comfortable atmosphere during extended work sessions.
Energy efficiency is another standout feature, with most high bay LEDs using 50-75% less energy than traditional metal halide fixtures while lasting up to 50,000 hours. This translates to significant savings on both energy bills and maintenance costs over time.
LED Strip Lighting
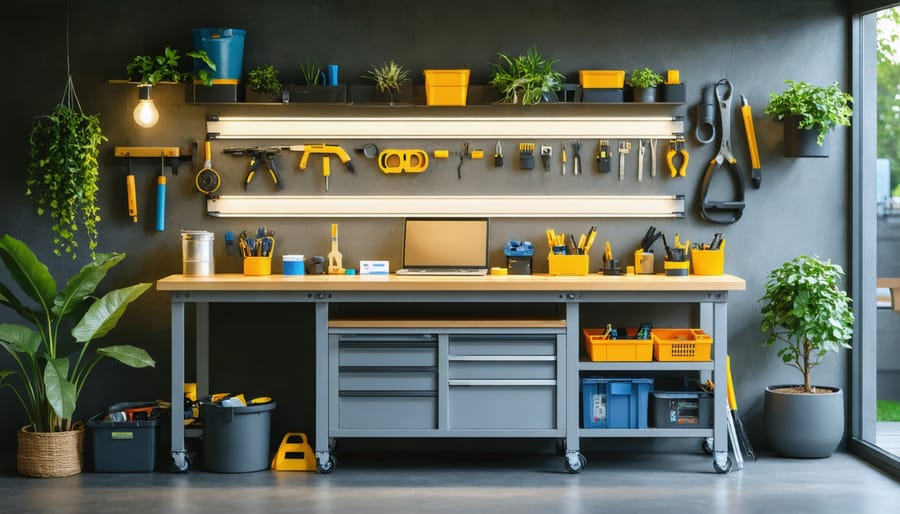
LED strip lighting brings incredible versatility to your workshop, especially when you need adjustable illumination for specific tasks. These flexible strips can be mounted under cabinets, along workbenches, or inside drawers to eliminate shadows and provide focused lighting exactly where you need it.
The beauty of LED strips lies in their customization options. Many come with adhesive backing for easy installation and can be cut to size at marked intervals. Look for strips with at least 300 lumens per foot for task lighting, and consider models with dimming capabilities to adjust brightness levels throughout the day.
For workbench applications, consider installing strips with a color temperature between 4000K and 5000K, which provides natural white light that reduces eye strain during detailed work. Some DIY enthusiasts have found success mounting strips in aluminum channels with diffuser covers, which not only protects the LEDs but also creates more even light distribution.
When selecting LED strips for your shop, waterproof options rated at IP65 or higher offer better protection against dust and occasional splashes. Many modern strips also come with smart features, allowing you to control different zones independently through your phone or voice commands.
For the best results, install strips about 2-3 feet above your work surface, and consider using multiple runs for wider benches to ensure even coverage.
Task-Specific LED Fixtures
Different areas of your shop require specific lighting solutions to ensure optimal visibility and safety. For workbenches, consider installing under-cabinet LED strips or adjustable task lights that can be positioned directly over your work surface. These fixtures eliminate shadows and provide focused illumination for detailed tasks like woodworking or mechanical repairs.
Tool storage areas benefit from motion-sensor LED fixtures that automatically illuminate when you’re searching for specific items. Install these lights inside cabinets or above pegboards to make tool identification easier. For painting and finishing areas, full-spectrum LED panels are essential as they show true colors and help identify imperfections in your work.
Machine work areas require bright, shadow-free lighting to ensure safety and precision. Consider installing high-output LED shop lights directly above larger equipment like table saws or drill presses. Many woodworkers find success with dual-lighting setups: overhead general lighting combined with movable task lights that can be adjusted as needed.
For storage and assembly areas, install LED strip lights along shelving units or workstation edges. These provide excellent ambient lighting while taking up minimal space. In areas where you frequently read plans or documentation, desk-mounted LED task lights with adjustable color temperatures help reduce eye strain during extended periods of detail work.
Remember to position your task-specific lights to minimize glare on screens or shiny surfaces, and consider installing dimmer switches for better control over light intensity throughout your workshop.
Smart LED Systems
Smart LED systems have revolutionized workshop lighting by putting complete control at your fingertips. These modern solutions combine energy-efficient LED technology with smart features that let you customize your workspace lighting to match different tasks and times of day.
Most smart LED systems connect to your smartphone through WiFi or Bluetooth, allowing you to adjust brightness levels, color temperature, and even create automated schedules. Imagine walking into your shop and having the lights automatically turn on to your preferred brightness, or dimming certain areas while keeping your workbench brightly lit.
Many systems offer motion sensors and occupancy detection, which can help save energy by turning lights off in unused areas. Some advanced options even integrate with voice assistants like Alexa or Google Home, letting you control your shop’s lighting hands-free – particularly useful when your hands are full of tools or materials.
For maximum flexibility, look for systems that offer grouping capabilities, allowing you to create different lighting zones in your shop. You might want bright, cool light over your workbench for detailed tasks, but warmer, softer lighting in storage areas. Some smart systems also include features like timers and gradual dimming, which can help remind you when it’s time to wrap up your work for the day.
When choosing a smart LED system, make sure it’s compatible with your existing setup and offers the features you’ll actually use. While these systems cost more upfront than traditional lighting, their convenience and energy-saving capabilities often make them worth the investment.
Installation and Placement Tips
Strategic Placement Guidelines
Strategic lighting placement can make or break your shop’s functionality. Start by mapping out your primary work zones – think workbenches, tool storage areas, and assembly spaces. These areas need task lighting that provides bright, focused illumination, ideally positioned directly above your work surface at about 7-8 feet height.
For general ambient lighting, aim to create an even spread across the entire space. A good rule of thumb is to divide your shop into equal sections and place lights at regular intervals. For a typical 24×24 shop, consider installing fixtures every 8 feet in a grid pattern.
Don’t forget about shadow-prone areas like corners and under shelving units. Adding strip lights beneath upper cabinets or shelves eliminates dark spots and makes finding tools easier. For ceiling-mounted storage areas, consider installing motion-sensor lights that activate when you need to access these spaces.
Wall-mounted tools and equipment deserve special attention. Position adjustable light fixtures nearby that can be aimed directly at these areas when needed. If you have a paint booth or finishing area, ensure adequate lighting from multiple angles to spot imperfections.
Remember to account for natural light sources like windows and doors. Position your main work areas to take advantage of daylight when possible, using artificial lighting as supplementary illumination. This approach not only saves energy but also provides the best color rendering for detailed work.
DIY Installation Best Practices
Before starting your LED installation project, review our comprehensive DIY lighting installation guide for detailed electrical safety information. Begin by creating a detailed layout plan, marking fixture locations on paper and then on your ceiling or walls. Ensure your power supply can handle the total wattage of your planned LED system.
Start by turning off the main power supply to your shop. Mount your junction boxes securely, using appropriate anchors for your ceiling material. Run your electrical cables through approved conduit, leaving enough slack for connections. When installing LED panels or strips, use proper mounting brackets and ensure they’re level for uniform illumination.
For the best results, install lights in zones based on your work areas. Position task lighting directly above workbenches and tool stations, while keeping general lighting evenly spaced throughout the shop. Consider installing dimmer switches for flexible lighting control.
Always follow manufacturer guidelines for wire connections and use appropriate wire nuts. Double-check all connections before restoring power. Test each fixture individually, then test the entire system together. Pay special attention to any flickering or unusual behavior, as these might indicate connection issues.
Remember to label your circuits and create a simple diagram of your installation for future reference. This will make maintenance and future modifications much easier.
Maintenance and Longevity
To maximize the lifespan of your shop’s LED lights and ensure they continue performing at their best, regular maintenance is essential. While LEDs are known for their durability, taking proper care can extend their life well beyond the rated hours. Start by keeping your lights clean – dust and debris can affect brightness and heat dissipation. A gentle wipe-down with a soft, dry cloth every few months is usually sufficient.
Monitor your lights’ temperature regularly, as excessive heat can significantly reduce LED lifespan. Ensure proper ventilation around your fixtures and avoid common electrical mistakes like overloading circuits or using incompatible dimmers.
Check all connections periodically for signs of loosening or wear. Tighten any loose fixtures and replace damaged wiring promptly. If you notice any flickering or color changes, address these issues immediately as they often indicate underlying problems that could affect performance.
For LED strips, inspect adhesive backing regularly and reinforce as needed. In areas with high humidity, consider using silicone sealant to protect connections. Most quality LED lights come with a warranty – keep your documentation handy and register your products when possible. By following these simple maintenance steps, your shop’s LED lighting can provide reliable illumination for many years to come.
Choosing the right LED lights for your shop building doesn’t have to be overwhelming. By focusing on brightness levels, color temperature, and energy efficiency, you can create an ideal workspace that meets your specific needs. Remember to consider both task and ambient lighting, ensuring complete coverage of your work areas. For most shop buildings, a combination of high-bay lights for general illumination and targeted strip lights or shop lights for workbenches offers the best solution. We recommend starting with 4000K-5000K color temperature LEDs for the most natural, productive lighting environment. Don’t forget to factor in your ceiling height and shop layout when making your final selection. With proper planning and installation, your LED lighting system will provide years of bright, efficient, and cost-effective illumination for all your projects.