
Smart Space-Saving Secrets That Transform Your Cluttered Shed
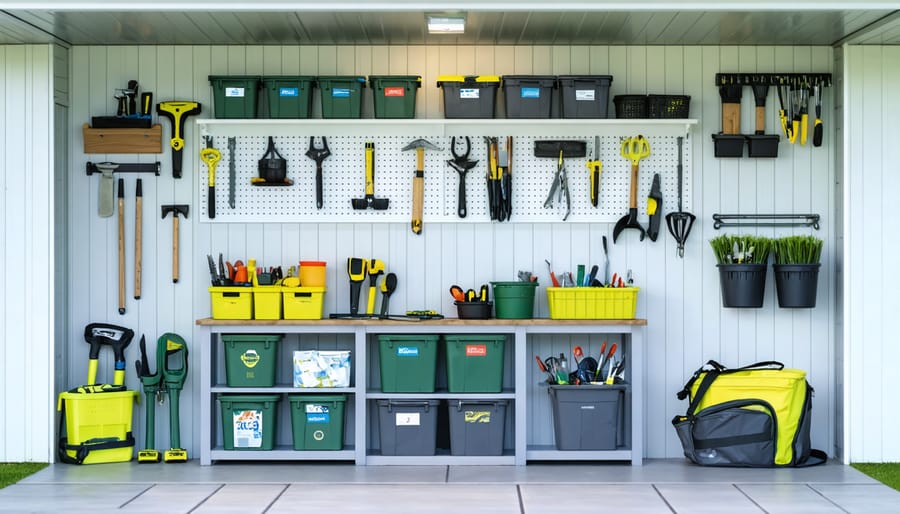
Transform your cramped storage space into an organizational masterpiece by learning to organize your shed effectively. Install floor-to-ceiling adjustable shelving units along walls to triple your usable space instantly. Mount pegboards and tool hangers at eye level to keep frequently used items accessible while maximizing vertical storage potential. Create designated zones for seasonal items, gardening equipment, and workshop tools using clear bins and labeled containers. Implement an overhead storage system using sturdy ceiling-mounted racks for rarely-used items and holiday decorations. Smart space utilization in your shed isn’t just about storing more—it’s about creating an efficient, accessible workspace that adapts to your changing needs. With the right organization system, even the smallest shed can deliver impressive storage capacity while maintaining easy access to every item you store.
Vertical Storage Solutions That Double Your Space
Wall-Mounted Storage Systems
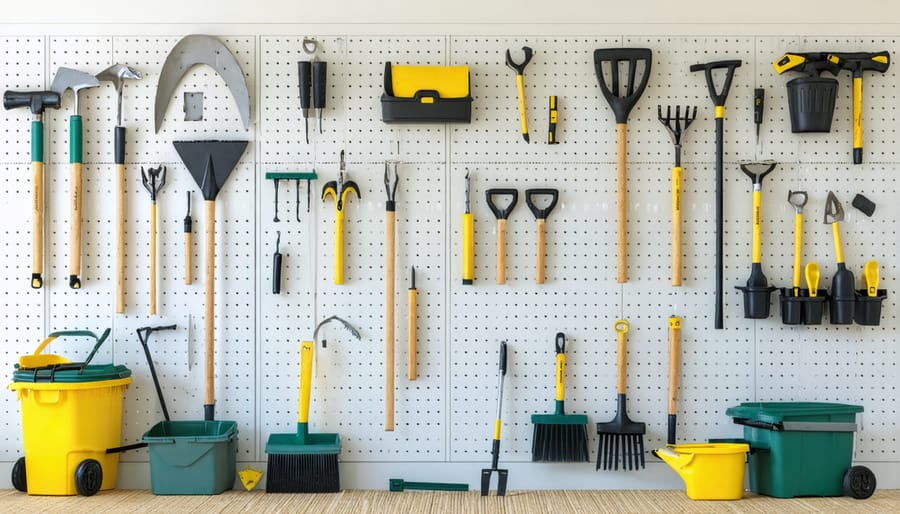
Transform your shed’s walls into powerful storage zones with versatile wall-mounted systems. Pegboards offer classic, customizable storage that’s perfect for tools and gardening equipment. Their adaptable design lets you protect your stored tools while keeping them easily accessible. Simply add hooks, holders, and shelves wherever you need them, and rearrange as your storage needs change.
Slatwall systems provide a more modern alternative with their sleek, horizontal channels. These systems can handle heavier items and offer a wider range of accessories, from baskets to specialized tool holders. The continuous tracks make it easy to slide attachments anywhere along the wall, creating a clean, organized look.
Don’t overlook the power of simple hanging solutions. Heavy-duty hooks, magnetic strips, and mounting brackets can turn any wall into valuable storage space. Install bike hooks to get cycles off the floor, use tool hangers for long-handled garden equipment, and mount basket systems for smaller items.
Pro tip: Create storage zones by grouping similar items together. Keep frequently used tools at eye level, seasonal items higher up, and heavier equipment lower down. This systematic approach not only maximizes your wall space but also makes finding and accessing items a breeze. Remember to secure all mounting hardware properly to your shed’s frame for safety and stability.
Ceiling Storage Solutions
Looking up might reveal your shed’s most underutilized storage space. The ceiling area offers tremendous potential for maximizing storage without sacrificing valuable floor space. Overhead storage racks are a game-changer, providing a sturdy platform for seasonal items like holiday decorations or camping gear. These racks can be mounted directly to your shed’s rafters or joists, creating an entirely new storage level above your head.
For frequently accessed items, pulley systems offer an ingenious solution. These mechanical helpers make it easy to raise and lower items like bikes, kayaks, or lawn chairs without straining your back. Many homeowners find that installing a simple pulley system allows them to store bulkier items safely while keeping them readily accessible.
Hanging storage options are perfect for lighter items and tools. Install hooks, pegboards, or wire baskets from your ceiling joists to keep garden tools, extension cords, and smaller equipment organized and within reach. One clever approach is to use wooden dowels or PVC pipes mounted to the ceiling to store long-handled tools horizontally.
Remember to consider weight limits when installing ceiling storage solutions and ensure all mounting hardware is appropriate for your shed’s construction. For safety, keep heavier items closer to the walls where the structure is typically strongest, and always use proper mounting brackets and supports rated for your intended storage weight.
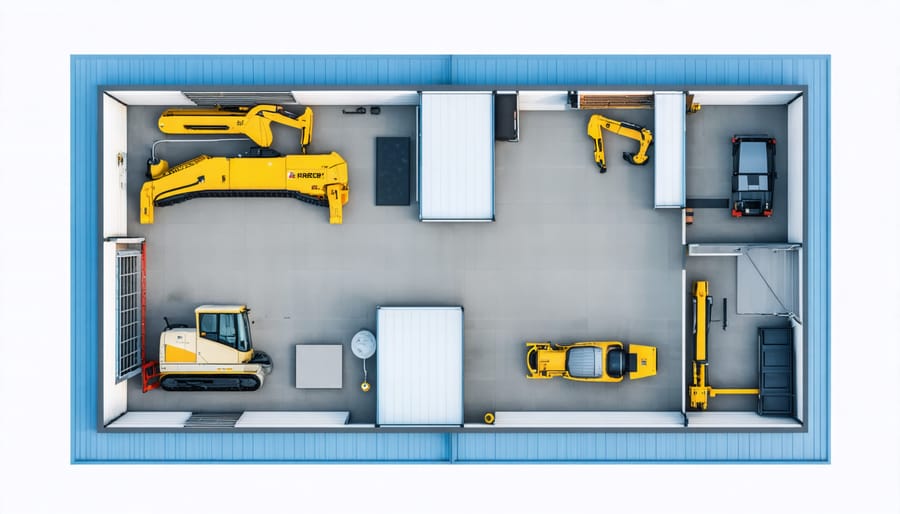
Zone Planning for Perfect Organization
Frequently Used Items Zone
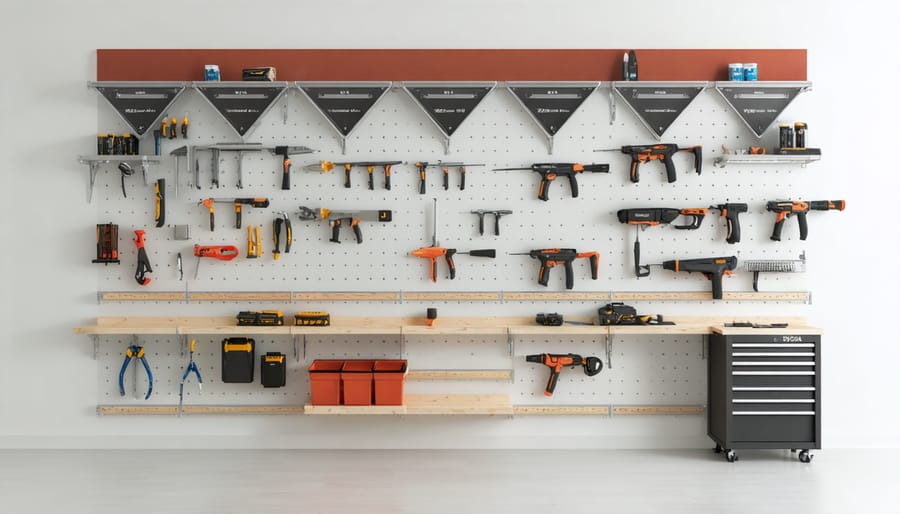
Create a dedicated zone near your shed’s entrance for items you use weekly or monthly. Install a pegboard or slatwall system on the wall closest to the door, keeping frequently used tools within arm’s reach. Add hooks for garden tools, a magnetic strip for metal implements, and small bins for hand tools.
Consider mounting a fold-down workbench beneath this area, providing a convenient spot for quick tasks without venturing deep into the shed. Label everything clearly and group similar items together – gardening tools in one section, DIY equipment in another, and seasonal items in a third.
Keep a rotating system in mind: during summer, position lawn care tools front and center, then swap them with snow removal equipment when winter approaches. Install motion-sensor lighting above this zone to ensure easy access during early mornings or evenings.
Remember to reassess this zone every few months, moving less-used items to secondary storage areas and bringing frequently needed tools forward. This dynamic approach ensures your shed remains functional and efficient throughout the year.
Seasonal Storage Zone
Creating dedicated zones for seasonal items is crucial for maintaining an organized shed throughout the year. Implementing smart seasonal storage strategies helps you rotate equipment and decorations efficiently while maximizing available space.
Start by dividing your shed into clearly marked seasonal sections. Store winter items like snow blowers, holiday decorations, and cold-weather tools in the back during summer months. Keep spring and summer essentials like gardening tools, lawn mowers, and pool supplies easily accessible during their peak seasons.
Use labeled bins and weatherproof containers to protect seasonal items from dust and moisture. Install adjustable shelving units that can accommodate different-sized containers as your storage needs change throughout the year. Consider using overhead storage racks for rarely-used seasonal items, keeping them safely tucked away without consuming valuable floor space.
Create a simple inventory system to track your seasonal items’ locations. This prevents the frustrating hunt for holiday lights or summer sporting equipment when you need them most. Remember to clean and maintain seasonal equipment before storing it away to ensure everything remains in good working condition.
Long-Term Storage Zone
Create a dedicated long-term storage zone in your shed for items you use seasonally or infrequently. Start by designating the back or upper areas of your shed for these items, as they won’t need frequent access. Install sturdy overhead storage racks or loft spaces to maximize vertical space while keeping seasonal items like holiday decorations or camping gear safely tucked away.
Use clear, weatherproof storage containers with detailed labels to protect your items and make them easy to identify. Consider creating an inventory list that you can tape inside your shed door, noting where specific items are stored. This simple step saves time when you need to locate something and prevents unnecessary rummaging.
Group similar items together, such as winter equipment in one section and summer items in another. Place heavier items on lower shelves and lighter ones up high. Remember to store items in rotation, with the most recently used seasonal items towards the front of their designated area for easier access when you need them next year.
For extra protection, consider using moisture-absorbing products in your storage containers and elevating items off the floor using pallets or shelving units.
Space-Maximizing Storage Containers
Stackable Solutions
Transform your shed’s storage potential with smart stacking solutions that maximize every inch of available space. Start with heavy-duty plastic bins in uniform sizes – these stack securely and allow easy access to items while protecting them from moisture and pests. Clear containers are particularly helpful as they let you see contents without unstacking.
Consider investing in industrial-grade shelving units designed specifically for stacking storage totes. These systems typically feature adjustable shelves and can support significant weight, making them perfect for tools, seasonal decorations, and gardening supplies. Look for units with reinforced corners and cross-bracing for added stability.
Professional organizers recommend using a “zone system” when stacking – keep frequently used items in easily accessible lower levels while storing seasonal or rarely-used items up high. Label each container clearly on multiple sides and maintain an inventory list to avoid the frustration of unstacking everything to find one item.
For awkward spaces, try nesting containers that fit inside each other when empty, or collapsible boxes that can be compressed when not in use. Stack similar items together and use drawer-style containers for smaller tools and materials that need frequent access.
Mobile Storage Units
Mobile storage solutions are game-changers when it comes to maximizing your shed space. Rolling carts and wheeled storage units offer the flexibility to move heavy items effortlessly while keeping your space organized. Consider investing in utility carts with multiple shelves – they’re perfect for storing gardening supplies, power tools, and seasonal items that you need to access regularly.
Heavy-duty rolling tool chests are excellent for organizing smaller items like hand tools, hardware, and accessories. Look for models with drawers of varying depths to accommodate different-sized items. For lawn care equipment, rolling garden tool organizers keep everything from rakes to shovels neatly arranged and easy to transport.
A clever trick is to use rolling storage bins underneath your workbench or shelving units. These bins can slide out when needed and tuck away when not in use, maximizing every inch of floor space. Clear plastic containers on wheels are particularly useful for storing seasonal decorations or sporting equipment, as you can easily see the contents and roll them to the back of the shed during off-seasons.
Remember to choose mobile units with quality wheels that can handle your shed’s flooring, whether it’s concrete, wood, or another material. Locking casters are essential to keep your storage units firmly in place when stationary.
Creative Corner and Dead Space Utilization
Corner Storage Solutions
Corners in storage sheds often become dead spaces where items get forgotten or lost. However, with smart planning, these awkward angles can transform into valuable storage opportunities that help you maximize storage efficiency throughout your shed.
Consider installing corner shelving units specifically designed to fit these spaces. V-shaped shelves that follow the natural angle of the corner make excellent homes for smaller items like paint cans, garden supplies, and tool boxes. Lazy Susan-style corner units are perfect for frequently accessed items, allowing you to rotate supplies into view without awkward reaching.
For taller items, corner pole systems with adjustable brackets let you customize the height of each shelf. These versatile solutions work particularly well for storing long-handled tools like rakes and shovels vertically while utilizing the space above for lighter items.
Don’t forget about corner pegboards, which can turn these traditionally difficult spaces into organized tool stations. Install them at an angle across the corner to create an accessible display for hanging tools and accessories. For added functionality, combine pegboards with small corner shelves beneath them to create comprehensive storage zones.
Remember to keep frequently used items at eye level and heavier objects closer to the ground for safe, practical access. With these smart corner solutions, you’ll transform previously wasted space into organized, efficient storage areas.
Door and Window Space Usage
The areas around doors and windows in your shed are often overlooked, but they offer valuable storage potential when used creatively. Start by installing narrow shelving units or pegboards on either side of your door frame, perfect for frequently used tools and garden supplies. Over-the-door organizers, typically used in homes, work just as effectively in sheds for storing lightweight items like gloves, small tools, and garden markers.
Window areas can become functional storage zones with the right approach. Install adjustable shelving beneath windows to create display areas for potted plants while maintaining natural light. Consider adding tension rods between window frames to hang spray bottles or create makeshift drying racks for garden tools.
Make the most of door swing space by mounting a fold-down workbench or table that can be tucked away when not in use. The back of your shed door itself is prime real estate – attach magnetic strips for metal tools, install pocket organizers, or add hooks for hanging lighter equipment.
Remember to keep doorways clear for safe entry and exit. When planning storage around windows, use clear containers or open shelving to allow natural light to penetrate deeper into your shed. This approach not only maximizes space but also maintains functionality and safety while creating an organized, accessible storage system.
Transforming your shed from a cluttered catch-all to an organized, efficient storage space doesn’t have to be overwhelming. By implementing the strategies we’ve discussed, you can create a storage solution that works for your specific needs while maximizing every square inch of available space.
Remember that successful shed organization starts with a solid plan. Begin by decluttering and categorizing your items, then make the most of vertical space with wall-mounted systems and overhead storage. Invest in quality storage containers and labels to keep everything accessible and protected from the elements. Don’t forget to utilize often-overlooked spaces like door backs and corners with creative storage solutions.
Regular maintenance of your organizational system is key to long-term success. Set aside time each season to reassess your storage needs and make adjustments as necessary. This prevents clutter from creeping back in and ensures your shed remains a functional space year-round.
Whether you’re storing garden tools, seasonal decorations, or DIY project materials, an organized shed makes everything easier to find and use. By following these guidelines and adapting them to your specific situation, you’ll create a storage space that not only meets your needs but also adds value to your property.
Take the first step today by choosing one area of your shed to organize. Small improvements add up to significant changes, and you’ll be amazed at how much space you actually have when it’s properly utilized.