Transform Your Outdoor Shed into the Perfect Powered Recreation Space

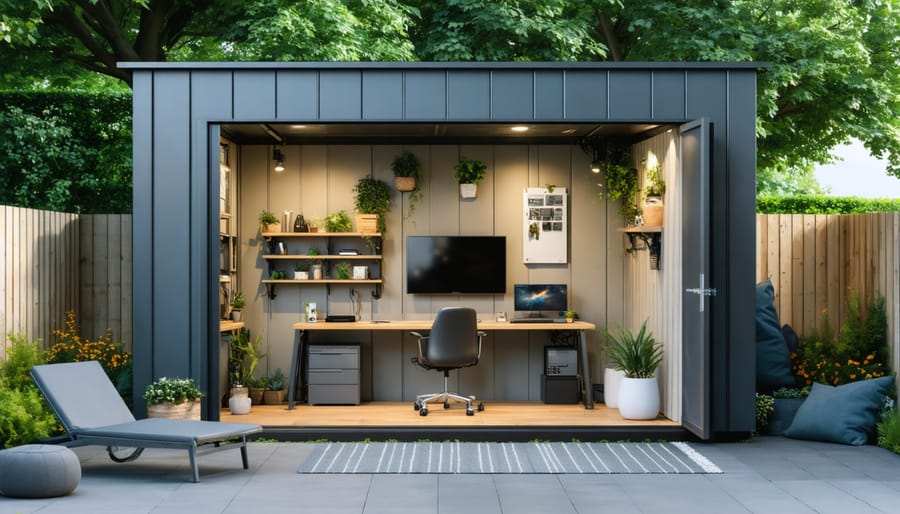
Transform your backyard storage into a versatile powered workspace through recreational shed transformation that combines functionality with modern convenience. Installing electricity in an outdoor shed opens up endless possibilities, from creating a fully-equipped workshop to establishing a cozy entertainment space or home office retreat. Professional electricians can safely wire your shed for under $1,000, ensuring compliance with local building codes while providing the necessary power for tools, lighting, and climate control systems. Modern pre-wired shed options now feature built-in electrical packages, complete with weatherproof outlets, LED lighting, and dedicated circuits for heavy-duty equipment.
Beyond basic power needs, today’s electrified sheds incorporate smart technology for security, automated lighting, and remote monitoring – transforming simple storage spaces into sophisticated extensions of your living area. Whether you’re planning a woodworking sanctuary, an artist’s studio, or a peaceful garden retreat, proper electrical planning ensures your outdoor space meets both current needs and future possibilities. Start with a detailed power requirement assessment, focusing on intended usage patterns and essential safety features to create a truly functional powered environment.
Planning Your Powered Recreation Shed
Local Permits and Regulations
Before adding electricity to your outdoor shed, it’s crucial to navigate local building codes and permit requirements. Most municipalities require permits for electrical work in outdoor structures, especially when connecting to your home’s power supply. Start by contacting your local building department to understand specific requirements before you prepare your shed site.
Typically, you’ll need an electrical permit and possibly a building permit. Some areas require professional installation by a licensed electrician, while others allow homeowner installation with proper inspection. Key regulations often include minimum wire gauge requirements, proper grounding, weatherproof outlets and fixtures, and specific installation methods for underground wiring.
Keep detailed records of all permits, inspections, and approved plans. Working without proper permits can result in fines, mandatory removal of electrical components, or complications when selling your property. Remember that these regulations exist for your safety and the protection of your property.
Power Requirements and Usage Planning
Before installing electricity in your outdoor shed, it’s essential to calculate your power requirements accurately. Start by listing all the devices and equipment you plan to use, including their wattage ratings. Common recreational items like gaming consoles typically need 150-300 watts, while a mini-fridge might require 400-800 watts. Add about 20% to your total for safety margin.
Consider your usage patterns – will you need power for extended periods or just occasional use? For regular use, plan for adequate circuits to handle multiple devices simultaneously. A basic setup might include several 120V outlets for electronics, lighting, and small appliances, while more demanding activities like woodworking might require 240V service.
Remember to factor in seasonal variations in power needs. Summer activities might include fans or portable AC units, while winter might require space heaters. It’s better to overestimate slightly than to find yourself short on power later. For optimal planning, consult with a qualified electrician who can help design a system that meets both your current needs and potential future expansions.

Essential Electrical Components
Wiring and Circuit Options
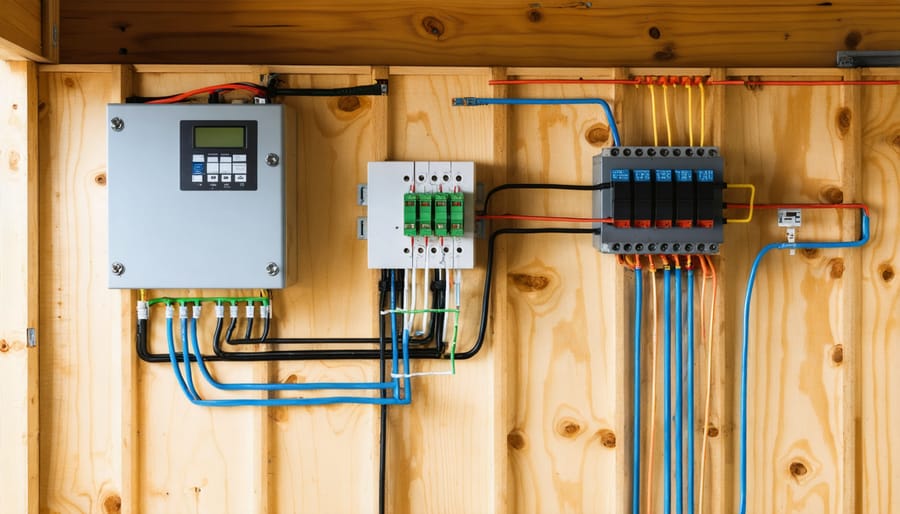
When it comes to powering your outdoor shed, you have several reliable wiring options to choose from. The most common approach is running underground conduit from your home’s main electrical panel to the shed. This method provides the most stable and permanent solution, protecting your wiring from the elements and lawn maintenance equipment.
For most residential shed applications, a 20-amp circuit is sufficient for basic lighting and power tools. However, if you’re planning to run heavy equipment or multiple devices simultaneously, consider installing a dedicated 30-amp or even 50-amp circuit. It’s worth noting that separate circuits for lighting and power outlets can prevent overloading and provide better functionality.
Your wiring setup should include weather-resistant outlets (GFCI-protected), proper grounding, and a junction box inside the shed. Many homeowners opt for a small sub-panel in the shed, which allows for multiple circuits and provides the flexibility to add more electrical features later.
When planning your circuit layout, think about your specific needs. Consider including:
– Overhead lighting fixtures
– External security lights with motion sensors
– Multiple wall outlets at convenient heights
– Dedicated circuits for power-hungry tools
– A surge protector for sensitive electronics
Remember, while some basic electrical work can be DIY-friendly, complex wiring should always be handled by a licensed electrician to ensure safety and code compliance.
Lighting and Outlet Placement
Strategic lighting and outlet placement can transform your electrified shed from a basic storage space into a functional recreational haven. Start by mapping out your most frequently used areas and planning lighting accordingly. For workbenches or hobby stations, install task lighting directly above to eliminate shadows. Consider installing adjustable LED track lighting, which offers flexibility for different activities.
Position outlets at convenient heights (typically 48 inches from the floor) and space them every 4-6 feet along walls where you’ll need power. Include at least one outlet on each wall to avoid running extension cords across your space. For entertainment areas, plan for ceiling-mounted outlets if you’re considering installing speakers or projectors.
Don’t forget exterior lighting – motion-sensor security lights near the entrance provide safety and convenience. Adding softer accent lighting around seating areas creates an inviting atmosphere for evening relaxation. A weatherproof GFCI outlet on the exterior wall proves invaluable for outdoor tools or string lights.
Pro tip: Install a couple of USB-equipped outlets for charging devices, and consider adding dimmer switches to adjust lighting levels for different activities. Remember to label your electrical panel clearly and keep a diagram of outlet locations for future reference. This thoughtful planning ensures your shed serves all your recreational needs while maintaining a clean, organized appearance.
Popular Recreational Uses for Powered Sheds
Gaming and Entertainment Room
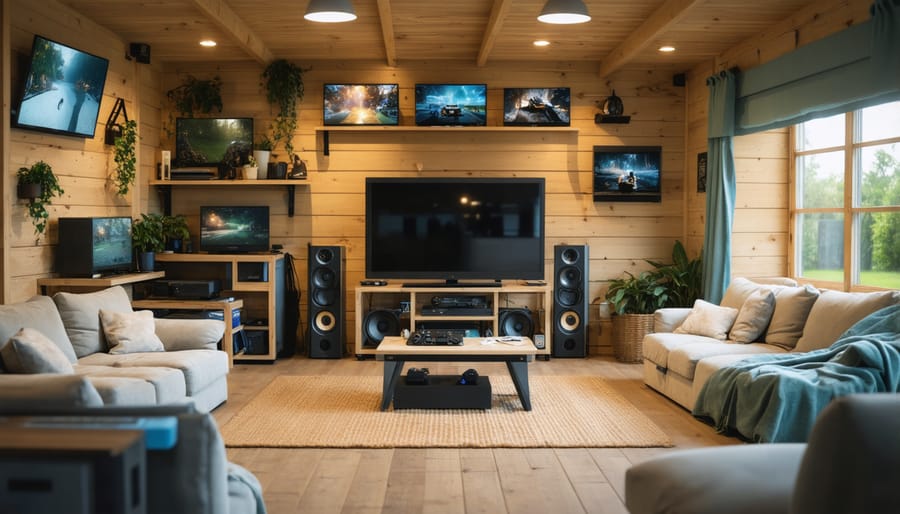
Transform your electrified shed into the ultimate gaming and entertainment sanctuary! With proper wiring in place, you can set up a complete entertainment system including a wall-mounted TV, gaming consoles, and surround sound speakers. Consider installing dedicated circuits for your electronics to prevent overloading and ensure stable power during intense gaming sessions.
Create a comfortable viewing area with proper seating and ambient lighting. LED strip lights can add a gaming atmosphere while being energy-efficient. Install blackout curtains or window films to reduce glare on screens and maintain optimal viewing conditions throughout the day.
Temperature control is crucial for protecting your electronics. Add a small air conditioning unit or portable heater to maintain consistent temperatures. Include surge protectors and cable management solutions to keep everything organized and protected from power fluctuations.
Don’t forget storage solutions for games, controllers, and media. Wall-mounted shelving or entertainment centers can maximize your space while keeping everything within easy reach. A mini-fridge for refreshments and snacks can complete your gaming paradise without requiring frequent trips back to the house.

Home Gym Setup
Transform your electrified shed into a perfect fitness sanctuary with these home gym setup tips. Start by installing proper ventilation and a mini-split AC unit to maintain comfortable workout temperatures year-round. Consider rubber floor matting to protect your shed’s floor and provide cushioning for exercises.
Position your electrical outlets strategically to accommodate treadmills, fans, and other powered equipment. Install bright, energy-efficient LED lighting to ensure proper visibility during workouts. A dedicated circuit for high-power equipment like treadmills or ellipticals is essential to prevent overloading.
When arranging equipment, create distinct zones for cardio, strength training, and stretching. Mount mirrors on walls to check form during exercises, and install sturdy wall-mounted storage for weights and resistance bands. A bluetooth speaker system can help motivate your workouts while keeping the space clutter-free.
Remember to include a small dehumidifier to control moisture levels, especially if you’re installing electronic equipment. This setup creates the perfect private fitness space steps away from your home.
Creative Studio Space
Transform your outdoor shed into a vibrant creative studio by implementing smart creative shed space design strategies. Start with ample lighting – combine natural light through strategically placed windows with adjustable LED track lighting to illuminate your workspace perfectly. Install multiple power outlets at convenient heights for your equipment, whether it’s pottery wheels, easels, or musical instruments.
Consider installing proper ventilation fans and climate control to maintain comfortable working conditions year-round. Paint the walls in light, neutral colors to maximize brightness and create an inspiring atmosphere. Add built-in storage solutions for art supplies or music equipment, keeping everything organized and within reach.
For artists, incorporate sturdy workbenches and wall-mounted drying racks. Musicians will benefit from basic soundproofing materials on walls and ceiling to minimize noise disturbance. Install a small sink if possible – it’s invaluable for cleaning brushes or washing hands between projects.
Don’t forget to add inspirational touches like bulletin boards for sketches or a comfortable seating area for breaks. With proper electrical planning, you can power everything from digital tablets to amplifiers safely. Remember to include surge protectors and adequate circuit capacity for all your creative tools.
By thoughtfully designing your studio space, you’ll create a dedicated sanctuary where creativity can flourish, separate from household distractions.
Safety and Maintenance
Weather Protection
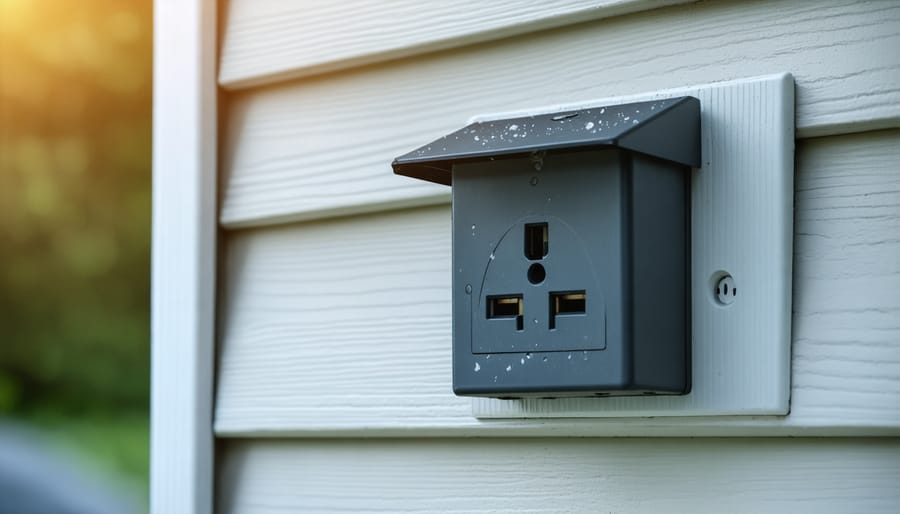
Protecting your shed’s electrical system from weather elements is crucial for safety and longevity. Start by installing weather-resistant electrical boxes and outlets specifically rated for outdoor use. These components are designed to withstand rain, snow, and extreme temperatures while keeping moisture away from electrical connections.
Make sure all exterior penetrations where wires enter the shed are properly sealed with weatherproof cable glands or conduit fittings. Use silicone caulk around these entry points to create a watertight seal. Consider installing a drip loop in your electrical service cable – this downward curve prevents water from following the wire into your shed.
For added protection, mount all electrical outlets at least 18 inches above the floor to prevent water damage during heavy rain or flooding. Install waterproof covers on all exterior outlets and switches. These spring-loaded covers automatically snap shut when not in use, keeping moisture out.
Don’t forget about proper ventilation to prevent condensation buildup, which can damage electrical components. Installing small vents near the roof line helps maintain proper airflow while keeping rain out. Consider adding a dehumidifier during particularly wet seasons to maintain optimal conditions for your electrical system.
Regular maintenance checks are essential. Inspect seals, covers, and connections every few months, especially after severe weather events. Replace any damaged components immediately to maintain the integrity of your weather protection system.

Regular Inspection Guidelines
Regular electrical inspections are essential for keeping your electrified shed safe and functional. Create a maintenance schedule that includes monthly, quarterly, and annual checks to prevent potential issues before they become serious problems.
Start with a monthly visual inspection of all visible electrical components. Check for signs of wear on power cords, ensure outlet covers are intact, and look for any discoloration around electrical fixtures that might indicate overheating. Test all lights and outlets to confirm they’re working properly.
Every three months, conduct a more thorough examination. Inspect weather seals around outdoor connections and outlets, clean any dust or debris from electrical panels, and check for signs of pest intrusion around wiring entry points. If you notice any unusual sounds, smells, or flickering lights, address these concerns immediately.
Schedule an annual professional inspection to ensure everything meets current safety standards. A qualified electrician can test ground fault circuit interrupters (GFCIs), verify proper grounding, and assess the overall condition of your electrical system.
Keep a maintenance log to track inspections and any repairs. This record helps identify recurring issues and maintains a history of your shed’s electrical system. Remember to always turn off power at the main breaker before conducting any hands-on inspections, and never attempt repairs beyond your expertise level.
During wet seasons or after severe weather, perform additional checks to ensure moisture hasn’t compromised any electrical components. Look for water damage signs and test moisture levels around electrical access points.
An electrified outdoor shed transforms your backyard into a hub of possibilities, offering a dedicated space for hobbies, entertainment, or a peaceful retreat. From powering tools for woodworking projects to creating the perfect gaming room, having electricity in your shed opens up endless opportunities for personalization and functionality.
Remember that proper installation and maintenance of your powered shed is crucial for both safety and longevity. Always work with certified electricians, maintain regular inspections of your electrical system, and keep moisture control a top priority. Installing proper ventilation, using weather-resistant materials, and maintaining adequate insulation will help protect your electrical components and create a comfortable environment year-round.
The investment in a powered shed pays dividends in both property value and lifestyle enhancement. Whether you’re pursuing a hobby, seeking extra living space, or creating a entertainment zone, an electrified shed provides the perfect solution. Just ensure you’re following local building codes, obtaining necessary permits, and implementing proper safety measures.
As you enjoy your powered outdoor space, regularly check for signs of wear and tear, maintain proper drainage around the structure, and keep safety equipment like fire extinguishers readily available. With proper planning and maintenance, your electrified shed will provide years of enjoyment and functionality as a valuable extension of your home.

