
Perfect Your Shed’s Paint: Field Marking Secrets for Long-Lasting Protection
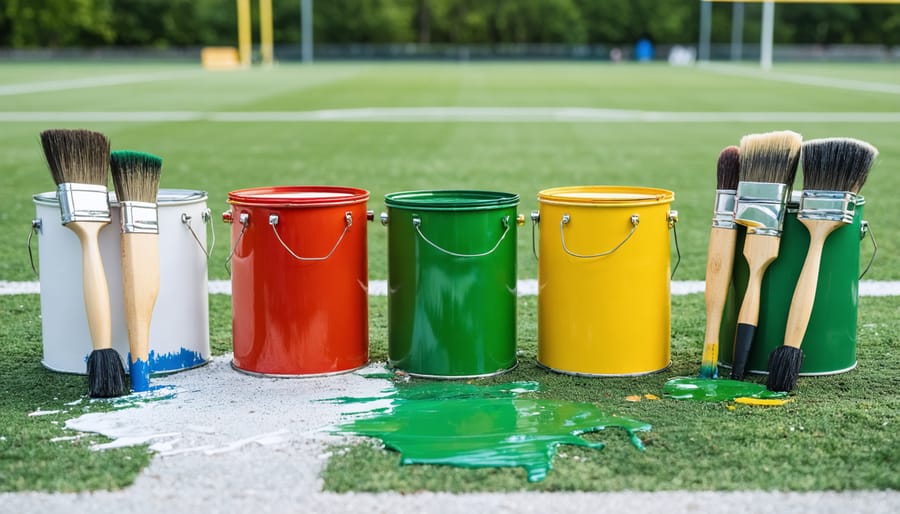
Choose oil-based exterior paint for maximum durability and weather resistance when painting maintenance buildings and marking field boundaries. Apply two coats of high-visibility paint for sports field lines, ensuring proper surface preparation and consistent thickness for lasting results. To protect your wooden shed, select premium acrylic latex paint with mold-inhibiting properties, applying a primer first on bare or weathered surfaces. Professional-grade field marking paint transforms quickly from liquid to solid, resisting wear from foot traffic and maintaining crisp lines throughout the season.\n\nTest paint adhesion on a small area before full application, particularly on previously painted surfaces or specialized materials like artificial turf. Weather-resistant paint formulations with UV inhibitors extend the life of maintenance markings while preventing color fade and deterioration, saving time and resources on frequent reapplication. Select fast-drying options for high-traffic areas to minimize disruption and ensure proper curing before exposure to elements or use.\n\n\n
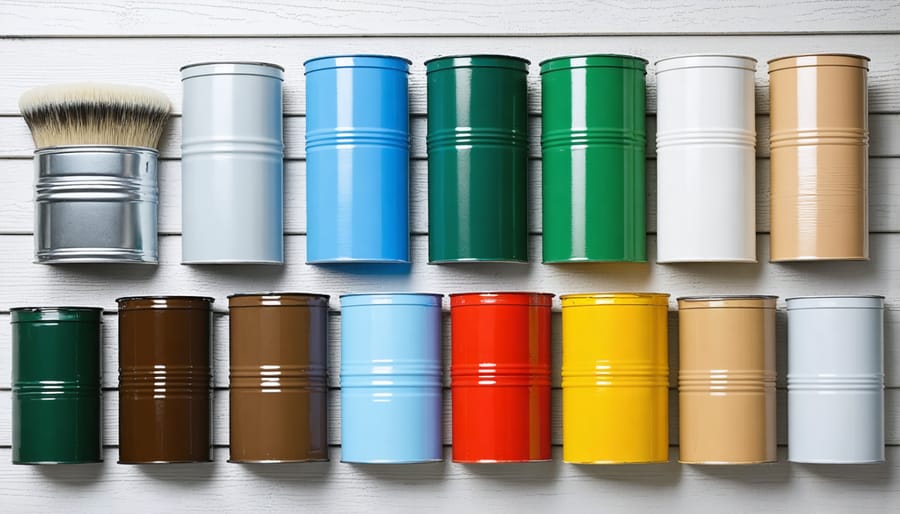
Choosing the Right Maintenance Paint
\n\n
Weather-Resistant Paint Options
\n\nWhen it comes to protecting your outdoor structures, choosing the right weather-resistant paint is crucial. Modern paint formulations offer excellent protection against rain, UV rays, and temperature fluctuations, helping to extend the life of your painted surfaces.\n\nAcrylic latex paints are a popular choice for outdoor applications, offering superior moisture resistance and flexibility to prevent cracking during temperature changes. These paints also maintain their color well, even under direct sunlight, and are less likely to fade over time.\n\nOil-based enamels provide exceptional durability and create a hard-wearing finish that stands up to heavy use. While they take longer to dry, they offer superior protection against moisture and are particularly effective in high-traffic areas or on surfaces that need frequent cleaning.\n\nFor ultimate weather protection, epoxy-based paints create an incredibly tough barrier against the elements. Though typically more expensive, these paints offer outstanding chemical resistance and can withstand extreme weather conditions. They’re especially suitable for areas that experience harsh winters or intense summer heat.\n\nConsider choosing paints with added mildewcides for areas prone to dampness, as these will help prevent unsightly mold and mildew growth on your painted surfaces.\n\n
 \n
\n\n\n
Paint Compatibility Guide
\n\nMatching new paint with existing finishes can be tricky, but following a few key steps will help ensure a seamless blend. Start by cleaning a small section of the existing paint surface and allowing it to dry completely. This gives you the truest color match possible. Take a clear photo of the cleaned area in natural daylight, as artificial lighting can distort colors.\n\nWhen selecting new paint, always choose products from the same manufacturer as the original when possible. If you’re unsure about the original brand, bring a small painted sample (about 1 square inch) to your local paint store for color matching. Many stores now use computerized matching technology for precise results.\n\nBefore applying the new paint to large areas, always do a test patch in an inconspicuous spot. Apply two coats and allow them to dry completely before evaluating the match. Remember that paint often appears darker when wet and lightens as it dries. If you’re dealing with weathered surfaces, consider painting entire sections or panels rather than spot-touching, as this will ensure more uniform coverage and better overall appearance.\n\n\n
Field Marking Techniques
\n\n
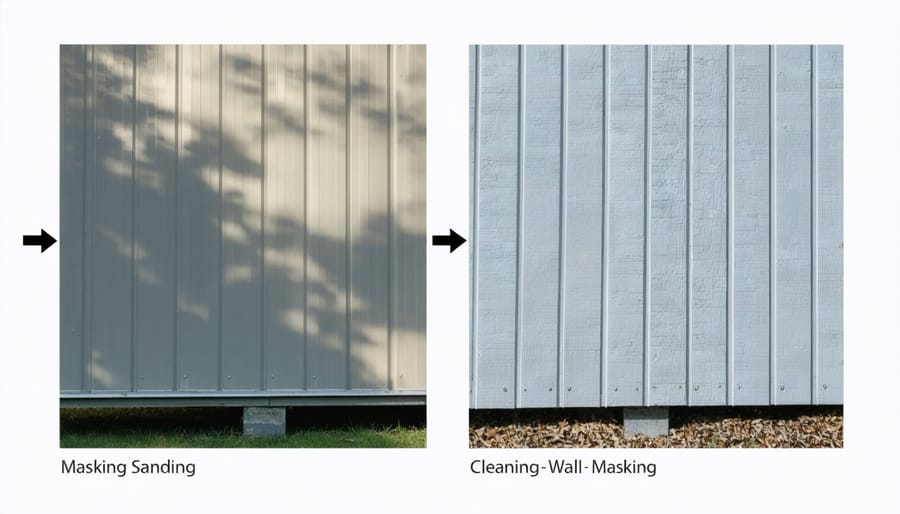
Surface Preparation Steps
\n\nBefore applying any paint to your shed, proper surface preparation is essential for achieving a long-lasting, professional finish. Start by thoroughly cleaning the surface with a pressure washer or a mixture of warm water and mild detergent to remove dirt, dust, and debris. Allow the surface to dry completely before proceeding.\n\nFor wooden sheds, inspect for any loose or rotting boards and replace them as needed. Sand down rough areas and remove any peeling paint with a scraper or wire brush. Fill any holes or cracks with exterior-grade wood filler and sand smooth once dried.\n\nMetal shed surfaces require special attention to rust. Remove any rusty patches with sandpaper or a wire brush, then wipe clean with mineral spirits. Apply a rust-inhibiting primer to these areas before painting.\n\nFor plastic or vinyl sheds, lightly sand the surface to create a better grip for the paint. Clean with a degreaser to remove any oils or residues that might prevent paint adhesion.\n\nIf your shed has previously painted surfaces, check for chalking by rubbing your hand across it – if powder comes off, wash and sand the surface before painting. For all surface types, apply painter’s tape to protect windows, door hardware, and any areas you don’t want painted.\n\nRemember to choose a day with moderate temperatures and low humidity for the best results. Avoid painting in direct sunlight or when rain is forecasted within 24 hours.\n\n
 \n
\n\n\n
Marking Tools and Methods
\n\nTo achieve professional-looking results with maintenance and field marking paint, you’ll need the right tools for the job. A quality paint roller with an extension handle is essential for covering large surfaces efficiently, while smaller brushes are perfect for detail work and touch-ups. For precise lines and edges, invest in painter’s tape and a sturdy straightedge or chalk line.\n\nWhen marking fields or designating areas, specialized marking tools can make your job much easier. A wheeled paint applicator is ideal for creating straight lines on the ground, while stencils help maintain consistency for numbers or symbols. For smaller projects, aerosol paint markers with guide wheels offer excellent control and visibility.\n\nKeep a paint tray with disposable liners handy to minimize cleanup time, and don’t forget personal protective equipment like gloves, safety glasses, and a dust mask. A measuring tape, level, and string line will help ensure your markings are accurate and properly aligned.\n\nFor maintenance painting, proper surface preparation tools are crucial. Include a wire brush, scraper, and sandpaper in your toolkit to remove loose paint and create a smooth surface. A pressure washer can be invaluable for cleaning surfaces before painting, ensuring better paint adhesion and longer-lasting results.\n\nRemember to store your tools properly after use by cleaning them thoroughly and keeping them in a dry place. This care will extend their lifespan and maintain their effectiveness for future projects.\n\n\n
Application Best Practices
\n\n
Weather Conditions and Timing
\n\nWeather plays a crucial role in achieving the perfect paint finish for your shed and field markings. For optimal results, choose a day with temperatures between 50-85°F (10-29°C) and relative humidity below 85%. These conditions ensure proper paint adhesion and drying. Avoid painting during direct sunlight, as this can cause the paint to dry too quickly and potentially crack.\n\nThe best time to paint is typically during mid-morning or early afternoon when dew has evaporated but before the intense heat of the day sets in. Keep an eye on seasonal painting considerations to plan your project effectively. Wind conditions should also be minimal to prevent debris from sticking to wet paint and to ensure even application.\n\nBefore starting, check the weather forecast for the next 24-48 hours. You’ll want at least two consecutive dry days – one for painting and another for proper curing. If rain is expected, postpone your painting project to avoid water damage to the fresh paint. Remember that cooler temperatures will extend drying time, while warmer temperatures may require you to work more quickly to maintain a wet edge and achieve even coverage.\n\n
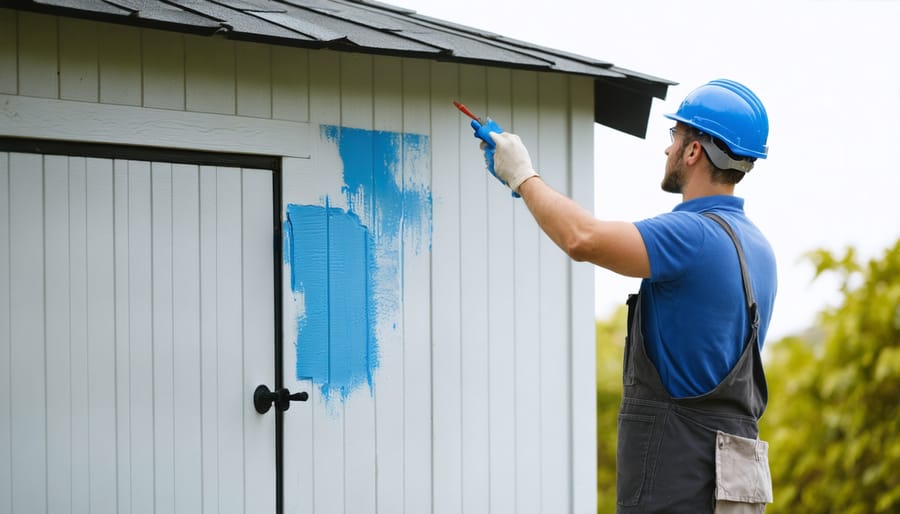
Application Techniques
\n\nThe key to a successful paint job lies in proper application techniques, which vary depending on your shed’s material. For wooden sheds, start by lightly sanding the surface and removing any dust before applying primer. Use long, even strokes with your brush or roller, following the wood grain for the smoothest finish. Two thin coats are better than one thick coat, allowing adequate drying time between applications.\n\nFor metal sheds, thorough surface preparation is crucial. Clean the surface with a degreaser and address any rust spots with appropriate treatment. Apply rust-resistant primer first, then use a foam roller for smooth surfaces or a high-density roller for textured ones. Work in small sections to maintain a wet edge and prevent lap marks.\n\nWhen painting plastic or vinyl sheds, use specialized paint formulated for these materials. Light sanding helps with adhesion, but don’t overdo it. Apply thin, even coats using a synthetic brush or foam roller, working in a controlled environment between 50-85°F for optimal results.\n\nFor all materials, maintain proper ventilation during application and avoid painting in direct sunlight or when rain is forecasted. Remember to protect surrounding areas with drop cloths and use painter’s tape for clean edges.\n\n
 \n
\n\n\n\n
Maintenance Schedule and Care
\n\nRegular maintenance of your field marking paint ensures long-lasting, vibrant lines and protects your investment. As part of your essential shed maintenance, schedule touch-ups every 4-6 weeks during peak usage seasons. Before each application, carefully inspect existing lines for wear and fading.\n\nFor high-traffic areas, plan bi-weekly touch-ups to maintain crisp, visible markings. Keep a maintenance log to track when lines were last painted and note any areas requiring special attention. This helps you stay organized and ensures consistent upkeep.\n\nStore your paint in a cool, dry place between 50-80°F (10-27°C). Before each use, gently stir the paint – never shake it, as this can create bubbles that affect application quality. Clean your application equipment thoroughly after each use with appropriate cleaning solutions to prevent clogging and ensure smooth operation next time.\n\nDuring off-seasons, protect painted areas from harsh weather conditions when possible. For indoor facilities, conduct monthly inspections to identify any chips or wear patterns that might need attention. Remember to test your paint on a small, inconspicuous area before full application, especially when switching between brands or types.\n\nBy following these maintenance guidelines, you’ll extend the life of your field markings and maintain professional-looking lines throughout the season.\n\n\nMaintaining your shed and keeping its field marking paint in top condition doesn’t have to be a daunting task. By following proper maintenance practices, including regular cleaning, prompt touch-ups, and seasonal inspections, you can significantly extend the life of your paint job and protect your investment. Remember to choose quality paint products specifically designed for outdoor use, and don’t skip essential preparation steps like surface cleaning and priming. Whether you’re marking boundaries, creating storage zones, or simply refreshing your shed’s appearance, taking the time to do the job right will save you money and effort in the long run. With these maintenance tips in mind, you’ll be well-equipped to keep your shed looking fresh and professional for years to come. Make maintenance a regular part of your property care routine, and you’ll enjoy the benefits of a well-maintained, clearly marked storage space that serves your needs effectively.
Looking for a storage sheds?
Browse our full range of storage sheds from authorized dealer brands. Free shipping to the continental US.