7 Genius Tool Shed Organization Hacks to Instantly Declutter Your Workspace

Banish clutter and frustration with these game-changing tool shed organization ideas. Declutter Your Workspace by installing pegboard on shed walls to hang frequently-used tools for easy access. Maximize vertical space with sturdy shelving units to store bulky items and keep the floor clear. Implement a labeling system for toolboxes, bins, and drawers so you can quickly locate what you need. By putting these strategies into action, you’ll transform your tool shed from a chaotic mess into an efficient, well-oiled machine that makes tackling projects a breeze.
Maximizing Vertical Space
Slatwall or Pegboard Systems
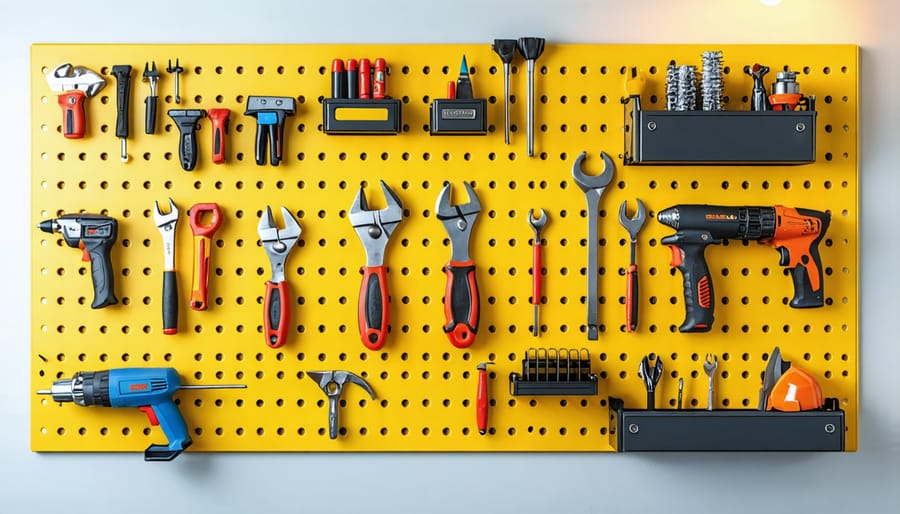
Slatwall or pegboard systems are a game-changer for tool shed organization. By attaching adjustable hooks, brackets, and shelves to these versatile wall panels, you can create a customized storage solution tailored to your specific tools and equipment. This modular approach allows you to easily rearrange and adapt your layout as your needs change over time. Hang frequently used items like hammers, screwdrivers, and pliers within arm’s reach for quick access during projects. You can also use hooks to vertically hang longer tools such as levels, saws, and extension cords, maximizing your wall space. Slatwall and pegboard systems not only keep your tools organized and visible but also protect them from damage by preventing them from being carelessly tossed into a pile. With a tidy and efficient tool storage solution, you’ll spend less time searching for what you need and more time focusing on your DIY endeavors.

Overhead Storage Racks
Maximize vertical space in your tool shed by installing overhead storage racks for items you don’t need constant access to. Suspend bulky objects like ladders, seasonal decorations, or rarely used power tools above head level to free up valuable floor and wall space. Sturdy metal or wooden racks can be mounted directly to the ceiling joists or hung from heavy-duty hooks. Be sure to securely fasten the racks and avoid overloading them to prevent accidents. Organizing items in labeled bins or boxes on the overhead racks will make retrieval a breeze when you need them. With a little creativity, you can even repurpose old pallets or build custom overhead shelves tailored to your specific storage needs. Utilizing this often-overlooked space is a game-changer for tool shed organization, allowing you to create a clutter-free, efficient workspace below.

Creating Zones and Stations
Dedicated Workbench Area
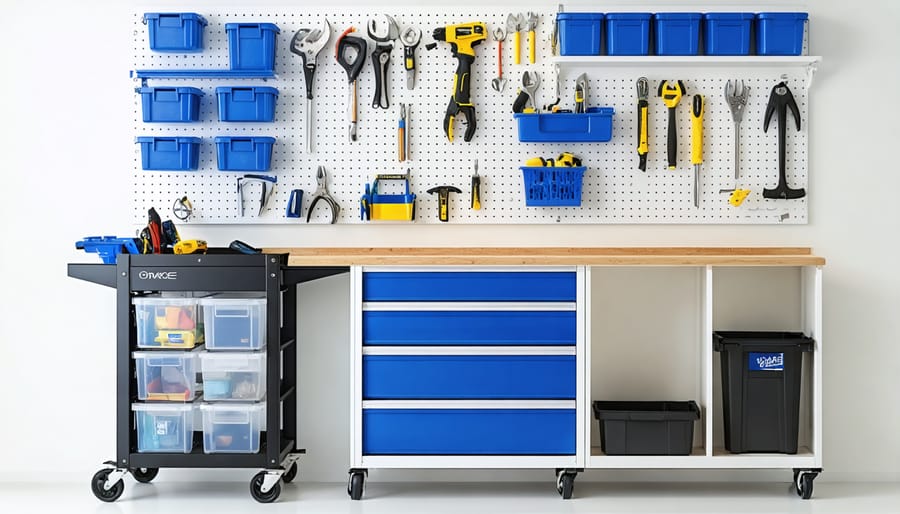
When organizing your tool shed, consider setting up a dedicated workbench area to keep your most frequently used tools within easy reach. This will save you time and frustration when tackling projects. Hang a pegboard or install shelving above your workbench to store tools like hammers, pliers, and screwdrivers. Use hooks, magnetic strips, or small bins to keep these items organized and accessible. Keep your workbench clutter-free by designating a spot for each tool and returning them to their proper place after use. A well-organized workbench area will make your DIY projects more efficient and enjoyable, allowing you to focus on the task at hand rather than searching for misplaced tools. Remember, the key to a functional workbench is to prioritize the tools you use most often and keep them close at hand.
Lawn and Garden Corner
Keeping your lawn and garden tools, pots, and supplies organized in one convenient location can save you time and hassle. Designate a specific area in your shed for these items, such as a dedicated shelf or corner. Use sturdy hooks to hang tools like shovels, rakes, and hoes, ensuring they are easily accessible when needed. Store smaller tools, like trowels and pruners, in labeled bins or baskets for quick retrieval. Stackable shelves are ideal for holding pots, trays, and other gardening essentials, maximizing vertical space. Consider using a pegboard to create a customizable storage solution, allowing you to rearrange tools as your collection grows. Don’t forget to keep your lawnmower and other larger equipment in a designated spot, making sure to maintain proper clearance for easy maneuvering. With a well-organized lawn and garden corner, you’ll be able to focus on enjoying your outdoor space rather than searching for misplaced tools.
Customizable Shelving Solutions
Adjustable Rack Shelving
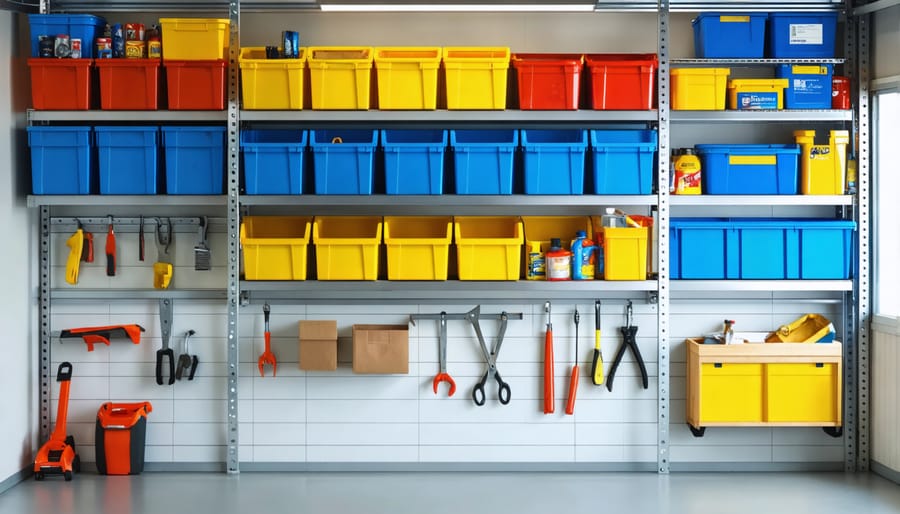
Adjustable rack shelving is a game-changer for tool shed organization. With sturdy metal wire shelves that can be easily reconfigured, you’ll have the flexibility to adapt your storage as your needs evolve. Whether you’re adding new tools to your collection or shifting your seasonal gear, these versatile shelves make it a breeze to optimize your space. Simply adjust the shelf heights and placement to accommodate everything from bulky power tools to smaller hand tools and supplies. The open wire design also keeps your items visible and accessible, so you can quickly grab what you need without rummaging through dark corners. As a bonus, the durable metal construction can handle even your heaviest equipment, ensuring your tool shed stays tidy and efficient for years to come. Say goodbye to cluttered chaos and hello to a well-oiled machine of a workspace with the power of adjustable rack shelving.
Rolling Utility Carts
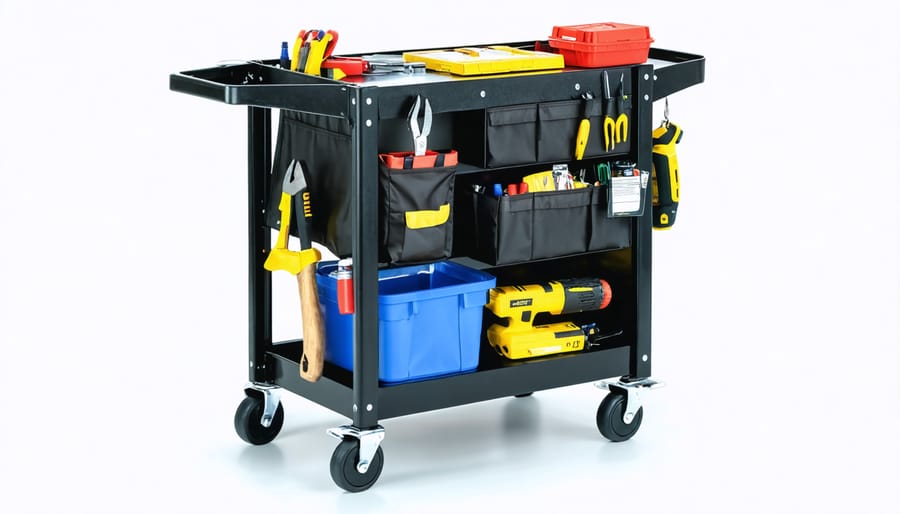
Rolling utility carts are a game-changer when it comes to organizing your tool shed. These mobile shelves allow you to easily transport your tools and supplies to various job sites or work areas around your property. No more lugging heavy toolboxes or making multiple trips back and forth to your shed! Simply load up your cart with the essentials and roll it wherever you need it. Look for sturdy carts with multiple shelves and removable trays to maximize storage potential. Some even come with built-in power strips, so you can charge your cordless tools on the go. Whether you’re tackling a home improvement project or doing yard work, a rolling utility cart will save you time and energy while keeping your tools organized and accessible.

Stackable Clear Bins
Stackable clear bins are a game-changer when it comes to organizing small parts and hardware in your tool shed. Say goodbye to rummaging through cluttered drawers or boxes – with see-through containers, you can easily spot exactly what you need at a glance. Opt for modular designs that securely stack together, maximizing vertical space and keeping your shed tidy. Label each bin clearly to streamline your workflow even further. Whether you’re storing nuts and bolts, electrical components, or other tiny essentials, transparent bins make retrieval a breeze. Plus, you can quickly assess when it’s time to restock, preventing those frustrating mid-project supply runs. Invest in quality containers with tight-fitting lids to protect contents from dust and moisture. With stackable clear bins, you’ll wonder how you ever managed without them!
Smart Labeling Strategies
Keeping your tools organized and easily accessible is key to a functional and efficient workspace. Investing in a quality label maker can help you clearly identify each tool’s designated spot, saving you time and frustration when searching for specific items. For a more durable solution, consider using engraved tags or plates that can withstand the wear and tear of a busy workshop.
Color coding is another effective strategy for tool organization. Assign a specific color to each tool category, such as red for power tools, blue for hand tools, and green for gardening equipment. Use colored tape, spray paint, or rubber handles to make each tool easily identifiable at a glance.
For frequently used tools, consider creating stenciled outlines on your pegboard or tool chest. Simply trace the shape of each tool onto the surface, then use a permanent marker or paint to create a clear outline. This not only helps you quickly locate the right tool but also reminds you where to return it when you’re finished, maintaining a tidy and organized space.
By implementing these simple yet effective labeling and color-coding techniques, you can transform your cluttered tool shed into a well-organized and efficient workspace that makes tackling any DIY project a breeze. Learn more about organizing your shed efficiently to get the most out of your storage space.
Congratulations on taking the first steps towards a more organized and efficient tool shed! By implementing these simple yet effective tool shed organization ideas, you’ll not only save time and frustration when working on projects, but you’ll also create a space that is a pleasure to work in.
Imagine walking into your shed and instantly locating the tool you need without any hassle. With a well-organized tool shed, you’ll be able to tackle your DIY projects with ease and confidence. Plus, by keeping your tools in good condition and easily accessible, you’ll extend their lifespan and get the most out of your investment.
Don’t let a cluttered and chaotic tool shed hold you back any longer. Take action today and start organizing your space using these practical tips and strategies. Whether you’re a seasoned DIY enthusiast or just starting out, a tidy and functional tool shed will make all the difference in your projects and overall enjoyment of your space.
So, what are you waiting for? Grab your tools, put on some music, and start transforming your tool shed into the organized and efficient workspace you’ve always dreamed of. Your future self will thank you for taking the time to create a space that inspires and motivates you to tackle any project that comes your way.

