Build Rock-Solid Shed Corners That Last a Lifetime

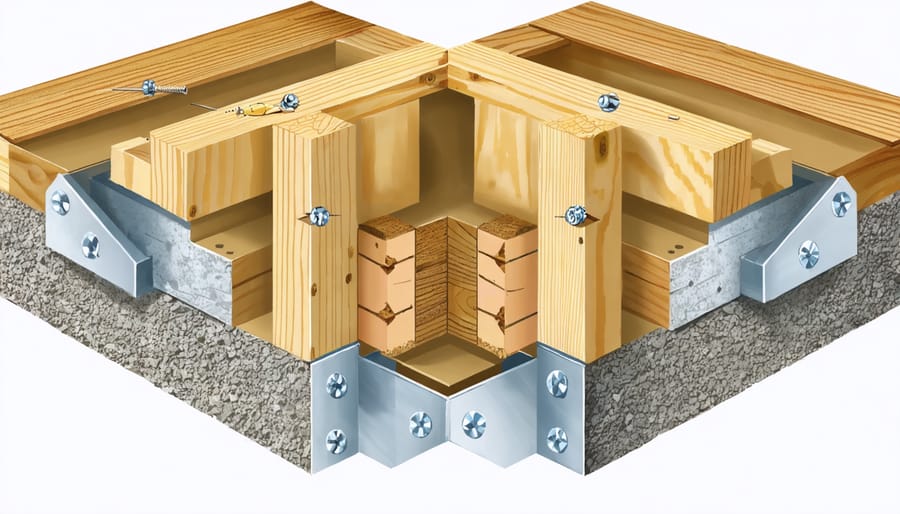
Frame corner posts with doubled 2x4s positioned at right angles, creating a robust L-shaped support that forms the foundation of your shed’s structural integrity. Secure these critical joints by staggering 16d nails every 8 inches to build strong shed walls that will stand the test of time. Install metal corner braces both inside and outside the joint, using 1½-inch exterior screws to reinforce the connection and prevent future separation. Pre-drill pilot holes in treated lumber corners to prevent splitting, and always position the better-looking side of lumber facing outward for a professional finish. This proven corner framing technique creates a solid anchor point for wall sheathing while providing the perfect nailing surface for both interior and exterior finishing materials.
Essential Corner Framing Materials
Lumber Selection Tips
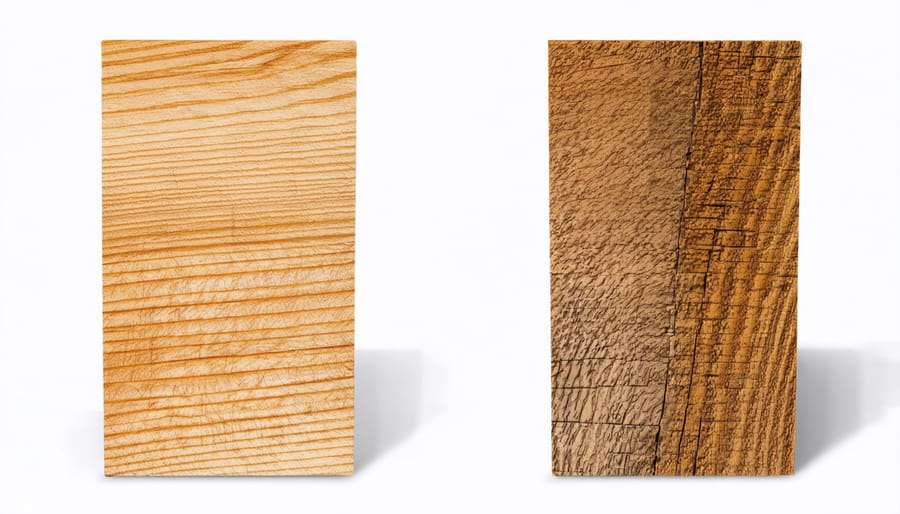
When selecting lumber for your shed corners, start with straight, high-grade 4×4 posts or doubled 2x4s for maximum stability. Look for pressure-treated lumber rated for ground contact, especially if your shed doesn’t have a proper shed foundation. Choose posts with minimal knots, particularly in the areas where you’ll be attaching wall frames. Avoid warped or twisted boards, as these can compromise your shed’s structural integrity. For standard 8-foot walls, select posts that are at least 9 feet long to allow for proper anchoring. Remember that kiln-dried lumber is less likely to warp or shrink after installation. While premium grade lumber costs more initially, it saves time and frustration during construction and ensures long-lasting results.

Hardware and Fasteners
For secure corner construction, you’ll need 16d nails (3½ inches) for joining wall studs and plates, and 8d nails (2½ inches) for attaching plywood sheathing. Use exterior-grade wood screws (#8 x 2½”) for additional strength where needed. Metal connectors like L-brackets or hurricane ties add extra stability to your corners, especially in areas with high winds. Don’t forget galvanized nails and screws for outdoor use – they resist rust and last longer. A framing nailer can speed up the process, but a good hammer works just fine. Keep plenty of spare fasteners on hand; it’s better to have extras than run short mid-project. For maximum durability, consider using construction adhesive alongside your fasteners at critical joints.
Three Proven Corner Framing Methods

California Corner Method
The California corner method is a smart framing technique that saves lumber while creating a stronger, more insulation-friendly corner. Start by positioning three 2x4s together to form a U-shape, with two studs on the outside and one on the inside. This configuration leaves a cavity that’s perfect for insulation and creates a solid nailing surface for both interior and exterior wall materials.
To build a California corner, first cut your 2x4s to match your wall height. Place two studs flat against each other, then position the third stud perpendicular to create the U-shape. Nail the pieces together using 16d nails, ensuring they’re flush at both ends. Space your nails every 16 inches along the length of the studs.
The benefits of this method include using less lumber than traditional methods, providing better insulation space, and reducing thermal bridging. It also creates a stable nailing surface on both sides of the corner, making it easier to attach wall panels and trim.
Pro tip: Pre-mark your nail locations and use a level to ensure your corner stays perfectly straight during assembly. For added stability, consider adding a metal corner brace at the top and bottom of the assembly. This method works especially well in sheds because it maximizes storage space while maintaining structural integrity.
Remember to check your local building codes, as some areas may have specific requirements for corner framing methods.
Three-Stud Corner Assembly
The three-stud corner assembly is a tried-and-true method that creates a solid foundation for your shed while providing space for proper insulation. Start by selecting three straight, quality studs of equal length. Position two studs flush against each other to form an L-shape at the corner, ensuring they’re perfectly square. The third stud should be placed about 1/2 inch back from the corner, creating a pocket for drywall or interior finishing.
Before securing the studs, check that they’re plumb using a level. Nail the studs together using 16d nails, spacing them roughly 16 inches apart. Drive the nails at slight angles to prevent them from protruding through the opposite side. This technique, known as toenailing, provides extra strength to the assembly.
The beauty of this three-stud approach lies in the cavity it creates, perfect for installing insulation if you plan to climate-control your shed. The gap also provides a solid nailing surface for both interior and exterior wall coverings, making the finishing process much easier.
Remember to treat any lumber that comes in contact with concrete using a water-resistant barrier or pressure-treated wood to prevent moisture damage. This small detail will significantly extend the life of your corner assembly and protect your investment.
Box Corner Construction
Building a strong box corner starts with selecting three 2×4 studs of equal length, typically 92-5/8 inches for standard 8-foot walls. Position two studs perpendicular to each other, forming an L-shape. The third stud fits between them, creating a pocket that provides crucial nailing surface for both interior and exterior wall sheathing.
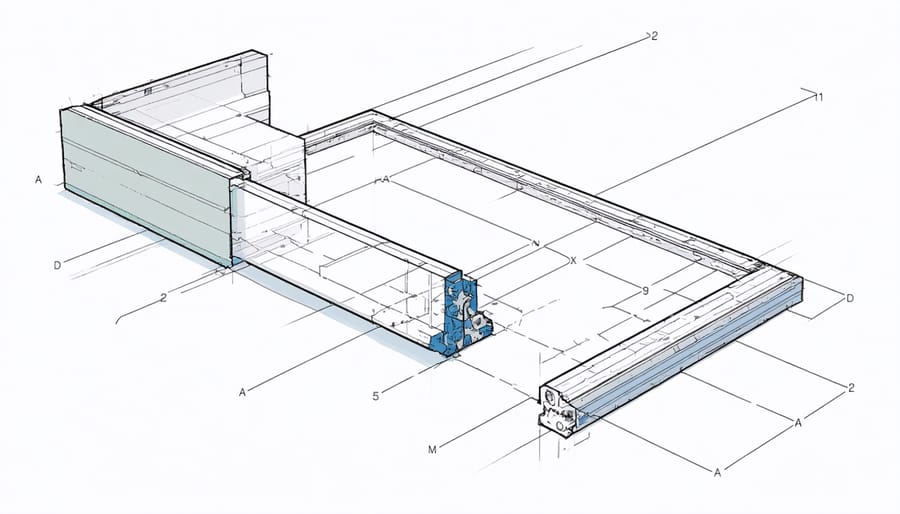
Begin by marking your layout lines clearly on the top and bottom plates. Place the first two studs flush against each other at a 90-degree angle. Make sure they’re perfectly square using a carpenter’s square or speed square. The third stud should be positioned so it creates a solid nailing surface for both walls, approximately 1-1/2 inches in from each edge.
For extra reinforcement, consider adding metal corner braces or Simpson Strong-Tie connectors. These hardware pieces significantly increase the corner’s stability and help prevent warping over time. Pre-drill your screw holes to avoid splitting the wood, and use 3-inch deck screws or 16d nails to fasten the studs together.
A pro tip is to check for straightness using a level on both sides before securing everything permanently. If you’re building in an area with high winds, you might want to add a diagonal brace between the corner and the next stud for additional support. Remember to keep your measurements precise and your cuts square – this will make the rest of your wall framing much easier.

Common Corner Framing Mistakes
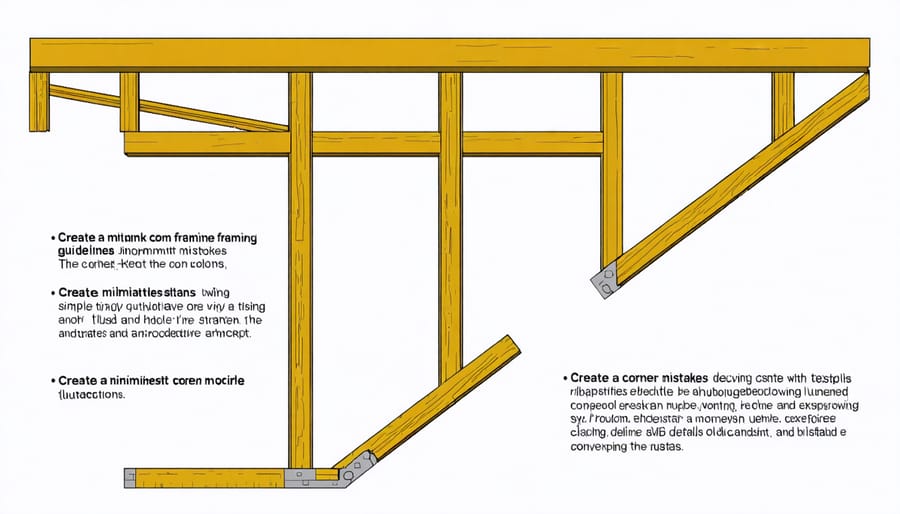
Even experienced DIYers can make mistakes when framing shed wall corners, but being aware of common pitfalls can help you avoid them. One frequent error is using undersized lumber for corner posts, which can lead to structural weakness. Always use appropriate dimensional lumber that matches your wall framing materials.
Another mistake is failing to check corners for square during assembly. A corner that’s off by even a small degree can cause problems with siding installation and door alignment later. Take time to measure diagonal distances and use a reliable speed square to ensure 90-degree angles.
Poor fastening techniques can also compromise corner strength. Avoid placing nails too close to wood edges, which can cause splitting, and don’t rely solely on toenailing for corner connections. Using proper metal connectors and following recommended nail patterns will significantly improve corner stability.
Improper spacing between studs near corners is another common issue. Some DIYers crowd too many studs into the corner, making it difficult to install insulation or interior wall coverings. Others space them too far apart, reducing structural integrity. Follow standard 16-inch on-center spacing guidelines, adjusting only when necessary for your specific design.
Skipping the essential step of weatherproofing corner joints is a mistake that can lead to premature wood rot. Always use appropriate flashing and water-resistant barriers at corners, especially in areas with high rainfall. Finally, don’t forget to account for thermal expansion and contraction when securing corner materials – leaving appropriate gaps can prevent buckling and warping over time.
Remember that taking extra time during corner assembly will save you from costly repairs down the road. Double-check measurements, use proper materials, and don’t rush the process.
Weatherproofing Your Corner Joints
Protecting your shed’s corner joints from weather damage is crucial for long-term durability. Start by applying a high-quality exterior caulk to all seams where boards meet, ensuring complete coverage without gaps. Before caulking, make sure the joints are clean and dry for optimal adhesion.
Install metal flashing at the top corners where walls meet the roof to direct water away from these vulnerable areas. When waterproofing your shed materials, pay special attention to corner areas by applying multiple coats of water-resistant sealant, allowing each layer to dry completely.
Consider adding corner trim boards over the joints, which not only enhance appearance but provide an extra barrier against moisture. These should be installed with galvanized nails and sealed along the edges. For ground-level corners, maintain a gap of at least 6 inches between the bottom of the wall and soil to prevent moisture wicking. Regular inspection of corner joints, especially after severe weather, will help identify and address any developing issues before they become serious problems.
Building strong shed wall corners doesn’t have to be complicated. By selecting quality lumber, using proper framing techniques, and following our step-by-step guidelines, you can create corners that will stand the test of time. Remember to double-check your measurements, ensure proper alignment, and always use appropriate weather-resistant materials. With these fundamentals in mind, you’ll be well-equipped to build a sturdy, long-lasting shed that serves your storage needs for years to come.

