
Don’t Let Your Storage Shed Become a Legal Headache
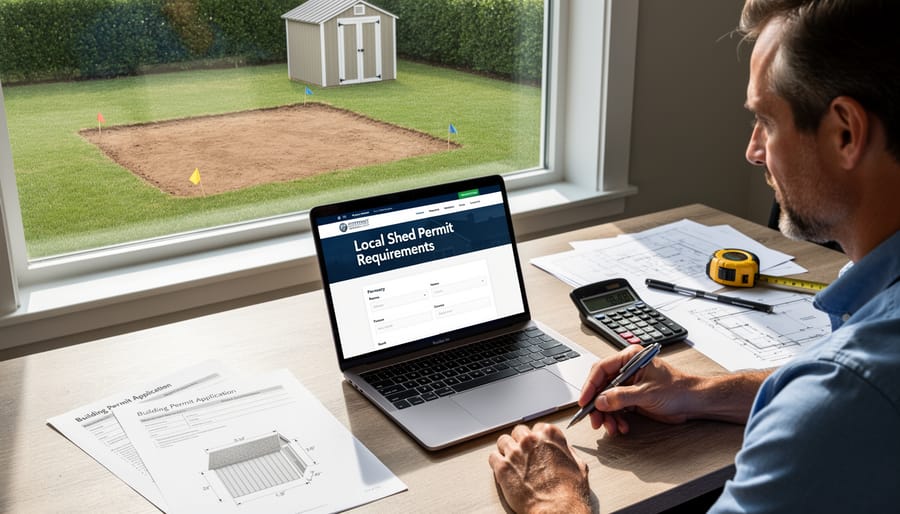
Check your local zoning ordinances before shopping for any outdoor storage structure, as regulations vary dramatically between municipalities and can determine whether you need a permit, how far from property lines you must build, and what size limitations apply. Contact your local building department or visit their website to obtain specific requirements—many jurisdictions offer free permit checklists and zoning maps that clarify exactly what’s allowed on your property.
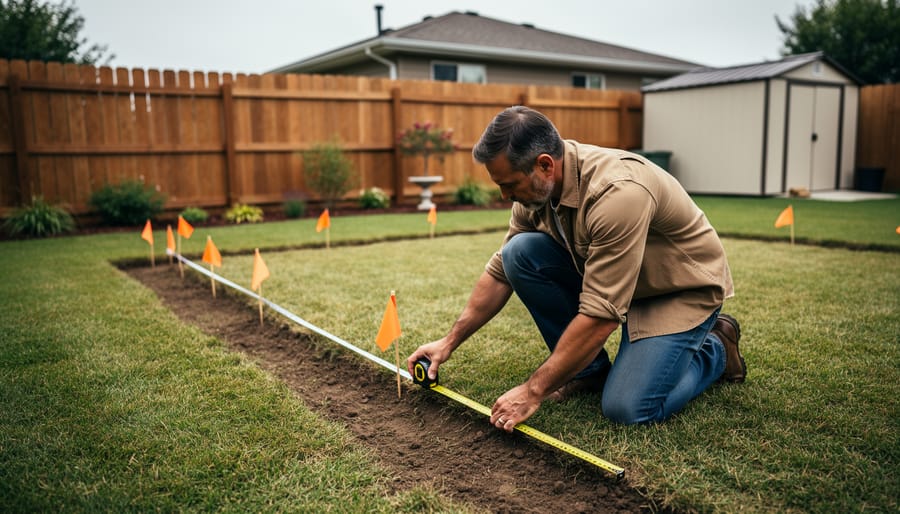
Measure your intended installation site against setback requirements, which typically mandate structures sit 3-10 feet from property boundaries, though some areas allow placement directly against fences or require greater distances near easements and utility lines. Document your property lines accurately using a recent survey or hiring a surveyor if boundaries are unclear, as mistakes can result in costly relocations or removal orders from code enforcement.
Determine permit requirements based on your structure’s size, foundation type, and permanence. Most areas exempt structures under 100-200 square feet without permanent foundations from permitting, but adding concrete slabs, electrical service, or plumbing often triggers requirements regardless of size. Understand that “temporary” has legal definitions—structures easily removable without tools and lacking permanent foundations typically qualify, while anchored buildings on concrete pads may not, even if you consider them temporary.
Request written confirmation from your homeowners association before proceeding, as HOA restrictions frequently exceed municipal requirements and can prohibit structures allowed by local code. Many communities regulate appearance, materials, colors, and placement beyond what cities require, and violations can result in fines or forced removal even when you hold proper permits.
What Counts as a Temporary Structure (And Why Your Shed Might Qualify)
The Gray Area Most Homeowners Miss
Here’s where things get tricky for many homeowners. The word “temporary” sounds straightforward, but building departments often have a very different definition than you might expect.
Most of us think temporary means something you can move if needed, right? You might assume that shed sitting in your backyard without a foundation qualifies as temporary. However, your local building department likely views temporary structures based on how long they remain in place, not whether they have wheels or lack a concrete slab.
In many jurisdictions, a structure becomes permanent after being in one location for 180 days, regardless of whether it’s bolted down or simply resting on gravel. Some areas set the threshold at just 30 or 90 days. This catches homeowners off guard who thought their “moveable” storage shed wouldn’t need permits.
Foundation type plays a significant role too. A shed on concrete footings almost always requires permits, while one on concrete blocks or gravel pads falls into murkier territory. Size matters considerably as well. Structures under 120 square feet often dodge permit requirements, but anything larger typically needs approval, even without a permanent foundation.
Your intended use also factors in. Planning to store garden tools? That’s usually simpler than converting a shed into a workshop with electricity. Adding utilities almost always triggers permit requirements, transforming your simple storage solution into a permitted structure.
The bottom line? Don’t rely on assumptions. A quick call to your local building department before purchasing can save you from costly surprises down the road. They’re surprisingly helpful and would rather guide you correctly upfront than issue violations later.
When You Actually Need a Permit for Your Storage Shed
Size Matters: The Square Footage Rule
Here’s the reality that catches many homeowners off guard: size is the number one factor that determines whether your storage shed is truly “temporary” in the eyes of your local building department. Most municipalities set a threshold somewhere between 100 and 200 square feet, and crossing that line can mean the difference between a simple weekend project and a permit-heavy endeavor.
To put this in perspective, 100 square feet equals a modest 10×10 shed—about the size of a small bedroom. A 120 square foot structure measures roughly 10×12, which comfortably holds lawn equipment, bikes, and garden supplies. Once you hit 200 square feet (think 10×20 or 12×16), you’re approaching the size of a generous one-car garage bay.
Sarah from Colorado learned this lesson when planning her backyard storage: “I assumed my 12×14 shed wouldn’t need permits because it seemed small. Turns out, at 168 square feet, I was over my county’s 120-square-foot limit. Checking first saved me from potential fines.”
The key takeaway? Measure your planned structure carefully and compare it against your local threshold before making any purchase. Most building departments list their square footage limits clearly on their websites, and a quick phone call can clarify any confusion. This five-minute check could save you weeks of hassle down the road.
Location Rules That Catch People Off Guard
Even if you don’t need a building permit, you still need to figure out exactly where your temporary structure can legally go—and this is where many homeowners get surprised.
Setback requirements are invisible boundaries measured from your property lines, and they dictate how far your structure must sit from the edge of your lot. Most communities require at least 5-10 feet from side and rear property lines, though these numbers vary widely. One homeowner we worked with planned their entire shed placement only to discover their city required 15-foot rear setbacks instead of the typical 5 feet.
Easements add another layer of complexity. These are designated areas on your property where utilities or others have access rights, and you cannot place structures there—even temporary ones. Utility easements often run along property edges where you’d naturally want to tuck a shed out of sight.
Don’t forget about HOA restrictions if you live in a planned community. These private rules frequently override local codes and may prohibit visible placement, require specific colors, or ban temporary structures altogether. Always check your deed restrictions and covenants before making placement decisions.
How to Check Your Local Requirements Before You Buy
The Three Places to Check First
Before you invest in that perfect shed or gazebo, reach out to these three key sources to get the green light on your project.
Start with your municipal building department—they’re your first stop for permit requirements. When you call, have your structure’s dimensions and intended location ready. Ask specifically whether your project needs a permit and what the application process involves. Most departments are happy to answer questions over the phone, saving you a trip downtown.
Next, check with your homeowners association (HOA) board if you live in a planned community. HOAs often have specific rules about temporary structures that go beyond city requirements. Request a copy of the architectural guidelines and submit your plans in writing to avoid surprises later. Many homeowners have shared stories of purchasing a shed only to discover their HOA prohibits certain styles or placements.
Finally, contact your local zoning office to verify setback requirements and property line restrictions. Zoning staff can tell you exactly how far your structure must sit from boundaries, easements, and other buildings. Getting this information upfront prevents costly mistakes and ensures your storage solution stays compliant for years to come.
Questions to Ask That Save You Time and Money
Before you invest in a temporary structure, arm yourself with the right questions to avoid costly surprises. When contacting your local building department, ask: “Do temporary structures under a certain size or duration require permits?” This helps you understand if your planned shed qualifies for any exemptions. Follow up with “What defines temporary versus permanent in our jurisdiction?” since definitions vary widely between municipalities.
Next, inquire about setback requirements: “How far must temporary structures be from property lines, easements, and existing buildings?” Also ask, “Are there HOA or deed restrictions that apply beyond municipal codes?” Many homeowners discover restrictive covenants too late.
For ongoing compliance, ask: “What inspections are required, and when must they occur?” and “How long can the structure remain before it’s considered permanent?” Understanding renewal processes saves headaches later.
Finally, clarify utility connections: “Can I run electricity or plumbing to a temporary structure?” Some jurisdictions allow basic electrical but prohibit plumbing in non-permanent buildings.
Keep notes from these conversations, including the representative’s name and date. This documentation becomes invaluable if questions arise during installation or if you need clarification later. Taking thirty minutes to ask these questions upfront can save you thousands in fines or modification costs.
The Permit Application Process Made Simple
What Documents You’ll Actually Need
Good news—most permit applications don’t require mountains of paperwork! Here’s what you’ll typically need to gather:
A site plan is usually the most important document. Don’t worry, this doesn’t mean hiring a surveyor. A simple sketch showing your property boundaries, existing structures, and where you plan to place your shed usually works fine. Include measurements from property lines and note any easements.
You’ll also need your structure’s specifications—dimensions, height, and materials. If you’re buying a pre-built shed, the manufacturer should provide this information readily. Snap a quick photo or save the product page.
Some municipalities ask for photographs of the proposed location. Walk outside and take a few shots from different angles showing where the structure will sit.
Pro tip: Before your appointment, call your local building department and ask what they need. Many offices have checklists available online or can email you their requirements. This five-minute call can save you a wasted trip!
Keep copies of everything you submit—you’ll want these for your records and they’re helpful if questions arise later. Most homeowners find the actual paperwork takes less than an hour to pull together once they know what’s needed.
Siting Your Shed to Stay Compliant (And Avoid Problems Later)
The Setback Sweet Spot
Getting your measurements right is easier than you might think, but it makes all the difference between a compliant installation and a costly mistake. Start by locating your property corner markers—these are usually metal stakes or pipes buried at ground level. If you can’t find them, your property survey documents will show exact measurements, or you can hire a surveyor for about $200 to $400 to mark them clearly.
Once you’ve identified your boundaries, measure inward from each property line according to your local setback requirements. Most municipalities require 3 to 10 feet from side and rear property lines, though requirements vary. Here’s a handy tip: add an extra foot or two beyond the minimum requirement. This creates a comfortable buffer zone that accounts for any measurement errors and makes future maintenance easier since you’ll have space to walk around your structure.
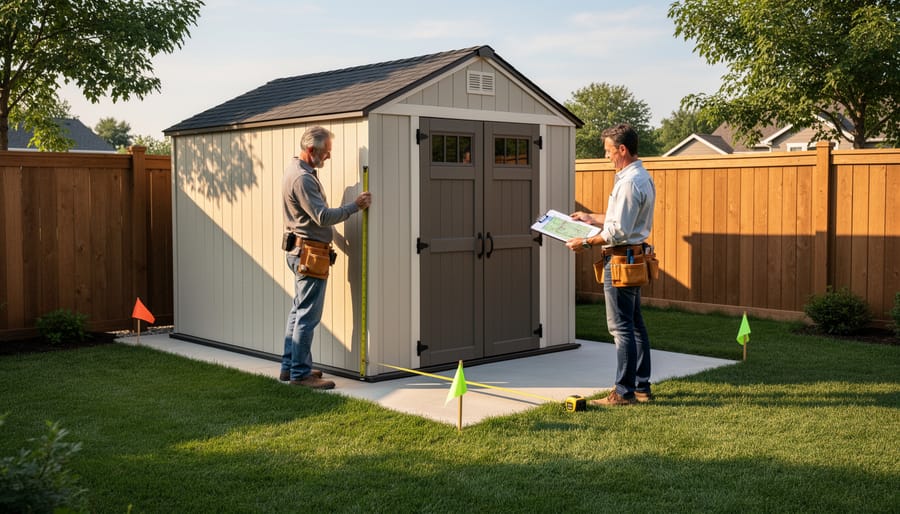
Think about practical access too. Sarah from Denver learned this lesson when she placed her shed exactly at the setback line—technically legal, but she couldn’t fit her lawnmower between the shed and fence. Position your structure where setbacks and daily use both make sense.
What Happens If You Skip the Permit (Spoiler: It’s Not Worth It)
We get it—permits feel like unnecessary red tape when you just want to get your storage shed up and running. But here’s the reality: skipping the permit process can create headaches that far outweigh the time and cost you’re trying to save.
Let’s start with the wallet impact. Fines for unpermitted structures vary widely by location, but they’re rarely cheap. Many homeowners report penalties ranging from $500 to several thousand dollars. And here’s the kicker—you’ll still need to get that permit retroactively, which often comes with additional fees on top of the original cost.
Then there’s the forced removal scenario. Sarah, a homeowner in suburban Ohio, learned this the hard way when a neighbor complained about her 10×12 shed. The city issued a stop-work order, and she had to either move the structure to a compliant location or tear it down entirely. Moving it cost her nearly as much as the shed itself.
Insurance complications are another real concern. If unpermitted work contributes to property damage—say, a poorly-sited shed causes drainage issues that damage your foundation—your homeowner’s insurance might deny the claim. That’s a risk most of us simply can’t afford to take.
Perhaps the most frustrating consequence shows up when you’re ready to sell. During the home inspection process, unpermitted structures become major negotiating points. Buyers can request price reductions, demand removal, or walk away entirely. One couple in Texas ended up reducing their asking price by $8,000 to account for an unpermitted shed that needed permitting and modifications.
The bottom line? Taking a few extra days to get proper permits protects your investment and saves you from potential financial and legal troubles down the road.
Special Considerations for Different Structure Types
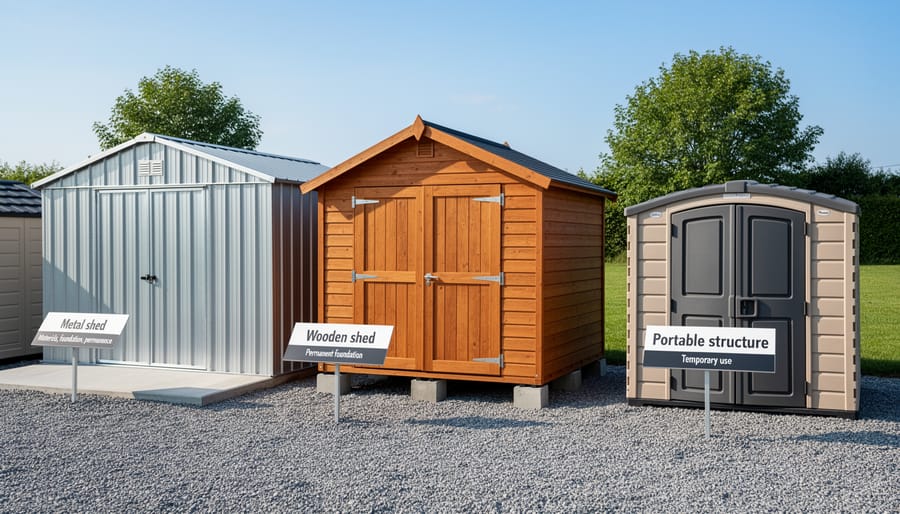
Not all temporary structures face the same regulations, and understanding these differences can save you headaches down the road. The material and intended use of your structure play significant roles in determining permit requirements.
Metal sheds typically face fewer restrictions in many areas due to their fire-resistant properties and durability. However, they still need proper foundation considerations, especially in areas with frost lines or high winds. One homeowner in Colorado shared that while his metal shed didn’t require a building permit, he still needed to meet setback requirements and ensure proper anchoring against mountain winds.
Wooden structures often attract more scrutiny because of fire codes and structural integrity concerns. If you’re planning a wooden shed or cabin, expect closer inspection of your foundation and construction methods. Many jurisdictions require treated lumber for ground contact and specific roof load calculations for snow-bearing regions.
Gazebos and pergolas usually have more relaxed requirements since they’re often open-air structures. Still, size matters here. A small decorative gazebo might slide under the radar, but a large covered entertaining area could trigger permit requirements, especially if you’re adding electricity or permanent flooring.
Greenhouses present unique considerations. While they’re often considered accessory structures, some areas classify them differently due to their agricultural purpose. Additionally, if you’re planning to add water lines or heating systems, you’ll likely need plumbing and electrical permits regardless of the greenhouse’s size. Always check whether your local zoning treats greenhouses as residential or agricultural structures, as this distinction significantly impacts your permit pathway.
Setting up a temporary structure doesn’t have to be stressful when you follow a simple action plan. Start by checking your local zoning rules and HOA guidelines—a quick phone call or website visit can save you countless headaches down the road. Next, carefully choose your structure’s size and location, keeping setback requirements and practical access in mind. Remember Sarah from earlier? Her fifteen-minute call to the planning department gave her complete confidence before purchasing her 10×12 shed.
If permits are required in your area, gather your documentation early and submit everything properly. The few days or weeks of waiting are worth the peace of mind knowing everything’s above board. Most importantly, don’t let permit concerns scare you away from getting the storage solution you need. Thousands of homeowners successfully navigate these requirements every year, and with a little preparation, you’ll join them. Think of compliance as protecting your investment and your property value. When you do things right from the start, you can enjoy your new storage space without worry, knowing it’s exactly where it should be and fully approved.