Let the Light In: A Step-by-Step Guide to Installing Windows in Your Shed

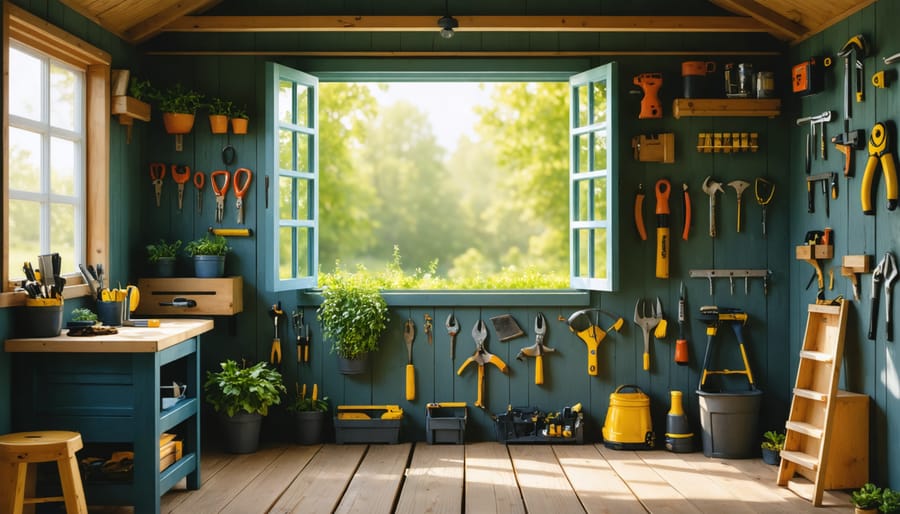
Installing windows in your shed will brighten the interior, improve ventilation, and transform your shed into a more comfortable and usable space. With careful planning and the right tools, even a beginner DIYer can successfully tackle this project. Follow our step-by-step guide to measure, cut openings, frame, and install windows, ensuring a weathertight and attractive result. Bring in natural light and fresh air while upgrading your shed’s functionality and aesthetics.
Planning and Preparation

Choosing the Right Windows
When choosing windows for your shed, consider factors like size, material, style, and budget. Measure the rough opening to ensure a proper fit. Vinyl windows are affordable and low-maintenance, while wood offers a classic look but requires more upkeep. Aluminum is durable and lightweight. Choose a style that complements your shed’s design, such as sliding, casement, or fixed windows. Plastic storage sheds often come with pre-cut window openings, simplifying installation. Consider the window’s placement for optimal natural light and ventilation. If budget allows, opt for double-pane windows for improved insulation. Look for windows with a tight seal and locking mechanism for security. Finally, decide if you want clear glass for visibility or frosted glass for privacy. With these factors in mind, you can select the perfect windows to enhance your shed’s functionality and aesthetics.

Determining Window Placement
When deciding where to place windows in your shed, consider both natural lighting and ventilation. Aim to position windows on walls that receive the most sunlight throughout the day, such as the south-facing side. This will help illuminate the interior and reduce the need for artificial lighting. For optimal airflow, consider installing windows on opposite walls to create a cross breeze. If your shed has a loft or storage area, placing a window high on the wall can help ventilate the upper level. Keep in mind any obstacles, like trees or neighboring structures, that may block light or air circulation when determining the best placement for your shed windows.
Gathering Tools and Materials
Before you start installing windows in your shed, gather all the necessary tools and materials. Here’s a checklist to ensure you have everything on hand:
• Windows – measure your rough openings to get the right size
• Circular saw or jigsaw for cutting the window openings
• Level to ensure the windows are plumb and level
• Exterior-grade caulk to seal around the windows
• Screws to secure the windows in place (check manufacturer recommendations)
• Drill and appropriate drill bits
• Measuring tape
• Pencil for marking cut lines
• Safety glasses and work gloves for protection
• Ladder or step stool if needed for access
• Shims for adjusting and leveling windows
• Utility knife for cutting shims and opening caulk
Having all these items ready to go will streamline your window installation project. Don’t forget to double-check quantities and sizes before heading to the store!

Step-by-Step Installation Process
Marking and Cutting the Opening
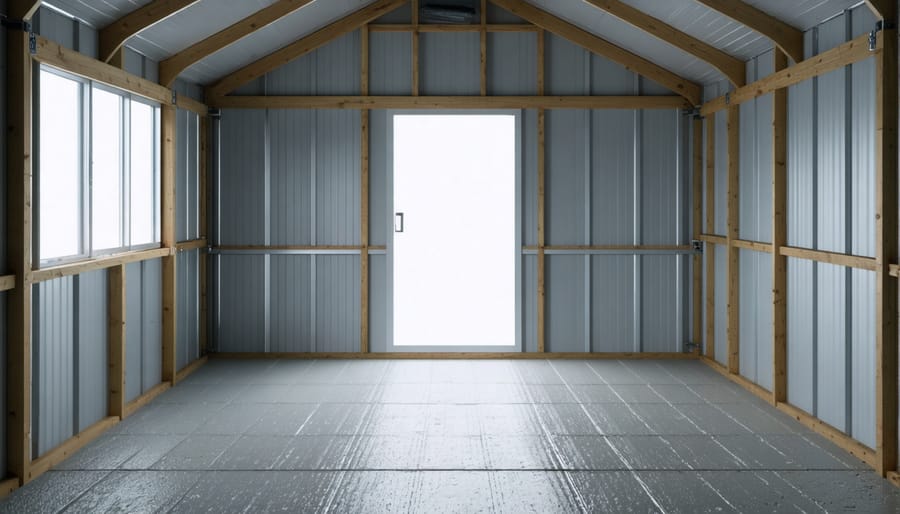
To mark and cut the opening for your shed window, start by measuring the window frame’s dimensions. Add 1/2 inch to the width and height for the rough opening to allow room for shimming and insulation. Transfer these measurements to the shed wall where you want to install the window, using a tape measure, level, and pencil. Double-check that your lines are level and plumb before proceeding.
Next, use a reciprocating saw or circular saw to carefully cut along the marked lines. Begin by drilling starter holes at each corner of the outline. If using a reciprocating saw, insert the blade into one of the corner holes and slowly cut along the lines. For a circular saw, position the saw blade at the edge of a corner hole and follow the cut line. Make sure to cut from the outside of the shed to minimize tear-out on the interior.
After cutting the top and bottom lines, carefully knock out the cut section from the inside. If necessary, use a handsaw to clean up any rough or jagged edges. Check that the window frame fits snugly in the opening, making adjustments as needed. With the rough opening complete, you’re ready to install the window and bring natural light into your shed.
Framing the Window
Before installing the window, you’ll need to frame the opening to provide proper support. Cut two 2×4 boards to the width of the window opening plus an additional 3 inches on each side. These will serve as the header and sill. Next, measure and cut two more 2x4s to fit between the header and sill, forming the side jambs. Assemble the frame using 3-inch screws, ensuring it’s square.
To install the frame, apply a generous bead of silicone caulk around the window opening in the shed wall. Carefully place the frame into the opening, centering it properly. Use shims to level and plumb the frame, inserting them between the frame and the shed wall as needed. Once the frame is properly aligned, secure it to the shed wall using 3-inch exterior screws driven through the frame and into the wall studs. For added stability, attach the frame to the exterior trim using 2-inch finish nails.
With the frame securely in place, it’s time to install the window sill. Cut a piece of pressure-treated lumber to fit the width of the opening and extend about 1 inch past the exterior trim on each side. Apply a bead of silicone caulk along the bottom of the frame, then place the sill on top, pressing it firmly into the caulk. Secure the sill to the frame using 2-inch exterior screws.
Installing and Sealing the Window
Now that the window opening is prepared, it’s time to install the window itself. Place the window into the opening from the outside, ensuring it’s centered and level. Use shims to adjust the window’s position until it’s perfectly square. Check the window’s operation, making sure it opens and closes smoothly without any binding or sticking.
Once you’re satisfied with the window’s placement, secure it using the method recommended by the manufacturer, typically either nailing through the window’s flange or screwing through the side jambs. If nailing, use galvanized roofing nails every 6 inches around the perimeter. If screwing, use rust-resistant screws and be careful not to overtighten, which can distort the frame.
With the window firmly in place, apply a bead of silicone caulk around the outside of the window where it meets the shed wall to create a weatherproof seal. Use a caulk gun for even application and smooth the caulk with your finger for a clean, professional look. Don’t forget to caulk the inside of the window as well to prevent drafts and moisture infiltration.
If your window came with a drip cap, install it above the window to divert water away from the top of the frame. The drip cap should extend about 1/4 inch beyond the sides of the window. Secure it with the same galvanized nails or rust-resistant screws used for the window.
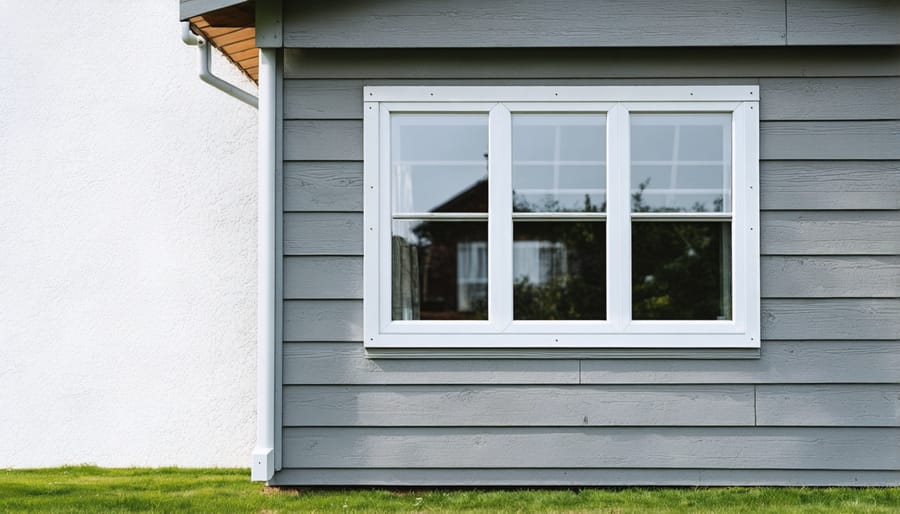
Finally, check the window once more for proper operation and give the caulk ample time to dry according to the manufacturer’s instructions before painting or staining the window trim to match your shed’s exterior. Stand back and admire your handiwork – you’ve just successfully installed a window that will provide natural light and ventilation to your shed for years to come.
Finishing Touches and Maintenance
Once your windows are installed, you’ll want to put the finishing touches on your shed to protect them and keep them looking great. Painting or staining the trim around your windows not only enhances their visual appeal but also helps seal out moisture and prevent rot. Choose a high-quality exterior paint or stain that complements your shed’s overall look. Apply it carefully with a brush, ensuring even coverage and avoiding drips or runs.
To keep your shed windows in top shape, engage in some routine maintenance tasks. Regularly inspect the caulking around the window frames, looking for any cracks or gaps that could allow water infiltration. If needed, remove the old caulk and apply a fresh bead to maintain a tight seal. Check the window hardware periodically, tightening any loose screws or lubricating moving parts to ensure smooth operation. Don’t forget about weatherproofing your windows too – consider installing weather stripping or applying a coat of exterior sealant for added protection against the elements. With a little TLC, your shed windows will continue to provide natural light and ventilation for years to come.
Conclusion
Installing windows in your shed is a rewarding project that can transform the look and functionality of your outdoor space. By following these step-by-step instructions, you can confidently tackle this DIY task and enjoy the benefits of natural light and ventilation in your shed. Remember to take your time, measure carefully, and use the proper tools and techniques for a successful installation. For additional insights, explore how to transform your shed with a window. With a bit of patience and attention to detail, you’ll soon be admiring your handiwork and making the most of your upgraded shed. So gather your supplies, roll up your sleeves, and get ready to let the sunshine in!

