Light Up Your Shed Like a Pro: The DIY Guide to Electrical Wiring

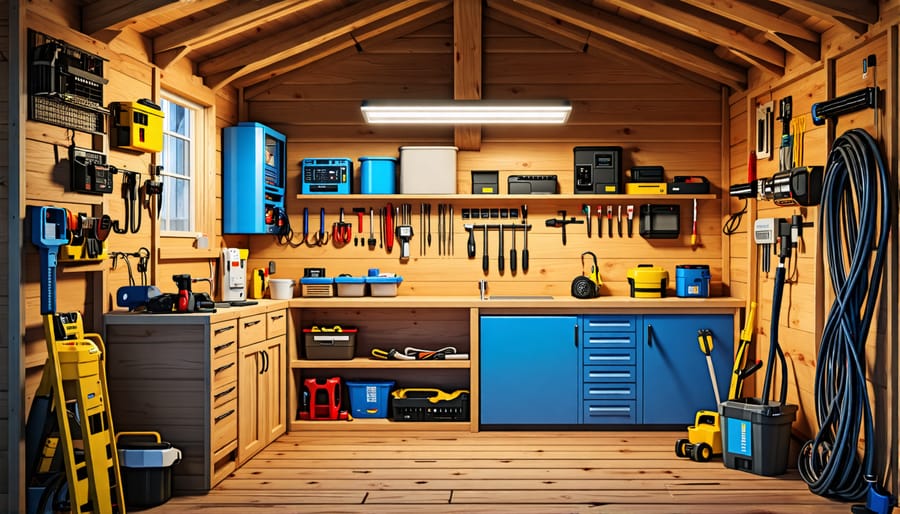
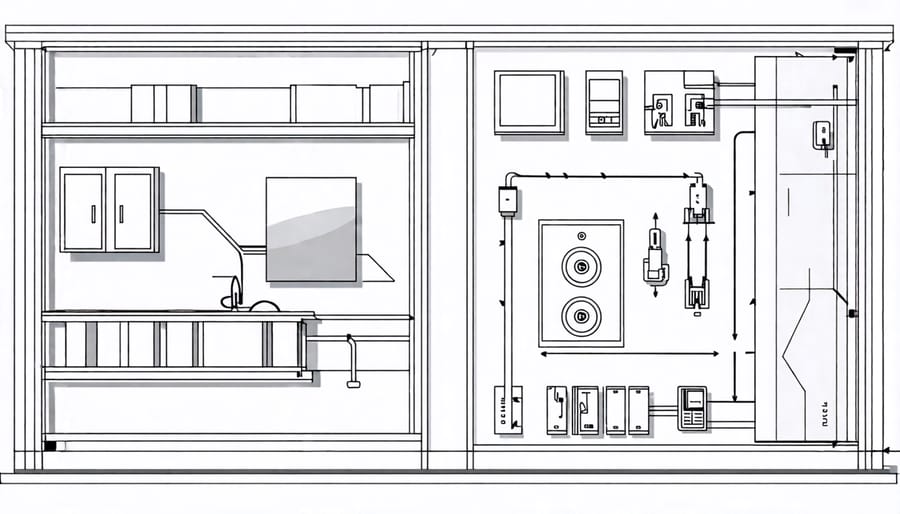
Plan your shed’s electrical layout, considering lighting, outlets, and any specialized equipment needs. Create a detailed wiring diagram to guide your work and ensure an organized shed with efficient power distribution.
Install a subpanel in your shed, connected to your home’s main electrical panel via an underground conduit. Size the subpanel and wiring according to your shed’s electrical demands and local building codes.
Run wiring for lighting and outlets, following your diagram. Use appropriate gauge wire, secure it properly, and protect it with conduit where necessary. Install GFCI outlets for safety.
Connect all wiring to your subpanel, carefully following your diagram. Double-check all connections, then turn on the power and test each circuit thoroughly before considering the job complete.
Planning Your Shed’s Electrical System

Determining Power Needs
To determine your shed’s power needs, make a list of all the electrical items you plan to use, such as lights, tools, and appliances. Note each item’s wattage, which can usually be found on the device or in the owner’s manual. Add up the wattages to calculate the total power demand.
Consider how you’ll use the space – will multiple devices run simultaneously? If so, your wiring and any sub-panels must support the combined wattage. It’s wise to add about 20% extra capacity for future expansion.
For example, if you have a 100W light, 500W power tool, and 1000W heater, the total is 1600W. Adding 20% brings it to 1920W, so a 20-amp, 120V circuit (2400W capacity) would suffice. Consult an electrician for larger projects or 240V needs. With careful planning, you’ll have a safely powered shed tailored to your needs.
Mapping Out Outlets and Switches
When mapping out the placement of outlets, switches, and fixtures in your shed, consider how you’ll use the space. For a workshop, place outlets near workbenches and power tool storage areas. In a general storage shed, evenly distribute outlets along the walls for flexibility. Install switches near entry doors for convenience, and consider motion-activated lights for hands-free operation.
For optimal lighting, place fixtures strategically to eliminate dark corners and shadows. A combination of overhead lights and task lighting will provide the most versatility. When positioning outlets and switches, keep them at a safe distance from potential water sources and follow local building codes for height and spacing requirements.
As you plan, think about future needs and allow room for expansion. Installing extra outlets and switches during the initial wiring process is much easier than adding them later. By carefully mapping out your electrical components, you’ll create a shed that’s both functional and safe, with the power you need right where you need it.
Securing Necessary Permits
Before starting your shed wiring project, check with your local building department to determine if a permit is required. Permit requirements vary by location, but most jurisdictions require one for any electrical work. The permit process ensures your wiring meets safety codes and standards. You’ll likely need to submit a wiring diagram and pay a fee. Once the wiring is complete, schedule an inspection before connecting to power. The inspector verifies the wiring is up to code and safe. Failing to secure necessary permits can lead to fines or difficulty selling your home in the future. It’s essential to build your shed on a proper shed foundation that meets local building codes as well. While the permit process may seem daunting, it’s a critical step in ensuring your shed wiring is safe, legal, and long-lasting.

Gathering Essential Wiring Supplies
Wiring and Cabling
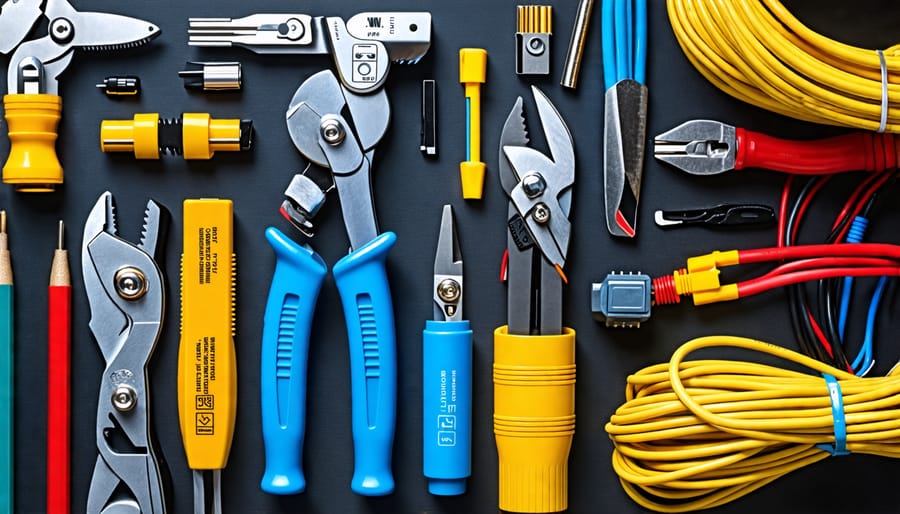
When wiring your shed, use 12-gauge THWN-2 copper wire for lighting and outlets, and 10-gauge for 30-amp circuits like heaters or power tools. Protect wires with schedule 40 PVC conduit, which is durable and weather-resistant. For underground runs, switch to rigid metal conduit for added protection. Don’t forget junction boxes for splices and GFCI outlets for safety. A 60-amp subpanel provides ample power and room for expansion. Use cable clamps to secure wires and prevent damage. With the right materials and a bit of know-how, you’ll have your shed wired up in no time!
Boxes, Switches and Receptacles
To properly wire your shed, you’ll need a few key electrical components. Install a main breaker panel to distribute power, ensuring it’s sized appropriately for your needs. Securely mount outlets, light switches, and receptacles in electrical boxes to protect wires and devices. Choose weather-resistant boxes and GFCI outlets for damp locations. Consider adding ample lighting with a switch near the entrance for convenience. Don’t forget to install a light fixture outside the shed for nighttime visibility and security. Plan your layout carefully, placing outlets and switches logically for ease of use. Investing in quality components and careful installation will ensure your shed’s electrical system is safe, reliable, and ready to power all your storage needs.
Step-by-Step Wiring Instructions
Running the Supply Cable
To run the supply cable from your main electrical panel to the shed, start by determining the distance and selecting the appropriate wire gauge. For most applications, 10/3 or 8/3 UF-B cable will suffice. Dig a trench at least 18 inches deep, following local codes, and lay the cable inside PVC conduit for added protection. If crossing driveways or pathways, bury the conduit deeper to avoid damage from vehicles.
Before connecting the cable to your main panel, turn off the main breaker to ensure safety. Feed the wire into the panel and connect it to a dedicated 30-amp breaker. Secure the cable to the breaker and tighten the lugs. Next, route the cable through the rim joist or wall to exit your house, using a drill and spade bit to create a hole if necessary.
Outside, connect the conduit to the house using a PVC male terminal adapter and a junction box. Seal the hole with caulking to prevent air and moisture infiltration. Run the conduit through the trench to the shed, using sweep elbows for smooth turns. Secure the conduit to the shed’s rim joist or wall, and seal the entry point. Finally, connect the cable to the shed’s subpanel, ensuring each wire is securely fastened to its designated terminal. With the supply cable properly installed, you’re one step closer to having a fully functional and safe electrical system in your shed.
Installing the Sub-Panel
To install the sub-panel in your shed, first securely mount it to a wall stud or plywood backing using the provided screws. Ensure it’s level and easily accessible. Next, route the electrical cable from the main panel to the sub-panel, leaving enough slack for connections. Strip the cable sheathing and feed the wires into the sub-panel. Connect the ground wire to the grounding bar, neutral wire to the neutral bar, and hot wires to the breaker terminals. Tighten all connections and install the breakers according to your circuit plan. Label each breaker clearly to identify its purpose. Finally, attach the sub-panel cover and test the circuits with a voltage tester to confirm proper installation. Remember to follow local codes and obtain any necessary permits before starting your project. With careful attention to detail and safety precautions, you’ll have a functional and code-compliant electrical system in your shed in no time!
Wiring Outlets, Switches and Fixtures
With the wiring in place, it’s time to install the outlets, switches, and fixtures. Start by carefully stripping the insulation from the wire ends, exposing about 1/2 inch of bare copper. Connect the black (hot) wires to the brass screw terminals and the white (neutral) wires to the silver screw terminals on the outlets and switches. The bare copper ground wires should be connected to the green grounding screws.
When wiring light fixtures, follow the manufacturer’s instructions closely. Typically, you’ll connect the black wire to the black or brass wire on the fixture, the white wire to the white or silver wire, and the ground wire to the green or bare copper wire. Use wire nuts to secure these connections tightly.
For a professional and polished look, consider installing a surface-mounted junction box to house the wire connections for your shed lighting. This not only protects the connections but also makes future maintenance or upgrades much easier.
As you install each device, take care to gently fold the wires into the electrical box, ensuring no bare wires are exposed. Secure the devices to the boxes using the provided screws, and then attach the faceplates.
Double-check all connections before moving on to the next step. Ensure all wire nuts are tight and secure, and that no bare wires are visible outside of the electrical boxes. Taking the time to properly install and connect your outlets, switches, and fixtures will result in a safer and more reliable electrical system for your shed.

Testing and Troubleshooting
Once you’ve completed the wiring, it’s crucial to thoroughly test your shed’s electrical system to ensure it’s working safely and properly. Start by turning on the main power and checking each outlet with a voltage tester or a simple device like a lamp. If any outlets aren’t working, double-check your connections and wiring.
Next, test your lighting fixtures and switches. If you encounter any issues, such as flickering or non-responsive lights, revisit the connections and make sure all wires are securely fastened. It’s also a good idea to check for any signs of overheating or unusual sounds coming from the electrical components.
If you experience persistent problems or notice any sparks, burning smells, or other safety concerns, immediately turn off the power and consult a professional electrician. They can help identify and resolve any underlying issues with your wiring.
Remember, regular maintenance is key to keeping your shed’s electrical system in top shape. Periodically inspect the wiring, outlets, and fixtures for any signs of wear, damage, or loosening connections. By staying proactive and addressing any issues promptly, you can ensure your shed remains a safe and functional space for years to come.
Conclusion
Wiring a shed may seem daunting at first, but with careful planning, the right materials, and attention to safety, it’s a project well within reach for most DIYers. By following the steps outlined in this guide, you’ll be able to confidently install a reliable and code-compliant electrical system in your shed. Remember to always prioritize safety, obtain necessary permits, and consult with a professional electrician if you’re unsure about any aspect of the process. With your newly-wired shed, you’ll have a well-lit, functional space to tackle all your projects and storage needs. So gather your tools, review the steps, and get ready to take your shed to the next level!

