Make Your Shed Floor Waterproof: Simple Steps for Long-Lasting Protection

Seal cracks and gaps with waterproof caulk to prevent water seepage and keep your shed floor dry. Apply a durable waterproof sealant to the floor surface, creating a protective barrier against moisture damage. Use high-quality waterproof paint or epoxy for added protection and an attractive finish that resists water infiltration. Elevate your shed with a subfloor consisting of pressure-treated plywood to further protect against ground moisture. These methods ensure longevity and preserve your shed’s interior from the elements.
Understanding the Risks of Non-Waterproofed Shed Floors

Mold and Mildew Growth
Moisture is the unwelcome guest in any shed, leading to mold and mildew that can ruin your belongings. Imagine pulling out a favorite piece of furniture, only to find it covered in unsightly spots and a musty smell. Waterproofing your shed floor is essential to protect against these issues. Mold and mildew thrive in damp, dark environments, silently damaging everything from tools to holiday decorations. With waterproofing, you’re creating a barrier that keeps moisture out, stopping mold and mildew before they start. A homeowner shared how waterproofing saved their gardening tools from rust—just one way this simple step can make a huge difference!
Structural Damage
Water seeping into your shed’s floor is more than just a pesky annoyance—it poses a genuine threat to the structural integrity of the entire building. When moisture infiltrates the flooring material, it can lead to rot and decay, especially in wooden components, causing them to weaken over time. This deterioration not only compromises the floor itself but can also affect the walls and foundation. Imagine Jo’s shed, which endured years of neglect; eventually, the floor began to sag, requiring costly repairs. By waterproofing your shed’s floor, you proactively prevent these issues, ensuring longevity and stability while also keeping your stored items safe and dry.
Impact on Stored Goods
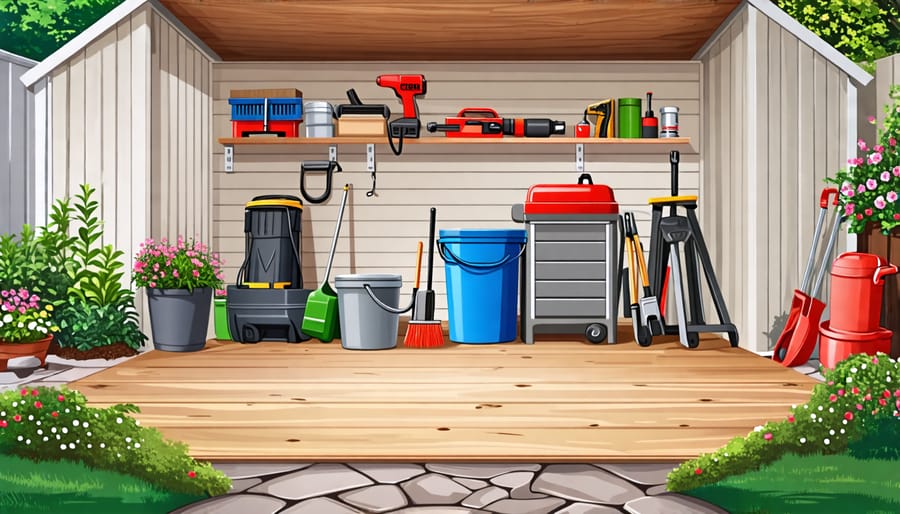
Water ingress can wreak havoc on your stored items, leading to rust, mold, and damage to tools and equipment. Protect them by waterproofing your shed floor, creating a secure environment that helps to prevent rusting and deterioration. A well-sealed floor ensures longevity for your valuables, enhancing organization and peace of mind.
Materials Needed for Waterproofing

Sealants and Coatings
When it comes to protecting your shed floor from moisture, selecting the right sealants and coatings can make all the difference. There are several options, such as acrylic sealants, which are user-friendly and provide a clear, protective layer that lets the natural beauty of the wood shine through. For a heavy-duty option, consider epoxy coatings that offer robust protection and add a glossy touch. Polyurethane sealants also provide excellent resilience against moisture, creating a durable barrier. For those looking to waterproof plywood, consider combining a high-quality sealant with a water-resistant paint for added effectiveness. Always follow the product instructions for the best results and consider giving your floor two coats for optimal durability. A neighbor of mine used an epoxy sealant on their shed floor and was thrilled with how it repelled moisture during last winter’s heavy rains, keeping everything inside dry and secure.
Other Necessary Supplies
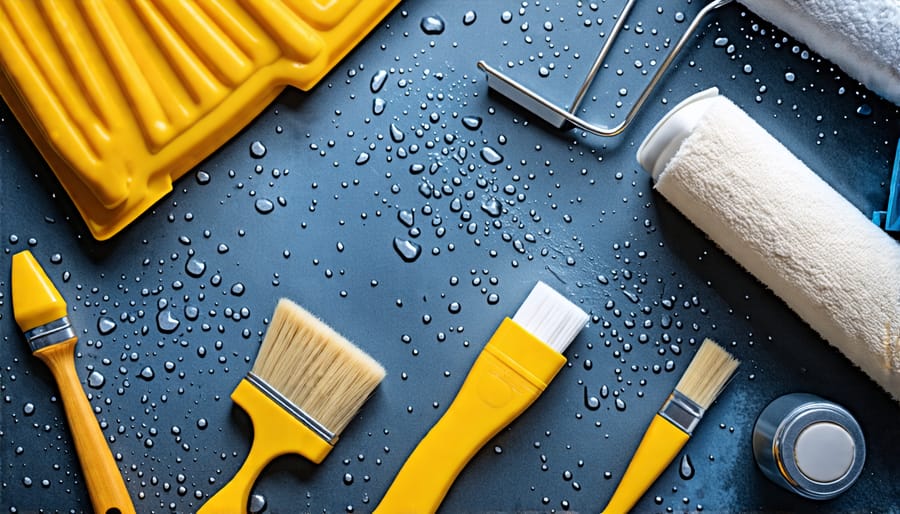
When waterproofing your shed floor, having the right tools on hand streamlines the process and ensures a thorough job. You’ll need brushes and rollers to apply your chosen waterproofing product evenly and reach all those tight corners. Depending on the size of your floor, you might find a paint pad useful for its maneuverability and coverage. Don’t forget protective gear; gloves and safety goggles keep you safe from splashes, while a mask ensures you don’t inhale any fumes. Consider your work clothes too—older garments are best when working with waterproofing agents. These supplies not only protect you but also contribute to a cleaner, more efficient waterproofing process, setting the stage for a dry, robust shed floor.
Step-by-Step Waterproofing Process

Preparing the Floor
Before you begin waterproofing your shed floor, a clean slate is essential! Start by clearing out the shed entirely, removing any items or debris that could get in the way. Sweep the floor thoroughly to ensure it’s free from dust and dirt, as these can prevent effective bonding of waterproofing materials. If your shed floor has any cracks or holes, fill them in with a suitable wood filler or sealant, allowing it to dry completely. This step helps create a smooth surface, crucial for a tight seal.
Next, check the floor for any signs of mold or mildew. If you spot any, tackling this issue before waterproofing is vital. A gentle scrub with a mold-removing solution should do the trick, ensuring no lingering moisture issues. Remember, a well-prepared floor not only helps keep water out, but also boosts the longevity of your shed. Happy DIY-ing!
Applying the Waterproof Coating
When it comes to applying a waterproof coating to your shed floor, preparation and precision are key. Begin by ensuring the floor is clean and dry, as any lingering moisture or debris can compromise the coating’s effectiveness. Take a moment to sweep or vacuum the surface, and inspect for cracks or holes that might need patching. Once the surface is prepared, it’s time to create a protective layer between your shed floor and the elements.
Choose a high-quality waterproof coating that’s suitable for your floor material, whether it’s concrete or wood. Products designed specifically for sheds are often the best option to ensure compatibility. Stir the coating thoroughly before use to achieve a consistent mixture. Apply the product liberally with a roller or brush, starting from one corner and working your way across the floor in even, overlapping strokes. This technique helps to avoid missing spots and ensures comprehensive coverage. Pay attention to areas where the floor meets the walls, as these joints are often susceptible to moisture infiltration. Consider using a smaller brush for detailed application in these critical areas.
A second coat is usually recommended for optimal protection. Allow the first layer to dry completely—refer to the manufacturer’s instructions for drying times—before applying the next coat. This patience pays off in the form of a longer-lasting, more durable finish.
Tip from Linda, a DIY enthusiast: “Applying the second coat in the opposite direction of the first can help ensure full coverage and a smooth finish. It made my shed floor rock-solid against heavy rainfall!”
By following these steps and taking the time to do the job right, you’ll create a waterproof barrier that shields your shed from moisture and prolongs its life.
Allowing for Curing Time
After applying your chosen waterproofing material, it’s crucial to allow adequate curing time to ensure a strong and lasting barrier. Generally, most products will require a drying period of 24 to 48 hours, but always check the specific instructions on your product label. Curing conditions play a vital role as well. Ensure the area is well-ventilated and kept free of dust and debris during this period. If weather permits, a steady temperature and dry conditions can enhance curing, making your efforts worthwhile. Remember, patience during this step can mean years of added protection for your shed floor.
Final Checks and Maintenance Tips
After sealing your shed floor, conduct final checks to ensure all gaps and seams are fully covered. Gently spray the floor with water to test for leaks, and address any weak spots immediately. Regular maintenance is crucial to keep your shed floor in top condition. Check for signs of wear or damage every few months, especially after heavy rainfall. Keep the shed well-ventilated to prevent moisture build-up. For added protection, consider applying a fresh layer of sealant annually. With these simple practices, you can enjoy a dry, durable shed, perfect for storing your valuable tools and equipment.
Real-Life Success Stories
Jane, a DIY enthusiast with a passion for home improvement, discovered that waterproofing her shed floor was a game-changer. Living in a rainy climate, she frequently worried about her gardening tools rusting and supplies getting damp. After applying a simple waterproof sealant, Jane noticed a significant improvement. Everything inside her shed stayed dry, and she found peace of mind knowing her belongings were protected, no matter the weather.
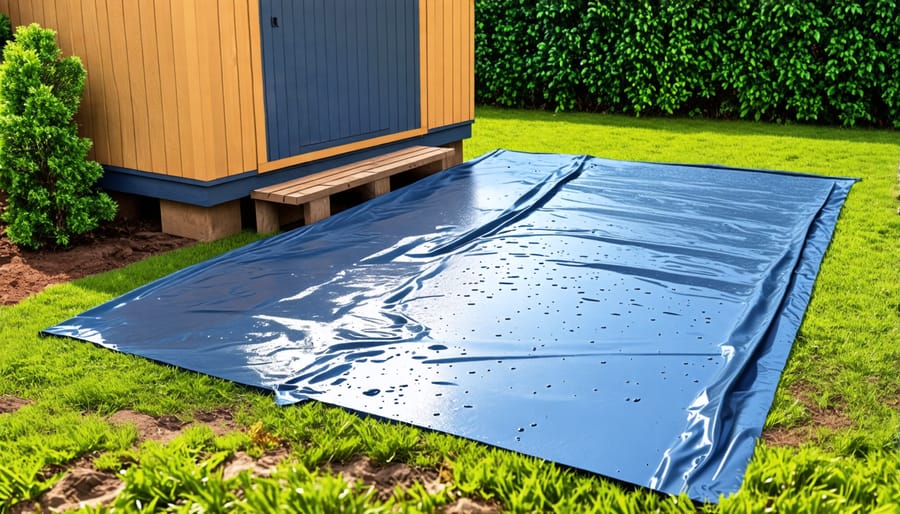
Similarly, Mike, a homeowner with limited storage space, decided to transform his shed into an organized haven. He took preventive measures by installing a waterproof membrane before adding shelves and bins. Not only did it extend the life of the structure, but Mike also found it easy to clean, ensuring his storage remained dirt-free and visually appealing. Both Jane and Mike’s experiences highlight that waterproofing isn’t just about safeguarding from moisture—it’s about enhancing the functionality and longevity of a cherished outdoor space.
Conclusion
Waterproofing your shed floor is a smart investment that pays off in protecting your valuable equipment and maintaining the longevity of your shed. By keeping moisture at bay, you prevent potential damage from mold, warping, and rot, ensuring your belongings remain safe and your shed remains sturdy and beautiful for years. The process may sound daunting, but with the right guidance and a little bit of effort, it’s a DIY project that any homeowner can tackle. Whether you’ve just installed a new shed or have an existing one that needs some love, waterproofing is the key to prolonging its life and enhancing its functionality. You’ll not only preserve the aesthetic appeal of your shed but also save money in the long run by avoiding costly repairs. Take action today and transform your shed into a dry, durable, and dependable storage solution that meets all your needs.

