
Make Your Shed Whisper-Quiet: Sound-Deadening Secrets That Really Work
Transform your noisy shed into a peaceful workspace with modern sound-deadening insulation techniques that block up to 80% of unwanted noise. Whether you’re setting up a home workshop, music studio, or simply need a quieter storage space, proper acoustic insulation creates an effective sound barrier while maintaining your shed’s functionality.
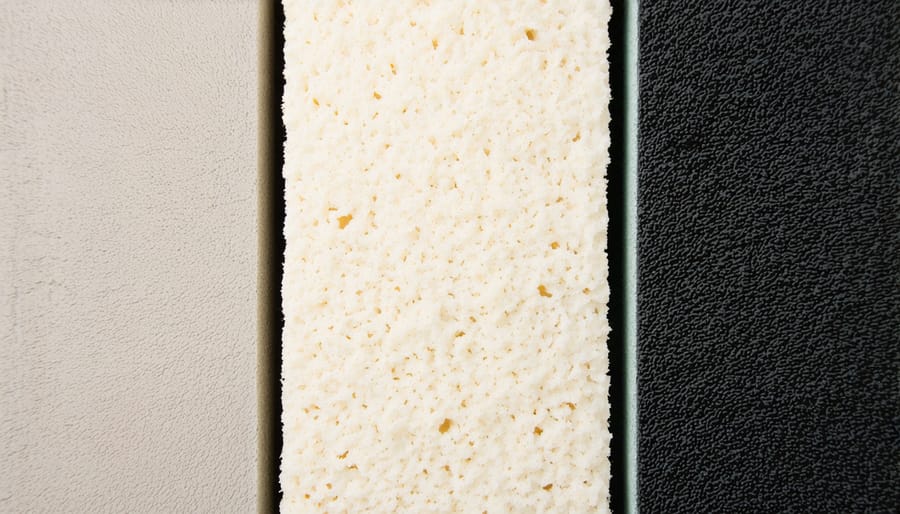
Sound waves travel through air and solid materials, making comprehensive insulation crucial for effective noise reduction. Strategic layering of dense materials like mass-loaded vinyl, mineral wool, and acoustic panels creates multiple barriers that absorb and deflect sound waves before they enter or escape your shed. This multi-layer approach, combined with proper sealing of gaps and joints, delivers professional-grade soundproofing results at a fraction of commercial installation costs.
Today’s DIY-friendly insulation materials offer the perfect balance of performance and practicality, making sound-deadening projects achievable for any homeowner. From quick-install foam panels to innovative composite materials, modern solutions provide excellent acoustic properties while being moisture-resistant and fire-safe – essential features for any shed application.
Understanding Sound Transmission in Sheds
Types of Noise You Need to Control
When it comes to soundproofing your shed, you’ll need to consider both external and internal noise sources. External noise typically includes traffic sounds, neighborhood activity, construction work, and environmental factors like rain or wind. These sounds can be particularly disruptive if your shed is used as a workspace or hobby room.
Internal noise sources are equally important to address, especially if you’re using power tools, machinery, or musical instruments inside your shed. These sounds not only affect the surrounding environment but can also create uncomfortable echoes and reverberations within the space itself.
Understanding the specific types of noise you’re dealing with helps determine the most effective insulation strategy. High-frequency sounds like power tools and music typically require different treatment than low-frequency noise from heavy machinery or traffic. The combination of both internal and external noise control creates a more comfortable environment, whether you’re using your shed as a workshop, music studio, or quiet retreat.
Remember that sound can travel through multiple paths – walls, floors, ceiling, and even small gaps around doors and windows. A comprehensive approach to noise control addresses all these potential weak points.
Sound Transmission Paths
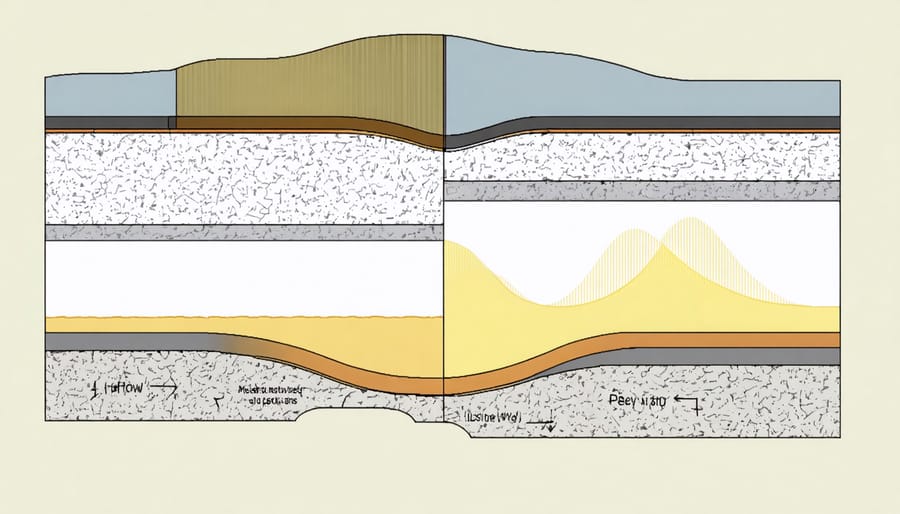
Sound travels through shed materials in three primary ways: airborne transmission, impact noise, and structural vibration. Airborne transmission occurs when sound waves move directly through walls, roofs, and doors, making their way from outside to inside or vice versa. This is particularly noticeable with thin metal or wooden walls that offer little resistance to sound waves.
Impact noise happens when objects strike surfaces, creating vibrations that travel through the structure. This could be rain hitting the roof or tools being dropped on the floor. These vibrations can carry surprisingly far through connected materials, making the entire shed act like a speaker.
Structural vibration occurs when sound waves cause building materials to vibrate and transmit noise through solid surfaces. This is especially common in metal sheds, where the rigid material easily conducts vibrations throughout the structure. Understanding these transmission paths is crucial because effective sound-deadening requires addressing all three types of noise transfer.
For optimal results, sound-deadening solutions should create barriers against airborne noise while also dampening impact noise and structural vibrations. This typically involves using multiple layers of different materials, each designed to tackle specific types of sound transmission.
Best Sound-Deadening Materials for Sheds
Mass-Loaded Vinyl
Mass-loaded vinyl (MLV) stands out among cost-effective insulation solutions for its exceptional sound-blocking capabilities. This dense, flexible material acts as a sound barrier by converting sound waves into minimal heat energy, significantly reducing noise transmission through walls and ceilings.
Installing MLV is straightforward but requires attention to detail. Start by measuring your walls carefully and cut the vinyl to size, leaving a slight overlap at edges. Use acoustic caulk around the perimeter, and secure the MLV with washers and screws every 12-16 inches. For best results, ensure there are no gaps between sheets and overlap seams by at least 2 inches.
One of MLV’s biggest advantages is its thin profile, typically 1/8 inch thick, which doesn’t eat into your storage space. It works particularly well when combined with other insulation materials and can be installed either directly to studs or over existing drywall. While slightly heavier than traditional insulation, its durability and effectiveness make it an excellent choice for shed soundproofing.
Mineral Wool Insulation
Mineral wool, also known as rock wool or stone wool, is a highly effective sound-deadening material that excels in both thermal and acoustic insulation. Made from natural stone fibers, this dense material creates a thick barrier that absorbs sound waves and prevents them from traveling through walls and ceilings.
One of the biggest advantages of mineral wool is its fire-resistant properties, making it an excellent choice for workshop spaces where safety is paramount. The material’s fibrous structure also helps trap air pockets, which further enhances its sound-dampening capabilities.
Installation is straightforward, as mineral wool comes in batts or rolls that fit snugly between standard wall studs and ceiling joists. It’s particularly effective when used in combination with other soundproofing materials, creating a multi-layer sound barrier. The material is also moisture-resistant and doesn’t promote mold growth, ensuring long-lasting performance in various climate conditions.
For the best results, consider using higher-density mineral wool panels specifically designed for soundproofing, as these provide superior acoustic performance compared to standard insulation varieties.
Foam-Based Solutions
Foam-based solutions offer excellent sound-deadening properties while also providing additional insulation benefits. Closed-cell foam, particularly polyurethane and polystyrene variants, creates an effective barrier against both airborne and impact noise. These materials work by trapping tiny air pockets within their structure, which helps absorb and dissipate sound waves.
Spray foam insulation is particularly effective for shed soundproofing, as it expands to fill every crack and crevice, creating a seamless sound barrier. When combined with proper thermal barrier installation, foam insulation can reduce noise transmission by up to 80% while also helping regulate temperature.
Acoustic foam panels, commonly seen in recording studios, can be strategically placed on walls and ceilings to reduce echo and absorb sound. These panels come in various thicknesses and designs, with pyramid or wedge patterns being most effective for shed applications. For best results, combine different foam densities – using denser materials near noise sources and lighter variants for general coverage.
Remember to choose moisture-resistant foam options, as sheds are often exposed to varying humidity levels. This ensures long-lasting performance and prevents degradation over time.
Installation Steps and Tips
Wall Installation
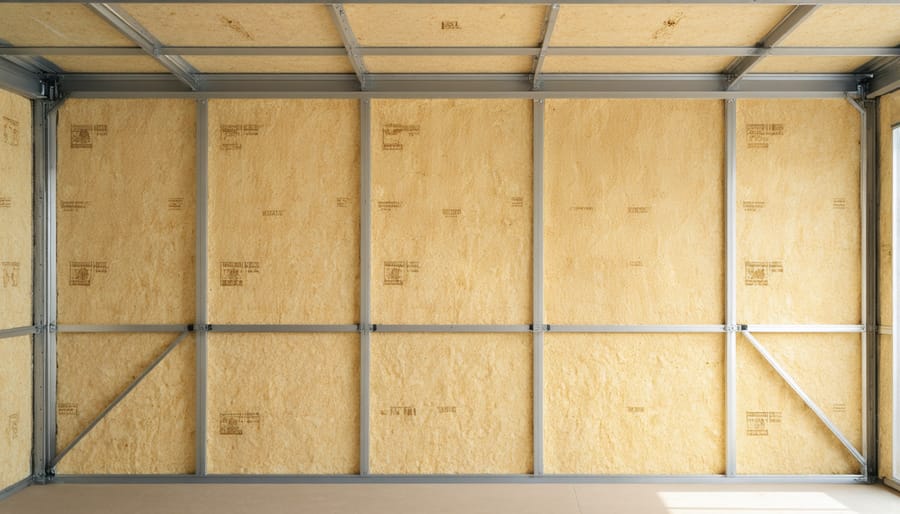
Installing sound-deadening insulation in your shed walls requires careful planning and attention to detail. Start by removing any existing wall panels or cladding to access the wall cavities. Before proceeding with DIY insulation techniques, ensure the space between studs is clean and free from debris.
Begin at the bottom of each wall cavity and work your way up. If using fiberglass batts, wear protective gear and carefully cut the insulation to fit snugly between studs, leaving no gaps. For foam board insulation, measure and cut panels precisely, then secure them with appropriate adhesive or mechanical fasteners. Remember to leave small spaces around electrical outlets and maintain proper ventilation pathways.
For maximum sound dampening, consider using a double-layer approach. Install rigid foam board first, followed by sound-absorbing batts. This combination creates multiple density barriers that sound waves must travel through, significantly reducing noise transmission.
When covering the insulation, use sound-dampening drywall or oriented strand board (OSB) for added noise reduction. Seal all joints with acoustic caulk and consider adding weatherstripping around doors and windows to prevent sound leakage. Take extra care around corners and junctions where sound can easily escape through gaps.
For optimal results, work systematically around the shed, completing one wall section at a time. This methodical approach ensures consistent coverage and maximum sound-deadening effectiveness.
Roof and Floor Solutions
Controlling sound from above and below is crucial for effective shed soundproofing. For roof solutions, start by installing a layer of dense mineral wool or fiberglass batts between the roof joists. Follow this with a layer of mass-loaded vinyl (MLV) directly underneath to add mass and block airborne noise. For maximum effectiveness, consider adding a secondary ceiling with resilient channels and sound-dampening drywall, creating an air gap that helps prevent sound transmission.
Floor treatments are equally important, as vibrations can travel through the ground and up through your shed’s foundation. Begin by laying a thick rubber underlayment directly on your existing floor. This creates a cushioning effect that absorbs impact noise and vibrations. For enhanced results, install interlocking rubber floor tiles or cork flooring over the underlayment. These materials naturally dampen sound while providing a comfortable walking surface.
For wooden floors, consider the “floating floor” technique. This involves installing a new subfloor over foam or rubber isolators, effectively decoupling it from the original structure. This method is particularly effective for music rooms or workshops where heavy equipment might cause vibrations.
Remember to seal any gaps between the floor and walls with acoustic caulk to prevent sound from escaping through these often-overlooked areas. For sheds with concrete floors, adding a layer of closed-cell foam before installing your chosen flooring material can significantly reduce sound transmission through the ground.
Common Installation Mistakes to Avoid
Avoid common pitfalls by steering clear of gaps between insulation panels, which can create sound leaks. Never compress sound-deadening materials, as this reduces their effectiveness. Make sure to protect against moisture damage by properly sealing all edges and joints. Don’t forget to address windows and doors – these are often overlooked weak points in soundproofing. Always wear appropriate safety gear during installation, and avoid using damaged or wet materials. When cutting panels, maintain precise measurements to ensure a snug fit without forcing materials into place. Remember that overlapping layers is better than leaving small gaps, but avoid creating air pockets that can trap moisture and reduce effectiveness.
Sound-deadening insulation is a crucial investment for anyone looking to create a quieter, more comfortable shed environment. Throughout this guide, we’ve explored various materials and techniques that can significantly reduce noise transmission, from mass-loaded vinyl to acoustic foam panels and mineral wool insulation.
Remember that effective soundproofing often requires a multi-layered approach. The combination of dense materials to block sound, along with absorbent materials to reduce echo and reverberation, typically yields the best results. When planning your sound-deadening project, consider both your specific noise concerns and budget constraints to choose the most appropriate solutions.
For optimal results, focus on addressing all potential sound paths: walls, ceiling, floor, windows, and doors. Don’t forget to seal any gaps or cracks, as sound can travel through even the smallest openings. Regular maintenance of your sound-deadening materials will ensure their continued effectiveness over time.
If you’re unsure about tackling the installation yourself, don’t hesitate to consult with a professional. While many soundproofing projects are DIY-friendly, some aspects might require expert guidance, especially when dealing with complex installations or electrical considerations.
By implementing the strategies and materials discussed in this guide, you can transform your shed into a peaceful space that serves its intended purpose while maintaining harmony with your surroundings and neighbors.