Maximize Your Space with These 10 Ingenious Plastic Shed Storage Hacks

Maximize your plastic shed’s storage potential with these expert tips:
Organize your shed by grouping similar items together and using clear, labeled containers. Install sturdy shelving units along the walls to take advantage of vertical space. Hang frequently used tools on a pegboard or wall-mounted rack for quick access.
Vertical Storage Solutions

Shelving Systems
When it comes to shelving systems for plastic sheds, there are several options that can maximize storage space and keep your items organized. Adjustable shelving units made of metal or plastic are a popular choice as they can be easily customized to fit your shed’s dimensions and storage needs. Wall-mounted shelves are another great option, freeing up floor space and providing easy access to frequently used items. When installing shelves, ensure they are level and securely fastened to the shed’s walls to prevent accidents and keep your tools from rusting. Utilize corner shelves to make the most of awkward spaces, and consider using adjustable brackets for flexibility. Lastly, don’t forget to factor in the weight capacity of your shelving system to ensure it can handle the load of your stored items safely and securely.
Pegboard Organization
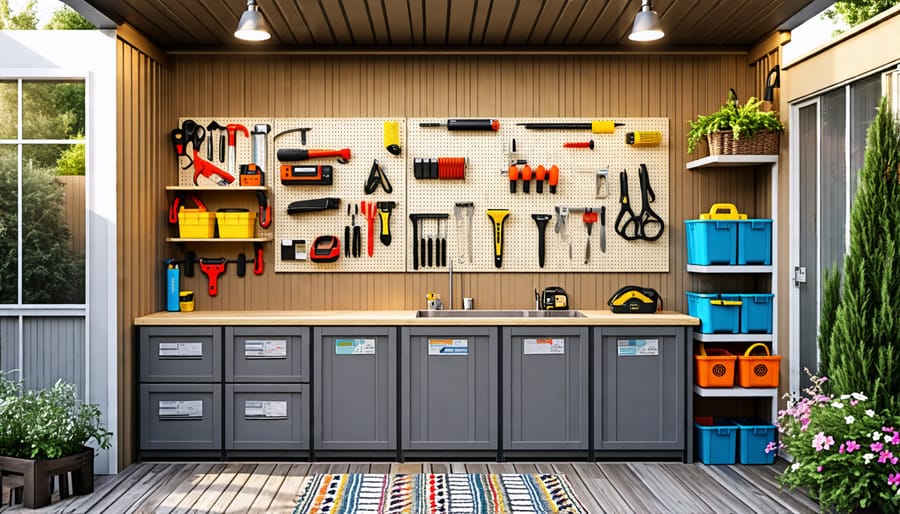
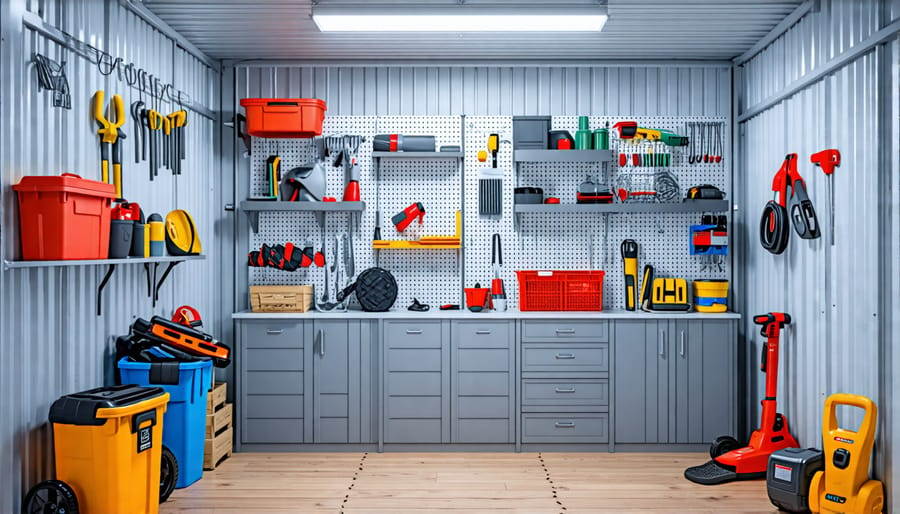
Maximize your plastic shed’s wall space with the versatility of pegboards. These perforated panels allow you to hang a wide array of tools, supplies, and equipment, keeping them organized and easily accessible. Install pegboards on one or more walls of your shed, then use hooks, brackets, and other attachments to customize the layout based on your needs. Hang frequently used tools like hammers, pliers, and screwdrivers within easy reach, and utilize baskets or small shelves for storing smaller items like nails, screws, and drill bits. Pegboards are perfect for accommodating oddly shaped tools that don’t fit well on shelves, such as saws, levels, and clamps. By taking advantage of vertical space, you’ll free up valuable floor area for larger items while maintaining a clutter-free, efficient workspace in your plastic shed.
Organizing the Floor Space
Clear Storage Bins
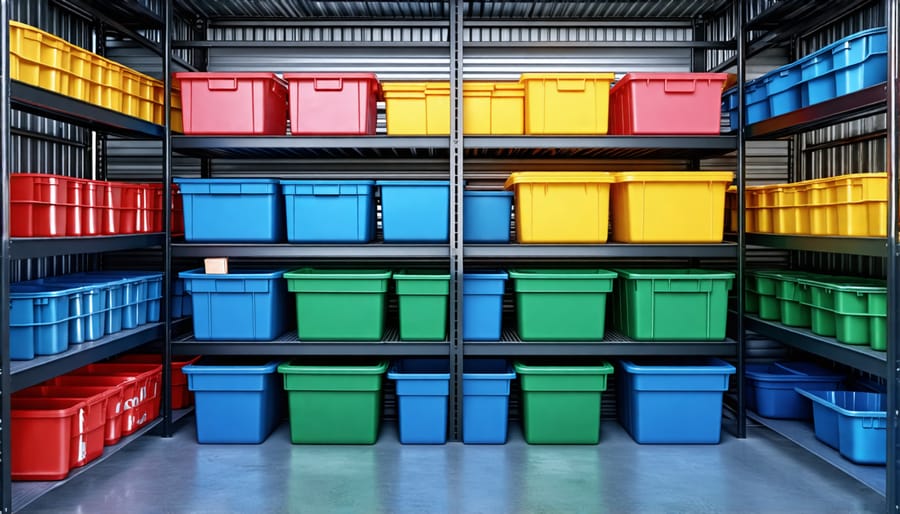
Clear storage bins are a game-changer when it comes to organizing your plastic shed. Unlike opaque containers that hide their contents, see-through bins allow you to quickly identify what’s inside without rummaging through everything. This saves time and frustration when searching for specific items. Plus, clear bins make it easy to take inventory of your supplies at a glance, so you always know what you have on hand. Opt for sturdy plastic bins with tight-fitting lids to protect your belongings from dust, moisture, and pests. Stack them on shelves or arrange them neatly on the floor for a clutter-free space that maximizes visibility and accessibility. With clear storage totes, you’ll spend less time hunting for things and more time enjoying your well-organized shed.

Rolling Utility Carts
Rolling utility carts are a game-changer when it comes to plastic shed storage. These nimble workhorses provide the flexibility to store and transport items exactly where you need them. With sturdy casters and ample shelf space, you can easily roll your tools, gardening supplies, or hobby materials in and out of your shed as needed. This portability is especially handy for seasonal items or frequently used gear. Plus, many rolling carts feature modular designs, allowing you to customize the configuration to suit your specific storage needs. Whether you opt for a sleek metal frame or a durable plastic construction, a rolling utility cart is a versatile solution that combines convenience and efficiency in your plastic shed.
Utilizing Door and Ceiling Space
Over-the-Door Organizers
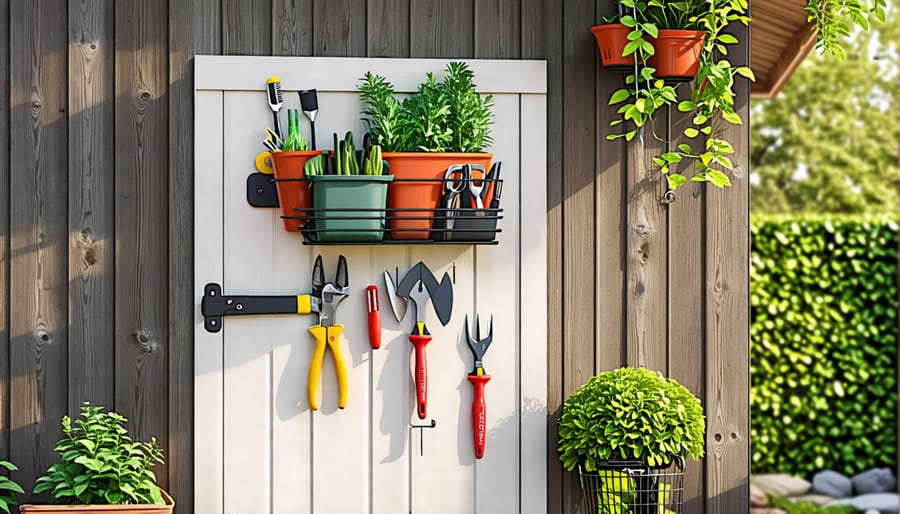
Over-the-door organizers are a game-changer when it comes to maximizing storage space in your plastic shed. These versatile solutions hang effortlessly on the back of your shed door, providing a home for everything from gardening tools to cleaning supplies. Look for sturdy, waterproof organizers with multiple pockets and hooks to accommodate items of various sizes. Clear plastic models allow for easy visibility, while canvas or fabric options offer a more stylish look. For ultimate customization, consider a modular system with removable pouches that can be rearranged as needed. Don’t forget to measure your door before purchasing to ensure a perfect fit. With an over-the-door organizer, you’ll have quick access to your most-used items while keeping your shed floor clutter-free.

Ceiling Storage
Maximize your shed’s storage potential by utilizing the ceiling space for lightweight items. Install overhead racks or shelves to keep fishing rods, holiday decorations, or camping gear out of the way yet easily accessible. Use sturdy hooks to hang bicycles, kayaks, or ladders, freeing up valuable floor space. For a budget-friendly solution, suspend a cargo net from the ceiling to store seldom-used items like beach chairs or pool noodles. When installing overhead storage, ensure that the shed’s structure can support the added weight and that items are securely fastened to prevent accidents. With a little creativity, your shed’s ceiling can become a functional storage area, keeping your space organized and clutter-free.
Labeling and Inventory Systems
Label Everything
Labeling your storage containers and sections is a simple yet effective way to keep your plastic shed organized. Invest in a label maker or create your own labels using adhesive paper and a permanent marker. Clearly label each container with its contents, such as “Garden Tools,” “Outdoor Cushions,” or “Holiday Decorations.” Don’t forget to label shelves, drawers, and designated storage areas too. This will save you time and frustration when searching for specific items. Consider using color-coded labels for different categories to make identification even easier. For example, use blue labels for camping gear, green for gardening supplies, and orange for seasonal decor. With a well-labeled system, you’ll be able to quickly locate what you need and keep your shed tidy and clutter-free.
Keep an Inventory List
Keeping a master inventory list is a game-changer when it comes to managing your plastic shed storage. By maintaining an up-to-date record of all the items you have stored away, you’ll save countless hours searching for misplaced tools, seasonal decorations, or camping gear. A well-organized inventory list lets you quickly check if you already have something before making unnecessary purchases, helping you avoid duplicates and clutter. It also makes it easier to keep track of items you’ve lent out to friends or family. Whether you prefer a handwritten list, a spreadsheet, or a digital app, find a method that works for you and stick with it. The small effort of updating your inventory regularly will pay off in the long run, ensuring a stress-free and efficient storage experience.
Practical Examples and Use Cases
Here are a few practical examples of combining the hack ideas above to solve common storage challenges in plastic sheds:
For storing gardening tools, install a pegboard on one wall and use hooks to hang long-handled items like rakes, shovels, and hoes. Underneath, place a labeled bin for smaller tools and supplies. Use a magnetic knife strip mounted to the pegboard to hold pruning shears and trowels.
To keep sports equipment organized, dedicate a corner of your shed with a tall vertical shelf. Place bins on the lower shelves for balls, helmets, and pads. Hang bikes vertically on the wall using hooks. Install bungee cords across upper shelves to secure awkwardly shaped items like hockey sticks or tennis rackets.
For efficient workshop storage, build a workbench along one wall with pegboard above for tools. Place clear jars on shelves to hold hardware like nails, screws, and bolts. Use magnetic strips to store drill bits or wrenches. These shed storage solutions keep items close at hand.
By combining vertical and floor storage options, labeling bins and shelves clearly, and grouping like items together, you can create a highly organized and functional storage space tailored to your needs. With a bit of planning and DIY spirit, your plastic shed can become an efficient extension of your home.
Conclusion
In conclusion, these storage hacks can help you maximize the space and organization in your plastic shed. By utilizing vertical space with shelves, pegboards, and hanging organizers, you can free up valuable floor area. Stackable bins, labeled containers, and magnetic tool holders provide practical solutions for keeping items tidy and easily accessible. Implementing a color-coded system and repurposing household items add visual appeal and functionality. With a little creativity and effort, you can transform your plastic shed into an efficient storage haven that meets your unique needs. We encourage you to try out these ideas and enjoy the benefits of a well-organized and clutter-free space. Remember, a tidy shed not only simplifies your life but also helps protect and prolong the life of your belongings. Start optimizing your plastic shed storage today and experience the satisfaction of a beautifully organized space!

