
Pro-Level Garden Shed Roofing That Lasts for Decades
Transform your garden shed into a weather-resistant sanctuary with professional-grade roofing that stands the test of time. Proper roof installation not only protects your valuable tools and equipment but also enhances your property’s overall appearance and value. Whether you’re replacing an aging roof or building from scratch, mastering advanced roofing techniques for your garden shed demands careful planning, quality materials, and precise execution.
From selecting the ideal roofing material to understanding proper ventilation requirements, this comprehensive guide walks you through every critical step of the process. We’ll explore premium waterproofing methods, advanced flashing techniques, and professional tips that ensure your shed roof remains leak-free for decades. Even experienced DIYers will discover new approaches to tackle common challenges like proper pitch calculation, underlayment installation, and securing roofing materials against harsh weather conditions.
Get ready to elevate your shed roofing project beyond basic installation with time-tested methods that professional roofers rely on daily.
Essential Planning and Material Selection
Choosing the Right Roofing Materials
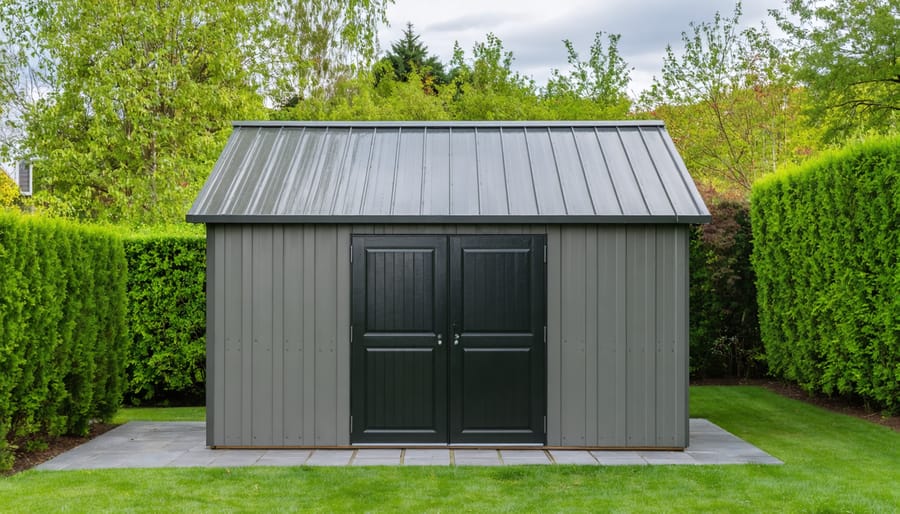
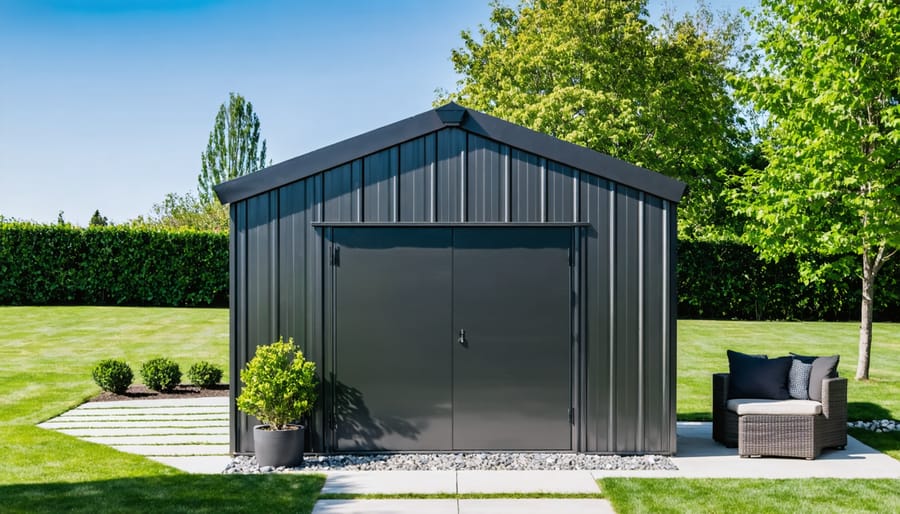
Selecting the right roofing material for your garden shed is crucial for its longevity and functionality. The most popular options include asphalt shingles, which offer affordability and easy installation, making them perfect for DIY enthusiasts. They come in various colors and typically last 15-20 years with proper maintenance.
For those seeking durability, metal roofing installation might be the best choice. Metal roofs can last up to 50 years and provide excellent protection against harsh weather conditions. While they may cost more initially, their long-term value and minimal maintenance requirements make them a smart investment.
Another option gaining popularity is rubber roofing (EPDM), which offers exceptional waterproofing capabilities and is particularly suitable for flat or low-pitched shed roofs. When choosing between these weather-resistant materials, consider your local climate, budget, and installation expertise.
Cedar shakes provide a natural, rustic appearance but require more maintenance. Meanwhile, corrugated plastic sheets offer an economical solution for temporary structures or basic storage needs. Whatever material you choose, ensure it matches your shed’s structural requirements and your area’s building codes. Remember to factor in the roof pitch and local weather patterns when making your final decision.
Calculating Materials and Pitch
To calculate materials for your shed roof, start by measuring the length and width of your shed. Multiply these measurements to get the total square footage, then add 10% extra for overlap and waste. For a typical 8×10 foot shed, you’ll need about 88 square feet of roofing material.
Determining the right pitch is crucial for proper water drainage. A common shed roof pitch is 4/12, meaning the roof rises 4 inches for every 12 inches of horizontal run. For areas with heavy snowfall, consider a steeper 6/12 pitch. To calculate materials needed for your chosen pitch, measure the rafter length rather than just the horizontal span.
For a basic materials list, you’ll need:
– Roofing felt (1 roll per 100 square feet)
– Shingles (3 bundles per 100 square feet)
– Drip edge (length of roof edges plus 10%)
– Roofing nails (1 pound per 100 square feet)
– Ridge caps (1 bundle for standard shed)
Remember to factor in your climate when choosing materials and pitch. Snowy regions benefit from steeper pitches, while moderate climates can use standard slopes effectively.
Advanced Framework Construction
Rafters and Trusses
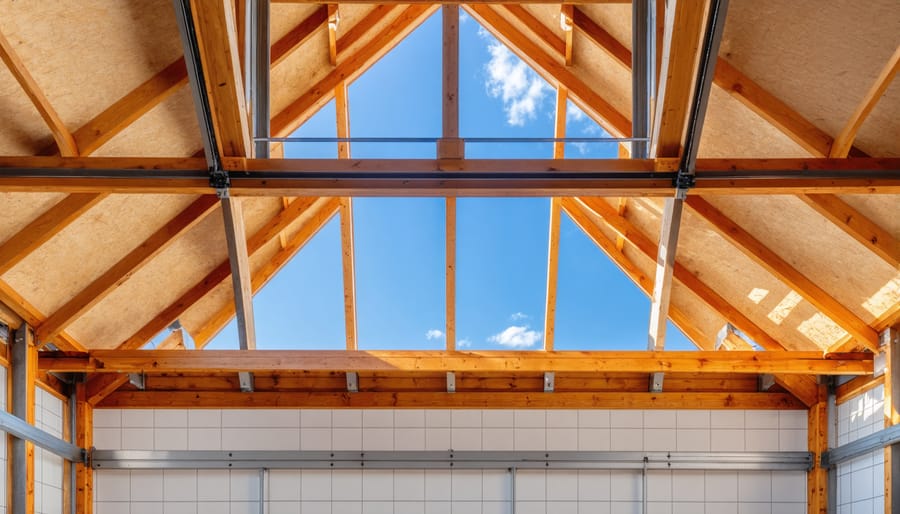
Installing rafters and trusses is crucial for your shed’s structural integrity and requires careful attention to detail. Start by marking the top plates of your walls at 16-inch intervals – this is your standard spacing for rafters. If you’re using pre-made trusses, these marks will guide their placement.
For traditional rafters, begin at one end of the shed. Cut your first pair of rafters using a framing square to ensure proper angles, including the bird’s mouth cut that will rest on the wall plate. Create a template from this first pair to ensure consistency across all rafters.
Position your first pair of rafters at the end of the shed, temporarily securing them with clamps. Install a ridge board between them at the peak, ensuring it’s level and properly aligned. Continue adding rafter pairs, checking for plumb (vertical alignment) as you go.
Secure each rafter with hurricane ties and appropriate nails – this is especially important for weather resistance. Install collar ties (horizontal boards connecting opposite rafters) every few feet to prevent spreading.
For pre-made trusses, lift each one into position at your marked intervals. Ensure they’re perfectly vertical before securing them to the top plate with framing nails and hurricane ties. Brace the first and last trusses, then add diagonal bracing between trusses for stability.
Remember to take proper safety precautions when working at height, and don’t hesitate to ask for help with lifting and positioning these heavy components.
Proper Bracing Techniques
Proper bracing is the backbone of a sturdy shed roof, ensuring it stands strong against wind, snow, and time. Start by installing collar ties – horizontal beams that connect opposing rafters – every 4 feet along the roof’s length. These should be positioned in the upper third of your roof’s height for maximum effectiveness.
For additional stability, add gable end braces at a 45-degree angle, running from the top plate to the ridge beam. These diagonal supports prevent the roof frame from twisting under pressure. Make sure to secure each brace with galvanized nails or appropriate screws at both ends.
If your shed roof span exceeds 8 feet, consider installing longitudinal bracing along the underside of the rafters. These runs of 2×4 lumber should be installed perpendicular to the rafters, creating a solid framework that resists sagging over time.
Don’t forget to add blocking between rafters at any points where they meet exterior walls. This crucial step prevents rotation and provides essential support for your roofing material. Use pressure-treated lumber for any blocking that might come in contact with exterior walls to prevent moisture damage.
Remember to double-check all your connections. Each brace should be firmly attached with appropriate fasteners, and joints should be snug without signs of splitting. Taking time with proper bracing now will save you from costly repairs down the road.
Professional Installation Methods
Underlayment and Moisture Barriers
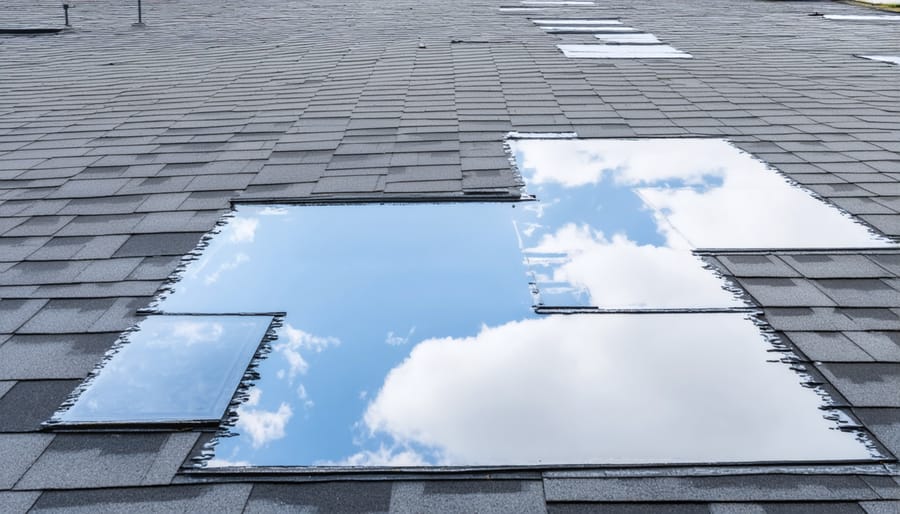
Before laying your shingles, it’s crucial to waterproof your roof deck with proper underlayment and moisture barriers. This essential layer acts as your shed’s first line of defense against water damage and extends the life of your roofing materials.
Start by installing a self-adhering ice and water shield along the eaves and valleys of your shed roof. This rubber-like membrane creates a watertight seal that prevents water from seeping under your shingles during heavy rains or when ice dams form. Roll it out carefully, ensuring there are no wrinkles or air bubbles that could compromise its effectiveness.
Next, cover the remaining roof deck with synthetic underlayment, overlapping each row by at least 2 inches and securing it with cap nails. Modern synthetic underlayments are more durable than traditional felt paper and provide excellent slip resistance during installation. They’re also lighter and easier to work with, making them perfect for DIY projects.
Pay special attention to any roof penetrations, such as vents or skylights. Use appropriate flashing and seal these areas carefully with underlayment to prevent potential leaks. Remember to work from the bottom up, overlapping each layer properly to ensure water flows down and away from your shed.
For added protection in high-wind areas, consider using a premium underlayment with enhanced grip features. While this might cost a bit more initially, it provides superior protection and peace of mind knowing your shed’s contents will stay dry for years to come.
Material-Specific Installation Tips
Different roofing materials require specific installation approaches to ensure the best results. For asphalt shingles, start at the bottom edge of the roof and work upward, overlapping each row by about 5 inches. Use roofing nails every 4 inches along the nail line, and remember to stagger the joints between rows for better water resistance.
When installing metal roofing, begin with the installation of drip edge and underlayment. Place the first panel square to the roof edge, allowing a 1-inch overhang. Secure with screws through the peaks of the ridges, not the valleys, spacing them about every 24 inches. Overlap subsequent panels by at least one full rib.
For felt roofing, roll out the material horizontally, starting from the bottom. Overlap each strip by at least 2 inches and secure with felt nails every 4 inches. Pay special attention to the edges, where wind lift is most likely to occur. Apply adhesive beneath the laps for added security.
Cedar shingles require careful spacing – use spacer gauges to maintain consistent gaps of about 1/4 inch between shingles to allow for expansion. Install them in straight rows, using two corrosion-resistant nails per shingle, positioned about 3/4 inch from each edge and 1.5 inches above the exposure line.
For corrugated plastic or fiberglass sheets, pre-drill holes slightly larger than the fixing screws to allow for thermal movement. Place fixings at every second or third corrugation at sheet ends and every third or fourth corrugation in the middle. Always fix through the top of the corrugation, never in the valleys.
Weather Protection and Finishing Touches
Flashing and Edge Treatment
Proper flashing and edge treatment are crucial steps to protect against moisture damage and ensure your shed roof’s longevity. Start by installing drip edge along the eaves and rakes of your roof. This metal flashing should extend at least 2 inches onto the roof deck and bend down at a 45-degree angle to direct water away from the fascia boards.
For valleys where two roof sections meet, install valley flashing before your roofing material. Use a continuous piece of metal flashing at least 24 inches wide, centered in the valley. Secure it with roofing nails placed high on each side, ensuring they’ll be covered by shingles later.
Around any roof penetrations like vents or chimneys, install proper flashing collars. Begin with base flashing that tucks under the uphill shingles, followed by step flashing at the sides, and cap flashing that covers the top. Apply a generous bead of roofing sealant where the flashing meets the penetration.
For the ridge, install ridge caps only after all other roofing is complete. These specially designed pieces overlap each other and should be installed starting from the direction opposite to prevailing winds. Secure each piece with roofing nails, making sure to cover the nail heads with the next cap.
Remember to check all flashing annually for signs of wear or separation, as these areas are common points for leaks to develop.
Ventilation Solutions
Proper ventilation is crucial for your garden shed’s longevity and functionality. A well-ventilated shed prevents moisture buildup, reduces the risk of mold growth, and helps maintain a stable internal temperature throughout the year.
Start by installing soffit vents under the roof’s eaves. These small, perforated panels allow fresh air to enter from below while hot air escapes through ridge vents at the roof’s peak. For a typical 8×10 shed, install at least two 4×16-inch soffit vents on opposite sides.
Ridge vents are equally important and should run along the entire length of your roof’s peak. They’re practically invisible once installed and provide continuous airflow. If ridge vents aren’t suitable for your design, consider installing gable vents at each end of the shed. A pair of 12×12-inch gable vents usually provides adequate ventilation for most garden sheds.
For additional airflow, consider installing a small solar-powered vent fan. These self-contained units work without electricity and activate automatically when temperatures rise, making them perfect for unattended sheds.
Remember to keep ventilation paths clear when organizing your shed’s interior. Avoid stacking items against vents or blocking airflow paths. In humid climates, you might want to add a small battery-operated humidity sensor to monitor moisture levels.
Quick Tip: During installation, use mesh screens behind all vents to prevent insects and small animals from entering while maintaining proper airflow.
Properly roofing your garden shed is a crucial investment that protects both the structure and your stored belongings for years to come. By following the steps outlined in this guide, you’ll create a weatherproof shelter that stands up to the elements while complementing your property’s aesthetic appeal.
Remember to inspect your shed roof at least twice a year, particularly after severe weather events. Check for loose shingles, damaged flashing, or signs of water penetration. Clear any debris from gutters and ensure proper drainage to prevent water damage. If you notice any issues, address them promptly to avoid more extensive repairs down the line.
Regular maintenance, combined with quality materials and proper installation techniques, will extend your shed roof’s lifespan significantly. Should you encounter any challenges during installation or maintenance, don’t hesitate to consult a professional. A well-maintained shed roof not only protects your investments but also adds value to your property, making all your effort in the installation process worthwhile.
Keep your warranty information handy and maintain a record of any repairs or modifications you make to the roof. This documentation will prove invaluable for future maintenance and potential property transactions.