Weatherproof Your Outdoor Workshop: Smart Insulation That Actually Works

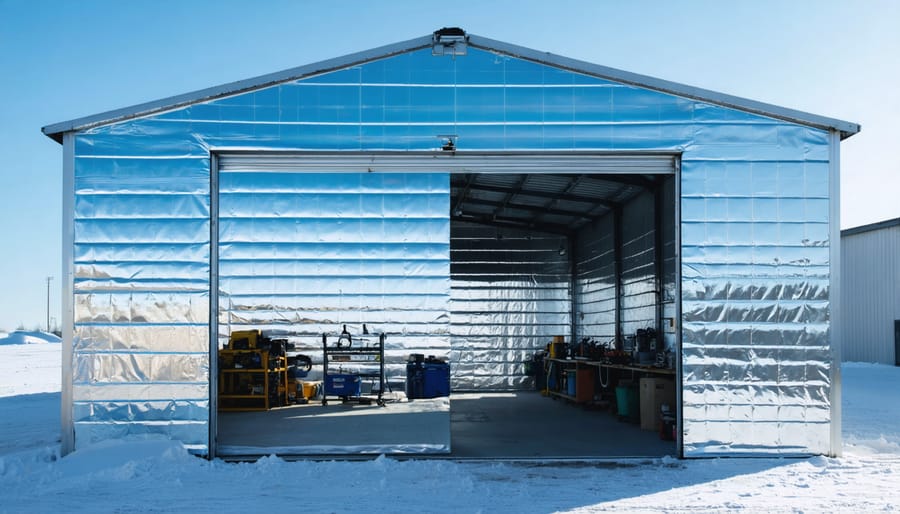
Transform your outdoor workspace into a weather-tough outdoor workspace with professional-grade insulation wrap that maintains consistent temperatures year-round. Select thick, UV-resistant bubble wrap insulation with reflective backing for maximum thermal protection against extreme temperatures. Install the wrap by securing it tightly against exterior walls using heavy-duty weatherproof tape, ensuring all seams overlap by at least 2 inches to prevent heat loss. Create a moisture barrier by applying waterproof membrane underneath the insulation layer, particularly in areas prone to rain exposure or condensation buildup.
This protective barrier not only regulates temperature but also shields valuable tools and equipment from damaging moisture, extending their lifespan significantly. Modern outdoor insulation materials combine durability with energy efficiency, reducing heating and cooling costs while creating a comfortable environment for year-round productivity. Whether protecting garden supplies, workshop equipment, or outdoor furniture, proper insulation wrap serves as your first line of defense against nature’s elements.
Understanding Outdoor Insulation Wrap
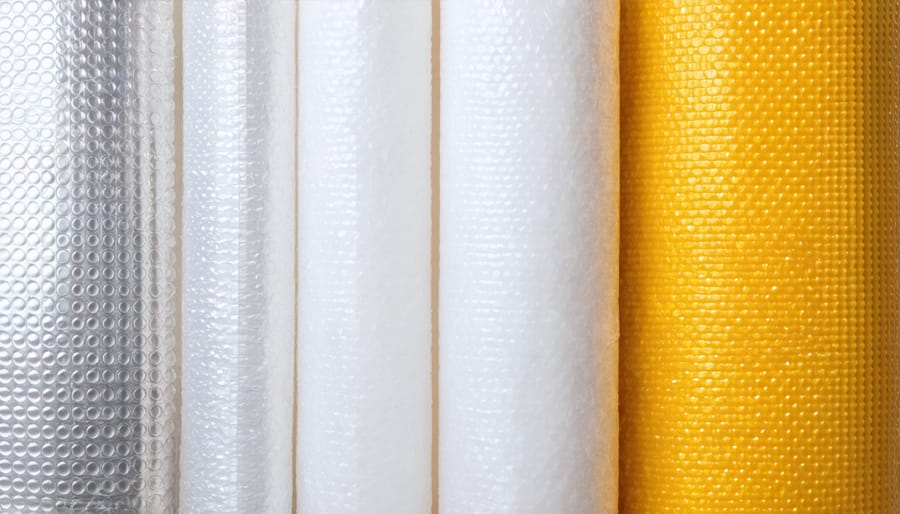
Common Insulation Wrap Materials
When it comes to protecting your outdoor spaces, choosing the right insulation material is crucial. Bubble wrap, a budget-friendly option, offers decent insulation by trapping air between its plastic layers. While not the most durable, it’s perfect for temporary solutions and can be easily replaced when needed.
Foam insulation comes in various thicknesses and forms, providing excellent temperature control and moisture resistance. It’s particularly effective for protecting pipes and small outdoor storage areas, though it may require additional weatherproofing for complete protection.
Fiberglass insulation, a traditional favorite, delivers superior temperature regulation and sound dampening properties. However, it must be properly sealed against moisture and requires careful handling during installation due to its irritating fibers.
Reflective insulation, featuring a metallic surface, excels at redirecting radiant heat. It’s especially effective in sunny climates and works well when combined with other insulation types. This lightweight option is easy to install and maintains its effectiveness for years with minimal maintenance.
Each material has its sweet spot in terms of cost, durability, and effectiveness. Your choice should depend on your specific climate conditions and protection needs.

R-Value and Weather Resistance
When selecting outdoor insulation wrap, two crucial factors to consider are the R-value and weather resistance. The R-value indicates how effectively the insulation blocks heat transfer – the higher the number, the better the insulation performance. For outdoor structures, look for wraps with an R-value between 3.0 and 6.0 for optimal protection against temperature fluctuations.
Weather resistance is equally important for maintaining long-term effectiveness. Quality outdoor wraps feature moisture-resistant barriers that prevent water damage while allowing proper ventilation. This balance is essential for preventing mold and maintaining the integrity of your outdoor workspace. When properly installed, these climate control solutions can last 10-15 years or more.
Look for wraps with UV-resistant properties to prevent degradation from sun exposure. The best options combine multiple layers of protection: a reflective outer layer, insulating middle layer, and vapor barrier. This triple-layer approach ensures your workspace stays comfortable year-round while protecting your investment from harsh weather conditions.
Step-by-Step Installation Process
Surface Preparation
Before installing outdoor insulation wrap, proper surface preparation is essential for optimal performance and longevity. Start by thoroughly cleaning the walls or surfaces, removing any dirt, debris, or loose material using a stiff brush or pressure washer. Pay special attention to corners and joints where debris tends to accumulate.
Inspect the surface for damage, such as cracks, holes, or rotting materials. Repair these issues before proceeding, as they can compromise the insulation’s effectiveness. For wooden surfaces, ensure the material is completely dry to prevent trapping moisture that could lead to mold or decay.
Remove any protruding nails, screws, or sharp edges that could puncture the insulation wrap. If there are existing pipes or electrical fixtures, make sure they’re properly secured and sealed. Consider applying a moisture barrier if your climate experiences frequent rain or high humidity.
For metal surfaces, address any rust spots with appropriate treatment and primer. Smooth out rough areas with sandpaper to create an even surface that will allow the insulation wrap to adhere properly. Remember, taking time for proper preparation will significantly improve your insulation’s performance and durability.
Measuring and Cutting
Before cutting your insulation wrap, measure your outdoor space carefully using a tape measure. Add an extra 2-3 inches on each side to ensure proper coverage and overlap. Mark your measurements on the insulation wrap using a permanent marker and straight edge for accuracy.
When cutting, lay the insulation wrap on a flat, clean surface. Use sharp utility scissors or a utility knife with a fresh blade for clean, straight cuts. If using a utility knife, place a piece of scrap wood underneath to protect your work surface and create a proper cutting line.
Pro tip: Cut one section at a time and test-fit before cutting additional pieces. This helps prevent waste and ensures precise measurements. For areas around pipes or outlets, measure twice and cut once, making small incisions first that can be enlarged if needed.
Remember to wear gloves while handling the material, as some types of insulation can cause skin irritation. Keep your cuts straight and clean to ensure proper sealing when the wrap is installed.

Securing and Sealing
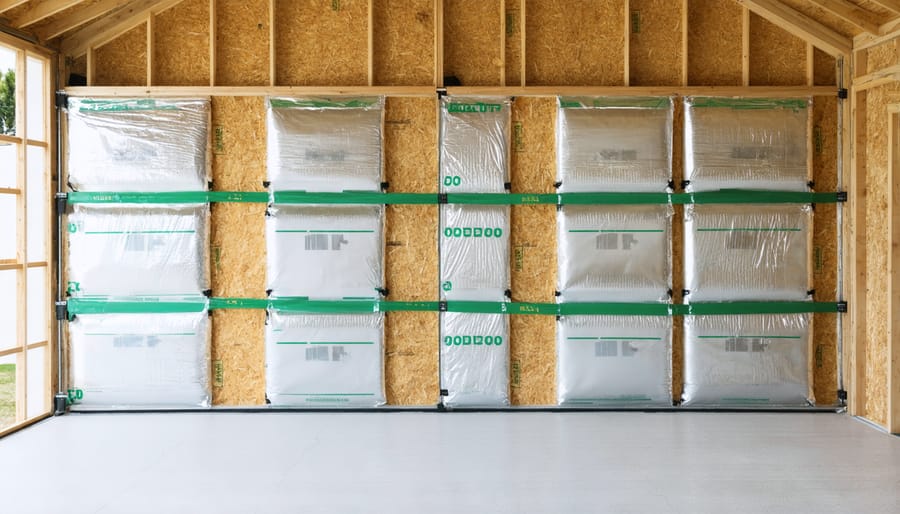
Properly securing and sealing your outdoor insulation wrap is crucial for maintaining its effectiveness and longevity. Start by ensuring all seams and edges are thoroughly secured using appropriate fasteners. Weather-resistant foil tape works exceptionally well for joining seams, while heavy-duty staples spaced every 6-8 inches can secure the wrap to wooden surfaces.
For a weathertight seal around doors, windows, and other openings, use foam weatherstripping tape before applying the insulation wrap. This creates an additional barrier against air infiltration. When working around electrical outlets or pipes, cut the insulation in an “X” pattern and fold the flaps inward, securing them with foil tape for a snug fit.
Consider using furring strips along the edges where different sections meet to create a more secure attachment point. This method also helps prevent sagging and creates a cleaner finished appearance. For metal surfaces, specialized adhesive-backed insulation hooks provide excellent hold without the need for mechanical fasteners.
To protect against moisture infiltration, always work from bottom to top, overlapping each row by at least 2 inches. Pay special attention to corners and joints, using corner molding or additional tape reinforcement in these vulnerable areas. For added protection in high-wind areas, consider installing a protective cover or barrier over the insulation wrap.
Don’t forget to seal around any outdoor lighting fixtures or vents. Use silicone caulk specifically designed for exterior use to create a waterproof seal where the insulation meets these features. Regular inspection of your seals and fasteners, especially after severe weather, will help maintain the integrity of your insulation system and prevent any potential damage from developing into larger issues.
Remember, a well-sealed insulation system not only improves energy efficiency but also extends the life of your outdoor structure while protecting your valuable items inside.
Maintenance and Long-Term Care
Regular Inspection Points
Regular maintenance of your outdoor insulation wrap ensures its longevity and effectiveness. Start by examining the seams and edges where the wrap connects, as these areas are most prone to wear. Look for any gaps, tears, or sections where the wrap may have come loose from its fasteners. These vulnerable spots can compromise the entire insulation system.
Check the areas around windows, doors, and other openings where the wrap meets different weather-resistant materials. These transition points often experience more stress and may need extra attention. During your inspection, pay special attention to corners and areas where the wrap bends, as these spots can develop weak points over time.
Look for signs of water damage or moisture buildup, which might appear as discoloration, mold, or mildew. Examine the bottom edge of the wrap carefully, ensuring it hasn’t been damaged by ground moisture or landscaping equipment. Also, inspect areas where pipes or cables penetrate the wrap, as these penetration points can be prone to air leaks.
Don’t forget to check for any animal or insect damage, particularly in sheltered corners or under eaves. Small holes or tears should be addressed immediately to prevent larger issues from developing. Make it a habit to perform these inspections at least twice a year, ideally in spring and fall, when weather conditions are mild.
Repair and Replacement Guidelines
Regular inspection of your outdoor insulation wrap is essential to maintain its effectiveness and extend its lifespan. Check for signs of damage such as tears, holes, or loose sections at least twice a year, particularly before extreme weather seasons. Small tears can be repaired using specialized insulation tape or patches designed for outdoor use, but ensure the surface is clean and dry before applying any repairs.
When you notice significant wear, water damage, or extensive tearing, it’s time to consider replacement. Most quality outdoor insulation wrap typically lasts 3-5 years, though this can vary depending on climate conditions and exposure to elements. Signs that indicate immediate replacement include mold growth, crumbling material, or sections that have completely separated from the surface.
To replace old insulation wrap, carefully remove the damaged material, ensuring you don’t harm the underlying structure. Clean the surface thoroughly and allow it to dry completely before installing new wrap. Consider upgrading to newer, more durable materials that offer better weather resistance and insulating properties.
For optimal performance, address any structural issues before installing new insulation wrap. Check for moisture problems, seal any gaps, and ensure proper ventilation. Remember that proper installation of replacement wrap is just as crucial as the quality of the material itself – take time to secure all edges and overlaps properly.
Cost-Saving Benefits
Energy Efficiency Improvements
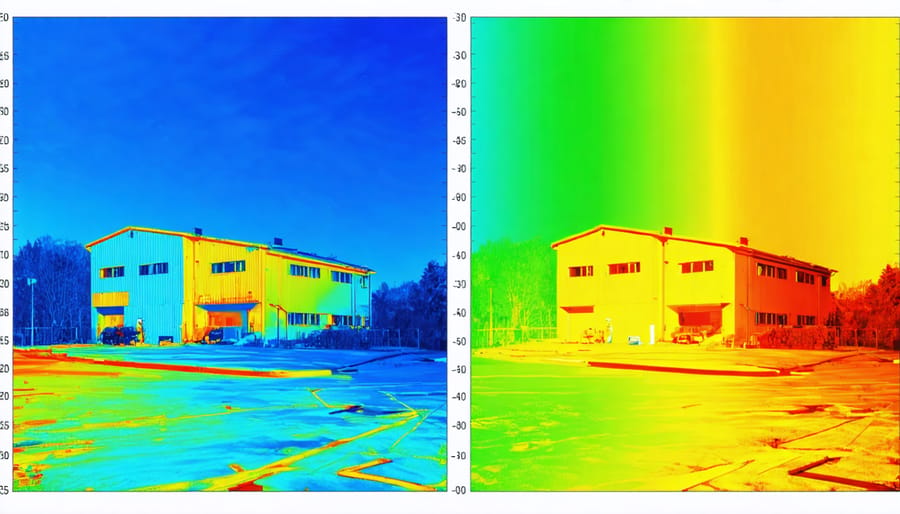
Proper insulation wrap can dramatically reduce your outdoor workspace’s energy consumption, making it an essential component of energy-efficient workspace design. Many homeowners report saving between 20-30% on their heating and cooling costs after installing quality insulation wrap. For example, a well-insulated 120-square-foot shed in Minnesota showed a reduction in heating costs from $85 to $62 per month during winter months.
The savings become even more significant in extreme weather conditions. During summer peaks, properly insulated spaces maintain temperatures up to 15 degrees cooler than uninsulated ones, reducing air conditioning needs. In winter, the same insulation keeps warm air from escaping, cutting heating costs by up to 40%.
Real-world testing has shown that combining insulation wrap with weather stripping and proper sealing can achieve optimal results. A Colorado-based woodworker reported that his monthly utility bills dropped by $45 after installing comprehensive insulation, while also noting that his tools stayed in better condition due to reduced moisture and temperature fluctuations.
Remember, these improvements not only save money but also create a more comfortable workspace year-round, protecting your valuable equipment and materials from extreme temperature variations.

Return on Investment
Investing in outdoor insulation wrap can lead to significant savings on your energy bills while protecting your outdoor workspace. Based on average utility costs, properly insulated outdoor spaces can reduce heating and cooling expenses by 15-25% annually. For a typical 120-square-foot shed or workshop, the initial investment of $200-300 in insulation materials can be recovered within 2-3 heating seasons.
Many homeowners report seeing immediate benefits, with workspace temperatures remaining 10-15 degrees warmer in winter and cooler in summer. When factoring in the extended lifespan of stored tools and equipment due to better climate control, the real value becomes even more apparent. Tools protected from extreme temperature fluctuations and moisture typically last 30-40% longer.
The payback period can be shortened further by choosing the right type of insulation wrap and proper installation. While premium materials might cost more upfront, they often provide better long-term value through superior performance and durability. Consider that a well-insulated outdoor workspace can also increase your property value, making it an investment that pays dividends beyond energy savings.
Protecting your outdoor workspace with proper insulation wrap is a smart investment that pays dividends in comfort, energy efficiency, and longevity of your structure. By choosing the right insulation materials, following proper installation techniques, and maintaining your wrap regularly, you can create a comfortable environment that serves you well throughout the seasons.
Remember that successful insulation starts with thorough preparation and attention to detail. Take time to properly measure your space, gather all necessary materials, and address any existing moisture or structural issues before beginning the installation process. While the initial effort might seem substantial, the long-term benefits of a well-insulated outdoor space far outweigh the investment of time and resources.
Don’t hesitate to seek professional guidance if you encounter challenges during the planning or installation phases. Many homeowners find that combining professional advice with DIY execution helps achieve the best results. Regular maintenance checks, particularly before extreme weather seasons, will help ensure your insulation continues to perform effectively.
By implementing the tips and techniques discussed in this guide, you’ll be well-equipped to transform your outdoor workspace into a comfortable, energy-efficient environment that you can enjoy year-round. Start your insulation project today and experience the difference proper thermal protection can make in your outdoor living space.

